5 Essential Oil Painting Techniques All Beginners Must Master
Let me tell you about the five basic ways to paint with oils – things even the great masters like Rembrandt had to learn when they started! After teaching for many years, I’ve learned the best way to help beginners become confident artists.
Here’s something interesting: Many new artists try to run before they can walk. They jump into tricky techniques too soon and get frustrated. I know because I did the same thing when I started! It’s like trying to bake a fancy wedding cake before learning to make simple cookies.
The good news is you only need to learn five basic techniques to get started. Think of them as your painting toolbox – once you have these down, you can create all sorts of beautiful art. Just like learning to cook starts with basic skills like chopping and measuring, painting starts with these fundamental techniques.
Want to know what really works? Taking it step by step, practicing one technique at a time. I’ve helped hundreds of students go from complete beginners to confident painters this way. Even Rembrandt started with the basics! He didn’t paint “The Night Watch” on his first try.
Ready to learn these five techniques? They’re like magic tricks – they might look hard at first, but once you know the secret, they’re actually pretty simple. Let’s start building your artist’s toolbox together!

1. Basic Oil Paint Blending: The Foundation of Smooth Transitions
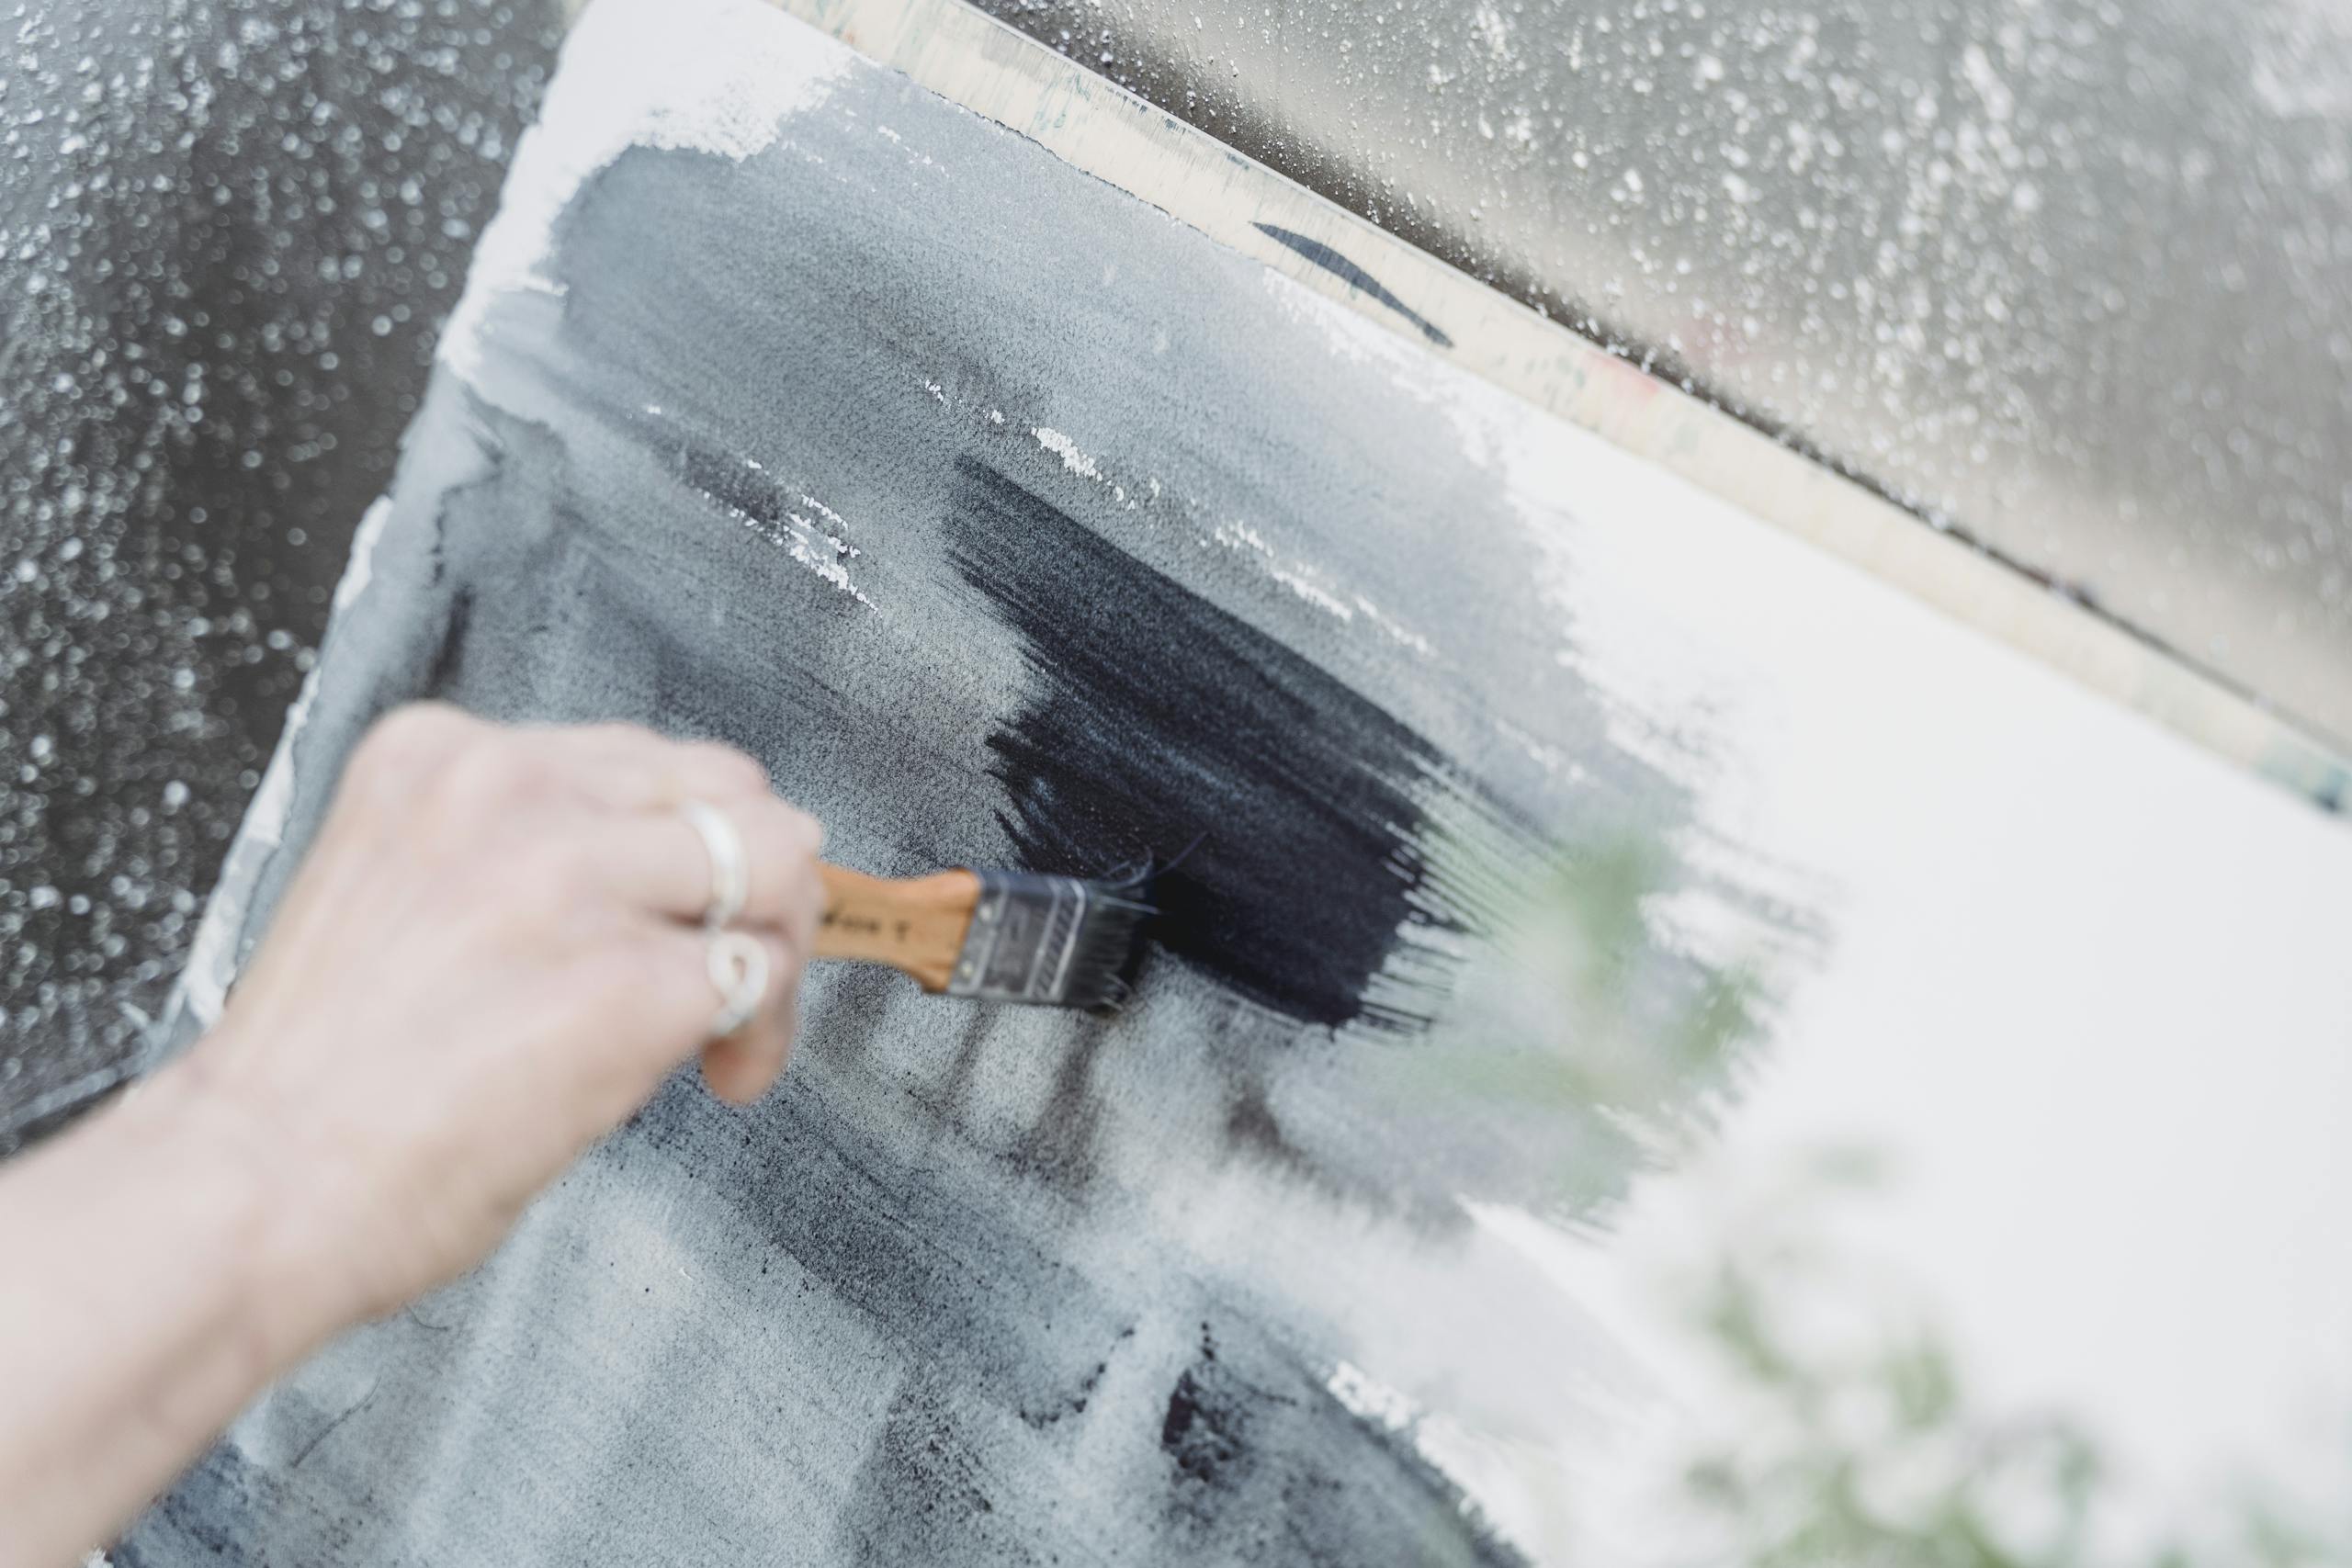
Let me tell you about blending oil paints to make smooth colors – something that used to drive me crazy until I figured out some simple tricks! After teaching lots of students, I’ve learned some easy ways to help anyone blend colors beautifully.
I remember watching one of my students getting so frustrated. She was scrubbing her brush back and forth on the canvas, trying to blend her colors but just making a muddy mess. That’s when I knew I needed to find a better way to teach this.
Here’s my simple method that really works:
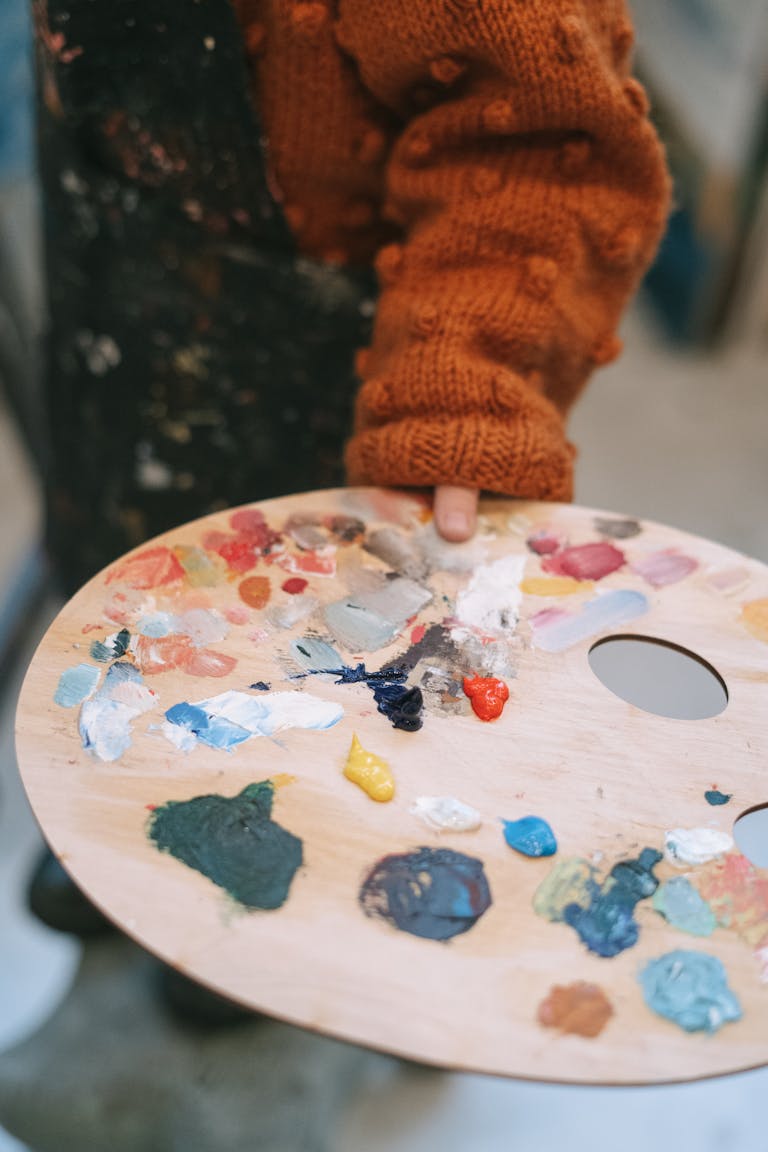
- Mix your two colors well on your palette first
- Put them on your canvas about an inch apart
- Use a clean, soft brush (I love ones with flat, rounded tips)
- Start with your light color and gently blend toward the dark
- Use light, gentle strokes – like you’re petting a cat!
Think of it like spreading peanut butter on bread. You know how frustrated you get when you try to spread cold, stiff peanut butter with just a tiny bit on your knife? That’s exactly what happens when people don’t use enough paint!
I watched one of my students get frustrated while painting. Her tiny strokes and dragging brush created ugly lines instead of smooth colors, and it was tough to see her struggle.
Here’s the trick: you need enough paint on your brush for it to glide easily on the canvas. Think of it like spreading peanut butter – not too much that it makes a mess, but just enough to spread smoothly.
When you find the right amount, painting can feel great! Your brush moves nicely, and the colors mix beautifully. It’s a small change that makes a big difference!
Here’s my favorite way to help beginners practice: I have them make what I call a “blend bar.” Paint six stripes of color going from light to dark, then practice blending them together until you can’t see where one color stops and the next begins. It’s like learning to ride a bike with training wheels!
Remember – good blending takes patience. Don’t expect perfect results right away. It feels awkward at first like learning any new skill, but once it clicks, you’ve got it forever!

2. Impasto Technique: Creating Texture and Dimension
I’m telling you about painting with really thick paint – it’s like being a sculptor and painter at the same time! After teaching lots of students, I’ve learned some simple tricks that make it much easier.
I have to laugh about my first time teaching this. One of my students squeezed paint straight from the tube onto her canvas, making these huge mountains of paint that took forever to dry! Now I know better ways to teach it.
Here’s what you need to paint with thick paint:
- Stiff brushes (they’re like strong spatulas for paint)
- Special painting knives in different shapes
- Lots of white paint
- A hard surface to paint on (soft canvas can sag under heavy paint)
The thickness of your paint needs to be just right – like cake frosting! You want it thick enough to make peaks but not so thick it won’t spread. I mix in a tiny bit of special oil to make it smooth, like soft butter. Too much oil makes the paint sink down flat; too little makes it too stiff to spread.
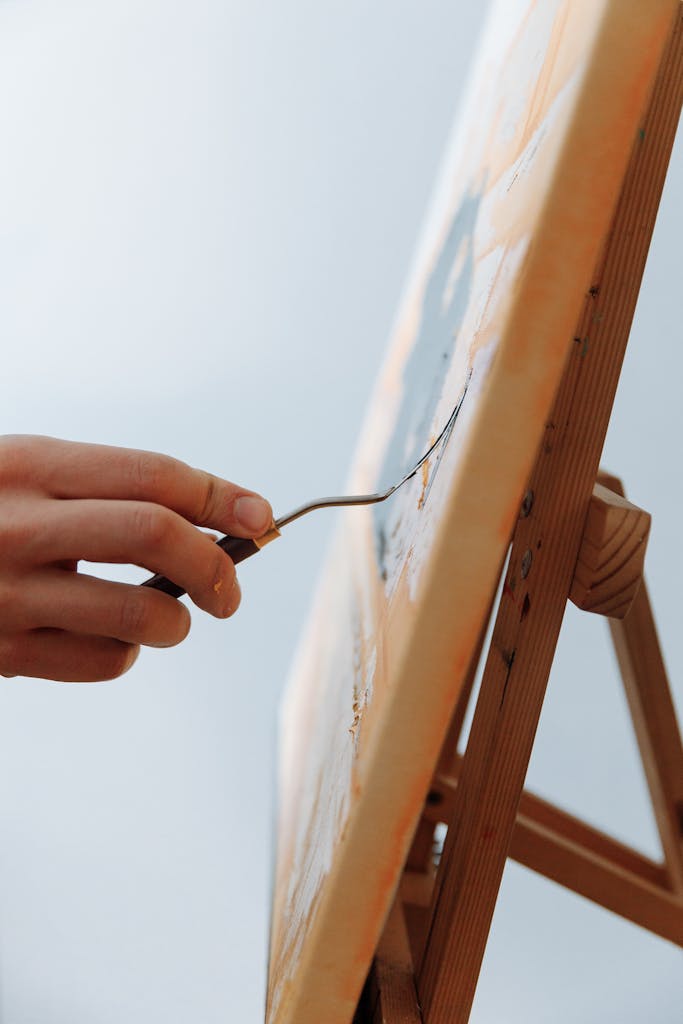
Here’s my favorite trick: Use your painting knife like a tiny spatula. Hold it almost flat to spread paint smooth, or stand it up straight to make peaks and ridges. It’s like frosting a cake – the way you hold your spatula changes how the frosting looks!
This kind of painting uses a lot of paint and can take a long time to dry—sometimes even weeks! Don’t stress! Start with small projects and be patient. Use lots of paint. Soon, you’ll be creating amazing art with cool textures!
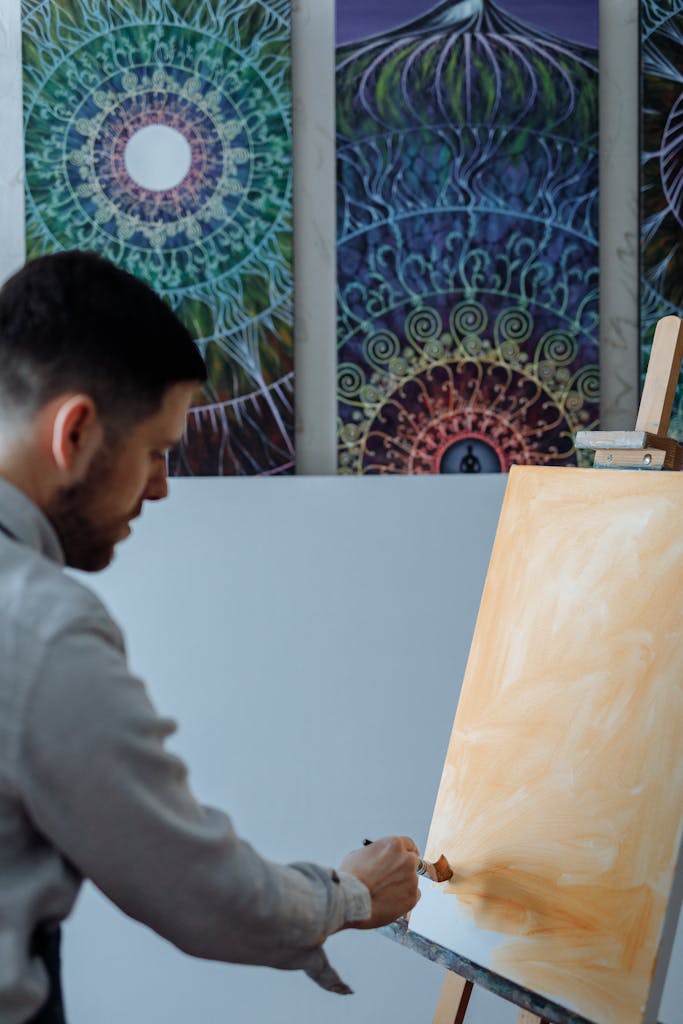
3. Glazing: Building Depth and Luminosity
Glazing is like adding beautiful, see-through colors to your painting. I used to find it confusing, but after teaching many students, I’ve learned some simple tricks to make it easier!
Let me tell you about my first try at glazing paint – it still makes me laugh! I was so excited to try this new technique that I couldn’t wait for anything to dry. Big mistake!
Picture trying to add a new layer of sauce to lasagna while it’s still bubbling hot in the oven. That’s basically what I did with my paint! Instead of letting each thin layer dry, I just kept adding more and more. Everything smooshed together into one big, muddy mess.
Now when I teach my students, the first thing I tell them is, “Slow down!” It really is just like making lasagna – you need to let each layer set before adding the next one. If you try to rush it, you’ll end up with a soupy mess instead of those beautiful, clear layers.
Trust me, being patient with glazing is hard at first. But once you see how gorgeous those clear, glowing layers of color can be, you’ll understand why it’s worth the wait!
Here’s what you need for glazing:
- Special see-through colors (they’re like colored glass)
- A special liquid to mix with your paint
- Really soft brushes
- Lots and lots of patience!
The biggest mistake? Not letting each layer dry completely. You need to wait at least a day or two between layers. I had one student who couldn’t wait – she tried to add a new layer too soon and wiped off three whole days of work with one brush stroke!
Here’s my favorite tip: Use your brush super gently, like you’re dusting your grandmother’s favorite glass vase. Press too hard, and you’ll mess up all the layers underneath.
Remember – glazing is about building up thin, see-through layers of color slowly. It takes time, but wow – when you get it right, your paintings will have this amazing glow that you just can’t get any other way! It’s like adding stained glass windows to your art.

4. Wet-on-Wet (Alla Prima) Painting
Let me tell you about painting wet paint into wet paint – it’s like trying to spread frosting on a cake while it’s still soft! After teaching lots of students, I’ve learned some fun tricks to make it work.
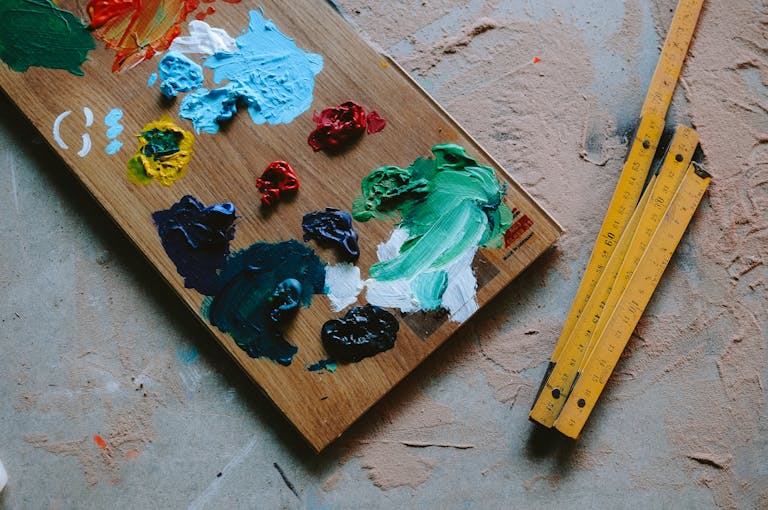
I have to laugh about my first time teaching this. My paints were scattered all over my palette, and I kept losing track of my colors. What a mess! Now I know better – I set up my colors in a nice rainbow pattern, with plenty of space to mix new colors in the middle.
Here’s the tricky part about this kind of painting: You’ve got to work fast! The paint starts getting sticky after about 4-6 hours. It’s like making a sandwich – you want to get everything done before the bread gets dry. One of my students got really frustrated because her paint started drying before she could finish. Now, I teach everyone to work in sections and plan their time better.
To paint well, the thickness of your paint is key—think soft butter. If it’s too thin, it’s like watery jam; too thick, and it’s like cold butter. Get it just right, and it feels magical!
Here’s a tip: Paint boldly! Use big strokes, like you’re writing your name. Keep a clean brush nearby to smooth out the edges, just like frosting a cake.
Also, watch the temperature! A cooler room works best; if it’s too warm, the paint can turn runny. I once saw a student’s paint get so soupy because of the heat!

5. Scumbling and Dry Brush Techniques
Let me tell you about some cool painting tricks called scumbling and dry brush – they’re like adding fog or texture to your painting! After teaching these for years, I’ve learned some fun ways to make them work.
I have to laugh about my first time teaching scumbling. One of my students used so much paint, she made mountains instead of mist! Now I always show what I call the “barely there” trick – using just a tiny bit of paint on your brush. It’s like when you’re almost out of butter but still need to spread it on toast!
Here’s what you need:
- Stiff brushes (old ones are perfect!)
- Special fan-shaped brushes for soft effects
- Clean, dry surface to paint on
- Paper towels
- Light colored paints (especially white)
Want to know the biggest secret? Your brush should be almost dry. Load it with paint, then wipe most of it off on a paper towel. One of my students made beautiful fog in her painting just by getting this step right!
Here’s a cool way to use this trick: Making things look far away in landscapes. Just like real fog makes distant things look lighter and softer, you can create the same effect in your painting. It’s like magic – suddenly your painting looks miles deep!
Remember – you need to be patient with this technique. Build up your effects slowly, like adding a pinch of salt at a time when you’re cooking. You can always add more, but it’s hard to take it away once it’s there!

Putting It All Together: Practice Projects
Let me tell you about mixing different painting techniques – it’s like learning to cook with different methods! After teaching for years, I’ve found some fun ways to help students combine these skills.
I have to laugh about one of my students who tried to use every technique she knew in one painting. Poor thing – it was like trying to use a microwave, oven, and grill all at once! Now I teach what I call the “two at a time” rule. Master two techniques together before adding a third. It’s like learning to pat your head and rub your stomach – get good at that before trying to hop on one foot too!
Here’s how I help students practice:
- Start with simple light and dark studies
- Then try a simple still life using smooth blending and thick paint
- Next, paint a small landscape using glazing and scumbling
- Maybe try a portrait using blending and dry brush
- Finally, paint flowers using all the techniques
Want to know a helpful trick? Keep a painting diary! Write down what worked and what didn’t. One clever student even taped samples of each technique in her notebook – what a great idea!
Here’s my favorite first exercise: Paint a simple ball. Make it smooth and round with blending, add some thick paint for bright spots, let it dry completely, then add some see-through color for depth. It’s like building a sandwich one layer at a time!
Here’s something really important I’ve learned from teaching so many students: You don’t need to use every painting trick in every painting! It’s like cooking – you wouldn’t use every spice in your kitchen for one meal.
Think about what you’re painting. If you’re painting a misty morning, you’ll want soft, gentle strokes to make things look foggy and dreamy.
But if you’re painting a bright sunset, you might want thick, bold strokes to show off those bright colors – just like bright frosting on a cake!
Don’t get discouraged if your first paintings aren’t exactly what you hoped for. Every time something doesn’t work quite right, you learn something new!
I remember when I first started painting. My early work was very shaky, like learning to ride a bike. At first, it felt hard, but with practice, I got better and could paint more easily. It’s all about improving with time!
Let’s Wrap It Up
Here’s something exciting: learning these five basic painting techniques is like building a strong foundation for your art! Just like cooking, you start with simple recipes before trying something complex.
Every great artist, from Rembrandt to Van Gogh, had to start with the basics too. They learned simple techniques before creating their amazing works.
So, grab your paints and try blending colors. Don’t worry if it’s not perfect at first; that’s part of learning! Every painting you make, even the ones you don’t love, helps you improve.
Let’s get started on your artistic journey!
By Antonio Limongi MA EdS
Limongi, Owner of Antonio Limongi Fine Art LLC, is a Master Painter, Portrait Artist, and Art Instructor with 20 years of experience. He reports on issues in Fine Art Education, Creating Art, Investing in Art, and Selling Fine Art.
Generated with Pin Generator
