Comparing Drying Times and Techniques: Oil vs Acrylic Paint Guide
Let me share something cool about paint drying times! Acrylic paint dries super fast—sometimes in just ten seconds! On the other hand, oil paint can take a very long time to dry, even years. It’s like comparing a quick hummingbird to a slow turtle!
As someone who has taught painting for years, I love seeing students discover these differences. At first, some get frustrated because oil paint takes longer. But then they realize they can do amazing things while it’s still wet!
Think of it like this: acrylic paint is like making instant coffee—fast and easy, but you have to hurry. Oil paint is more like brewing a fancy pot of coffee—it takes longer, but you can keep changing it as you go. With acrylics, you only have a few minutes to blend colors, but with oils, you can come back hours later and mix them on your canvas!
Knowing these drying times can change how you paint. It’s not just about waiting—it’s about your creative options while the paint is still wet. Once you understand these differences, you’ll find new ways to express your creativity!
Understanding the Science Behind Drying Times
Let me share something remarkable about how paint dries! It’s not as dull as it sounds. After teaching art for years, I’ve learned some interesting stuff about paint.
Once, a student tried to dry her oil paints with a fan, thinking it would work like it does for acrylics. But they dry differently! Acrylics dry fast because the water evaporates, like a puddle on a sunny day. Oils need oxygen to dry, like how a sliced apple turns brown in the air. So, a fan doesn’t really help with oil paints!
In class, we tried a fun experiment with paint. We painted three stripes: one by a fan, one out in the open, and one in a damp corner. The paint by the fan dried in just 3 minutes, while the one in the damp corner took 45 minutes! It shows how clothes dry faster on a windy day than in a humid basement.
Here’s another cool thing – different colors dry at different speeds! One of my students couldn’t determine why parts of her oil painting were drying faster than others. Some colors, like earth browns, dry faster than others, like whites and blacks. It’s like how different types of bread take different times to bake!
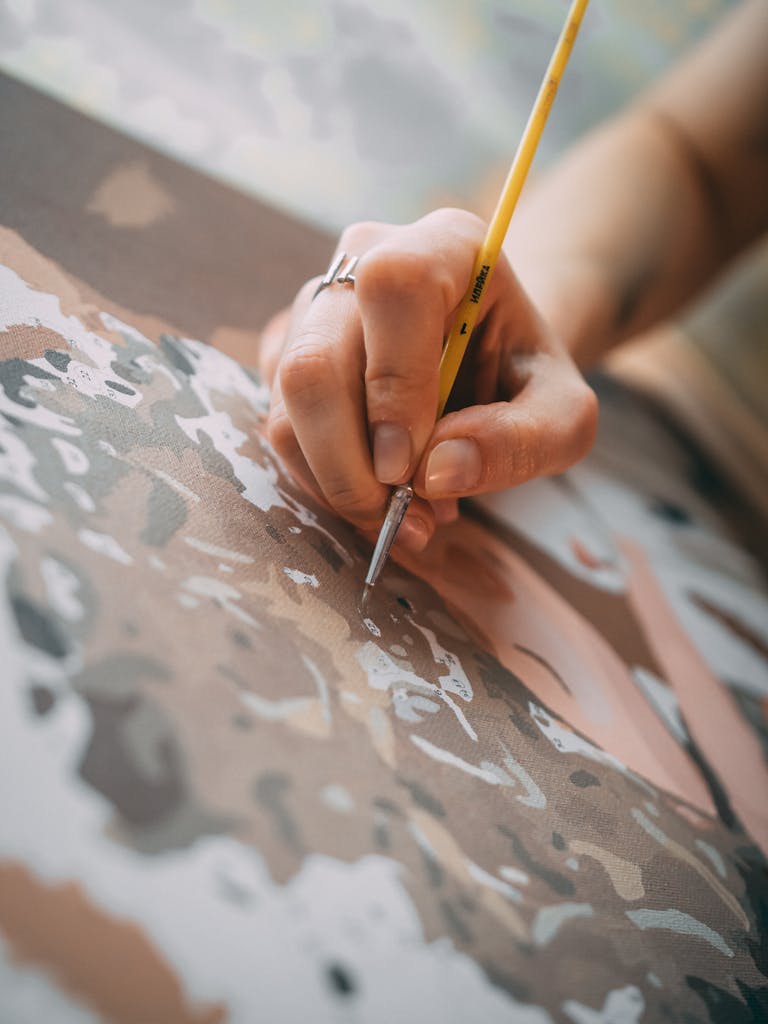
The weather plays a significant role in painting. I like keeping my studio at around 70 degrees because it’s just right—not too hot or cold. One winter, my heater broke, and my oil paints took forever to dry! I always tell my students to keep a thermometer in their studio. Just like baking, the temperature is super important.
Surprisingly, thick paint takes much longer to dry than thin paint. In one test, a thin layer dried in only a day, but a thick blob took nearly a week! It’s like drying a t-shirt compared to a heavy sweater.
Working with Acrylic’s Quick-Drying Nature
Using fast-drying acrylic paints can feel a bit like trying to cook dinner when your stove isn’t working right! After teaching art for many years, I’ve discovered some useful tips for managing paint that dries quickly. It can be challenging, but with a little practice and the right tricks, you can make it work. Let’s explore some ways to handle these paints effectively, so you can create beautiful art without feeling rushed.
Once, while teaching a class, I was trying to blend colors for a sky, and the paint dried way too fast! It was a little embarrassing, but I learned a lot from that experience.
My best tip is to use a special palette that keeps the paint wet. It works like a lunchbox with a lid and special paper inside. Before, I wasted so much paint, but now it stays fresh for days!
Another helpful trick is to mix in a retarder – a liquid that slows down drying. Just a spoonful for every ten spoonfuls of paint does the trick. This gives me about 45 minutes to work instead of just 15.
The temperature also makes a difference. I keep my studio at 70 degrees. Once, my air conditioner broke in the summer, and my paint was drying on the brush before I even started painting!
I tell my students to work in small sections, like the size of a dinner plate. Mix enough paint for that area, finish it, and then move on. A spray bottle can help, too; mist the air above your painting to keep it from drying too fast!
Mastering Oil Paint’s Extended Working Time
Let me tell you about working with oil paints – it’s like learning to cook with a slow cooker instead of a microwave! After teaching art for years, I’ve discovered some tricks that make working with slow-drying oils much easier and more fun.
I remember one day in class when a student got frustrated because her colors looked dull while mine were bright and lively. The problem was simple, but it makes a huge difference! Think about making a sandwich – if you spread the peanut butter too thin, you can barely taste it. Put on too much, and it squishes everywhere. Paint works exactly the same way! Too little paint makes your colors look weak and muddy, while too much paint won’t blend at all.
I learned something really important about painting: each layer needs a little more oil than the one before. I once had a painting crack because I didn’t know this! Think of it like building a house—you need a strong base to keep everything stable.
Want to know something cool? Different colors dry at different speeds. Browns dry pretty quickly, but whites take their sweet time. One day in class, my brown paint was already dry while the white paint was still wet as ever! That’s why I usually work on several paintings at once – while one is drying, I can work on another. It’s just like having different batches of cookies baking at different times.
The temperature in your room really matters too. I keep my studio nice and warm, about as warm as a comfortable living room. One winter my heat went out, and wow – those paintings took forever to dry! It was like trying to dry clothes outside on a cold, damp day.
Oil paint takes a long time to dry, but that’s part of what makes it great! Just be patient and plan ahead, kind of like getting ready for a big dinner. You’ll see, the wait will be worth it!
Layering Techniques for Both Mediums
Let me tell you a story about paint layers – it’s something I learned about the hard way when some of my paintings started peeling apart like old wallpaper! Now, it’s one of the most important things I teach my students.
I remember one student who came to class almost in tears. Her beautiful oil painting cracked because she didn’t know about the paint layers. Painting is like making a sandwich – you must put the ingredients in order, or everything falls apart. I call this my “sandwich rule” when I’m teaching.
Acrylic and oil paints work very differently. Acrylics dry fast, in about 15-30 minutes, so you can layer them immediately. It’s like making instant coffee. Conversely, oils take much longer to dry—sometimes a day or even a week. Think of it like cooking a turkey: it takes time!
Let me share a simple but super helpful tip I learned from years of teaching art. You know how you might write down a recipe to remember exactly how you made something tasty? Well, I tell my students to do the same thing with their paintings!
Grab a simple notebook and jot down what you do while painting. Note the colors you use and when you paint each part. It’s like keeping track of a recipe.
This is really helpful! I once had a student who painted in her cold garage during winter. Her paint wouldn’t dry, just like trying to bake bread in a cold oven!
I always tell my students that the painting room should feel warm and inviting. Think about how cozy your kitchen gets when you’re baking something delicious. That warmth is important! When the space is comfortable, the paint dries just right. This helps your artwork turn out much better in the end. So, keep that room nice and warm to make your creations shine!
Here’s my favorite tip: Work on several paintings at once. While one painting’s layers are drying, you can work on another. It’s like having several batches of cookies going – while one batch is in the oven, you’re mixing up the next!
Remember, good painting is like building something special – it takes time and patience. But if you understand how your paint works and give each layer the time it needs to dry, you’ll create something that lasts for years!
Adapting Your Painting Style
Let me tell you how painting with acrylics and oils is different – it’s like dancing with two very different partners! One moves super fast (that’s acrylics), and the other takes things nice and slow (that’s oils). After teaching both for years, I learned some helpful tricks.
I remember watching a student make a common mistake. She left her oil-covered brushes sitting out during lunch, just like she did with her acrylic brushes. Oh boy – what a mess! See, acrylic paint washes off easily with water, but only if you clean it quickly – within 10 minutes. Oil paint brushes are more forgiving over time, but they need special cleaners to get them really clean.
Here’s a cool trick I teach for organizing paint on your palette: With acrylics, set up your colors like numbers on a clock – it helps you work fast before the paint dries. But with oils, you can spread out more since they stay wet all day. It’s the difference between making a quick sandwich and cooking a slow-roasted meal!
The weather matters, too! In my teaching studio, I keep the temperature at about 70 degrees – not too hot or cold. If it’s too hot, acrylic paint dries before you can blend it. Oil paint gets thick and sluggish, like cold honey if it’s too cold.
Want to know my best tip? Keep a painting diary! Write down what works and what doesn’t with each type of paint. It’s like keeping a cookbook where you note what makes recipes better.
Remember – both types of paint are great; they work differently. Acrylics are perfect when you want to build up layers quickly. Oils are better when you want to take your time and blend colors together smoothly. Once you understand these differences, you can make beautiful art with either one!

Advanced Time Management Techniques
Let me tell you how I learned to manage my painting time better – trust me, I made plenty of mistakes along the way! It all started after too many stressful painting sessions where my paint dried up before I could use it.
I remember a day when one of my students was really struggling because her acrylic paint dried too quickly. We took time to find a better way to paint, and it felt like solving a fun puzzle! It helped her out, so now I always teach this to all my students from the beginning.
Here’s my secret: I set up my studio in different kitchen zones. I have one area for painting (like where you cook), another area for drying paintings (like a cooling rack for cookies), and a clean space for planning (like your kitchen table). This keeps everything organized and running smoothly.
Want to know a cool trick? I always work on three paintings at once. While one is drying, I paint another and plan the third. It’s like having different batches of cookies – while one batch is in the oven, you’re mixing the next batch and planning what to bake afterward!
I have an excellent tip for keeping your paintings organized! Instead of a calendar, I use a big magnetic board with small tags for each painting I’m working on. It’s a simple idea that really helps!
Think of it like taking care of plants. Just like you need to remember when you last watered each plant and when to water it next, these tags help me remember when I painted each layer and when it’ll be dry enough to add the next one. No more guessing games!
To make painting more enjoyable, try getting everything ready the night before. Some people pack lunch or pick out their clothes, set out their paints, and cover them to keep them fresh. It’s similar to gathering all your baking ingredients before making cookies. The following day, you can jump right in and start creating!
These simple tricks save so much time and help prevent those frustrating moments when you’re ready to paint but have to spend ages getting everything ready first.
Remember – good planning makes painting more fun and less stressful. Once you have a system that works for you, you can focus on the fun part – creating art!
So, What Does It All Mean?
Tell you something exciting about paint drying times – it’s not just about watching paint dry! It’s about discovering cool new ways to make art. After teaching for years, I’ve seen how understanding drying times can change how people paint.
Think of it like cooking. Sometimes, you want a quick meal (that’s like using acrylics – they dry super fast!). Other times, you want to slow-cook something special (that’s more like oils, which stay wet for hours). Both ways can make something amazing – they’re just different!
You can build up layers quickly with acrylics, like stacking blocks to make a tower. Each layer dries so fast you can keep adding more and more. But oils? They’re perfect for blending colors, like stirring food in a pot until it’s just right.
The fun part is trying different things with each type of paint. Just remember to work with the paint, not against it. Don’t try to make fast-drying acrylics stay wet for hours; don’t expect oils to dry as quickly as acrylics.
Ready to give it a try? Grab your brush and start playing with these ideas. You might be amazed at what you can create once you understand how your paint works!
By Antonio Limongi MA EdS
Limongi, Owner of Antonio Limongi Fine Art LLC, is a Master Painter, Portrait Artist, and Art Instructor with 20 years of experience. He reports on issues in Fine Art Education, Creating Art, Investing in Art, and Selling Fine Art.