Best Oil Paint Brands 2025: Professional vs Student Grade Compared
Professional vs Student Grade Compared
Discover the key differences between professional and student-grade oil paints in 2024. Compare top brands, prices, and quality to find the perfect oil paints for your artistic journey.
Do you know how some paints cost way more than others? Well, there’s actually a good reason for that. The fancy ones (professional-grade) are packed with much more color powder – up to 75% more than the basic ones that students often use.
I remember when I first started painting. Standing in the art store, I had no idea which paints to buy! Should I get the cheap ones? The expensive ones? It was so confusing.
Here’s the thing – both types of paint can work for you, depending on what you want to do. Think of it like cooking. Sometimes, you need fancy chocolate for your special cake, but regular chocolate works fine for everyday cookies.
Whether you’re just starting to play with oil paints or you’ve been painting for years, picking the right paint makes a big difference in how your art turns out. Let me walk you through what makes these paints different so you can choose the best ones for your art journey.
The good news? You don’t have to figure this out alone. I’ve learned much about both kinds of paint and am excited to share what I know with you!
Understanding Oil Paint Grades and Their Differences
Have you ever stood in an art store wondering why some paint costs so much? I’ve been there too! Let me tell you what I learned about oil paints after years of teaching art and making my own mistakes.
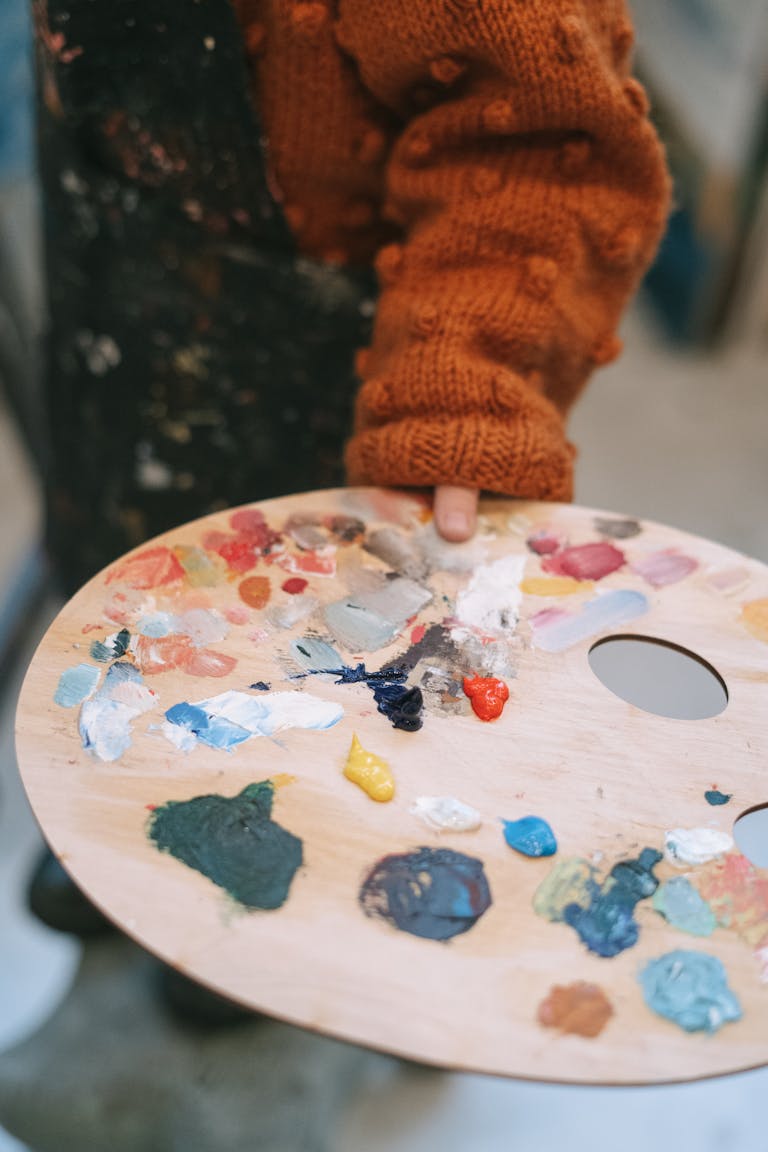
The most significant difference between paints is how much color powder (pigment) they contain. The fancy, professional-grade paints are packed with 40-75% pigment. The cheaper student paints only have 10-30%. When you squeeze them out, you can really see the difference! Professional paints look rich and creamy, like soft butter.
How the paint is made matters, too. Imagine crushing color into tiny bits. Professional paints get crushed up to seven times to make them super smooth. Students’ paints only get crushed once or twice, so they can feel rough when you paint with them.
The liquid that holds the color together (called the binder) is different too. Professional paints use high-quality oils that stay clear over time. Cheaper paints use essential oils that can turn yellowish. I discovered this when some old paintings started looking different after a few years!
Now let’s talk about price. Professional paints cost about three to five times more than student paints. A tube might cost $20-40, while student paint costs $6-12. But here’s something cool: since professional paints have more color, you don’t need to use as much. One expensive tube can last as long as three cheap ones!
Professional paints come in more colors, too – over 100 different shades! Some even use unique materials like crushed blue stones. Student paints usually only come in about 50 colors and use artificial materials instead.
Here’s a helpful tip: start with just a few professional paints for your primary colors, like white, yellow, and blue. Use student paints for the rest. This way, you get the best of both without spending too much money.
Remember, the paint you choose matters, but you don’t need to buy all the expensive stuff immediately. Start small and add better paints as you learn. Your future paintings will thank you!
Top Professional Oil Paint Brands Reviewed
Let me tell you about some charming oil paints I’ve tried! I’ve used these paints for years in my art and taught my students about them, too.
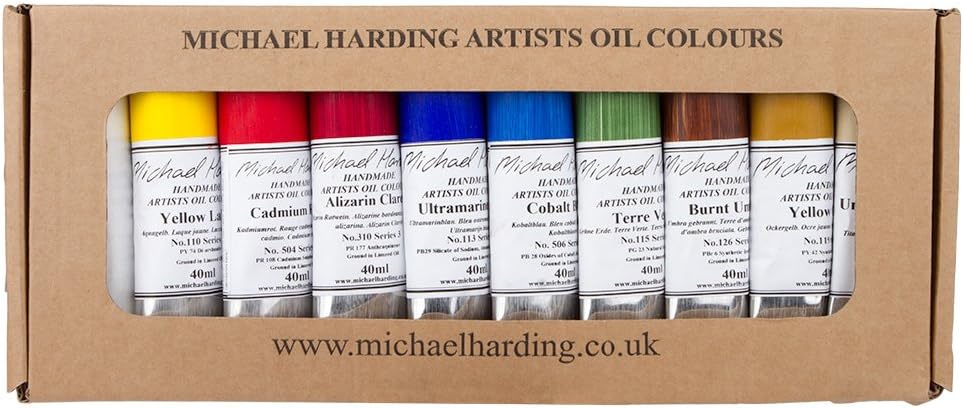
One day, I tried a super special blue paint from Michael Harding. It was made from genuine blue stones and was very expensive, but wow – it was the most beautiful blue I’d ever seen! Michael Harding‘s paintings are rich in color. Their white paint feels like smooth butter when you use it. Watch out – these paints can get runny when it’s hot outside!
Winsor & Newton paints were my first “grown-up” paints, and I still love them. They make 119 different colors and work the same way every time you use them. I like how they dry – not too fast or slow. Their brown paint (called Burnt Sienna) is perfect for making the first layer of a painting.
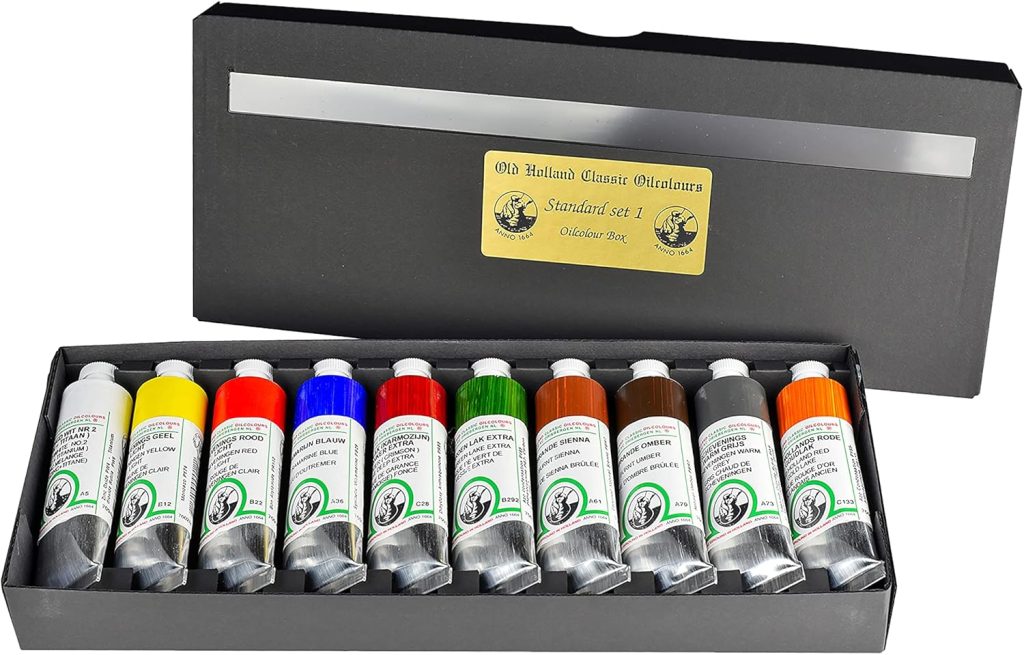
Old Holland paints have been made the same way since 1664 – over 300 years! They pack so much color into each tube. But be careful – if you mix in too much oil, your painting might take forever to dry.
Schmincke Mussini paints are unique because they use tree sap in their paint. This makes paintings look extra shiny. These paints are great for making see-through layers of color, but they can be tricky to use at first.
Then there’s Blockx – they’re made in Belgium and might be the most expensive, but they’re fantastic! Their brown earth colors feel like soft butter and mix together perfectly. They grind their paints three times to make them super smooth.
Here’s a helpful tip: I use different brands for different colors. I get my blue from Michael Harding, browns from Winsor & Newton, and some unique colors from Old Holland. It might seem picky, but each brand makes specific colors better than others.
These paints act differently when it’s hot or cold, too. In warm rooms, Blockx and Old Holland stay the same, while Michael Harding gets soft. Schmincke Mussini gets more complicated to use when it’s cold.
These fancy paints cost about $30-50 for a tube, and some unique colors can cost over $100! But they’re packed with so much color that you don’t need to use as much. Plus, the colors stay bright even when you mix them together.
Remember – even though these paints are excellent, they won’t make you a better artist by magic. But when you’re ready for them, they’ll make painting more fun and help you make the art you dream about!
Best Student Grade Oil Paint Brands
Let me tell you about cheaper oil paints – I’ve used them myself and taught many new artists how to use them, too!
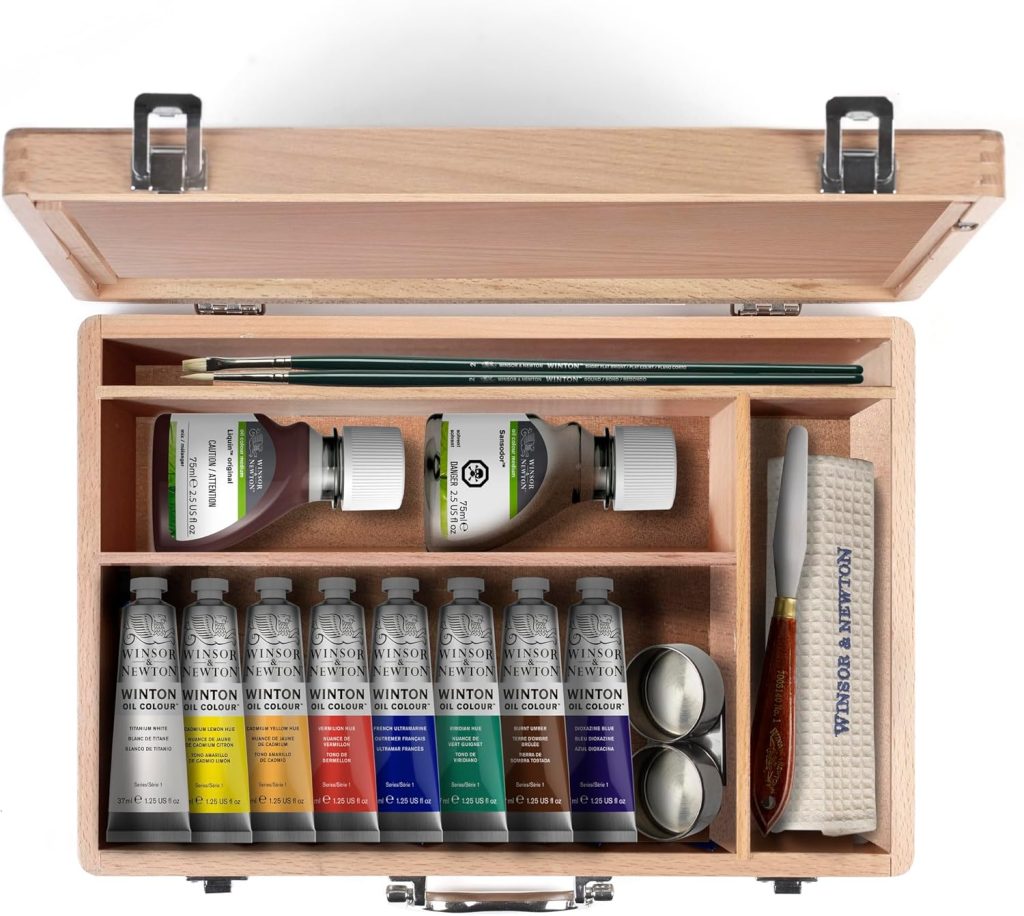
When I first tried Winsor & Newton Winton paints, I was pleased with them. They feel smooth and creamy, just like the expensive paints, but with less color. Their white paint works excellently and doesn’t look chalky. You can choose from 55 colors, which is suitable for beginner paints. It’s funny – even my students who now use fancy paints still keep some Winton tubes around!
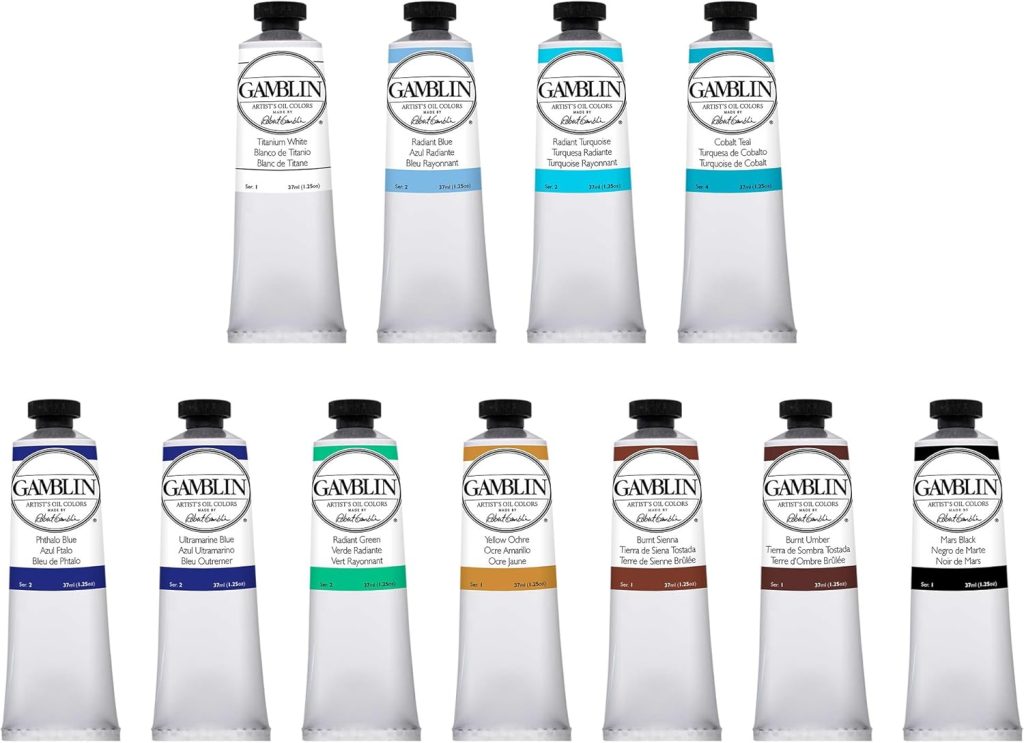
Then there are Gamblin’s 1980 oils made in Portland, Oregon. These paints feel smooth and make it easy to mix colors. They use the same color powders as their expensive paints, just less of them. The only downside? The tubes are smaller than usual.
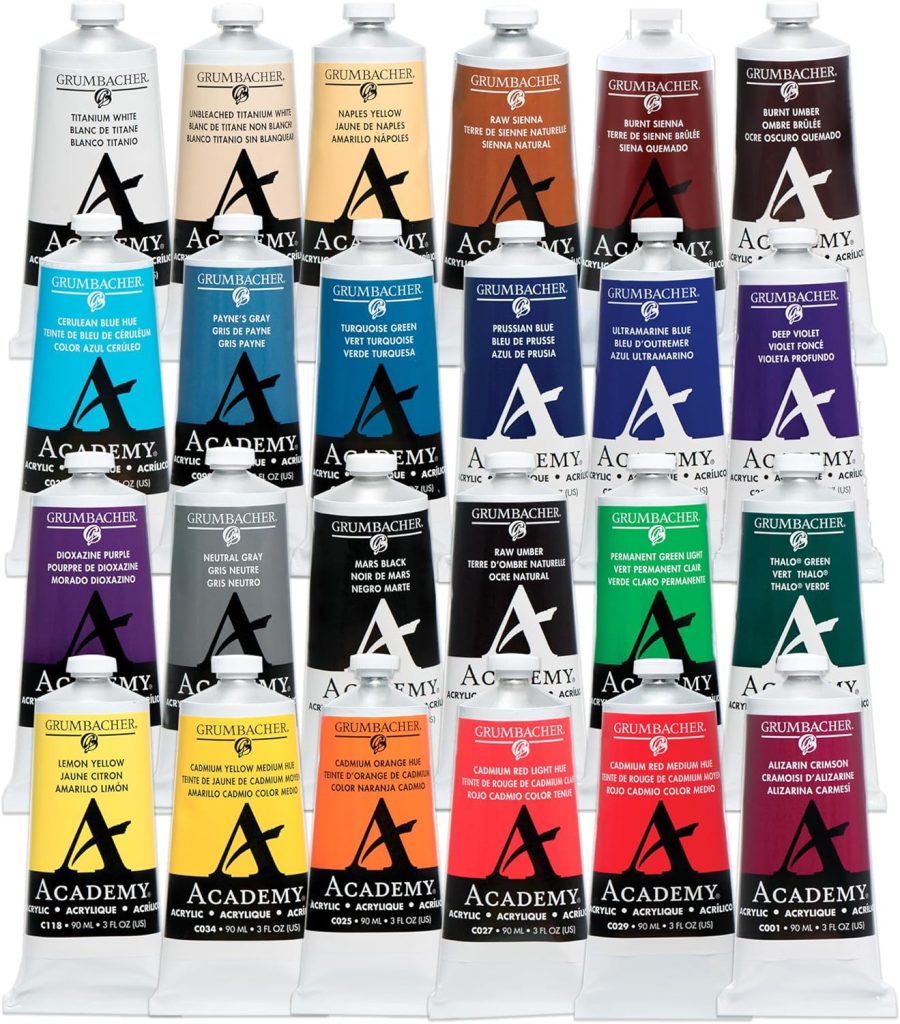
Something funny happened in my class once. I showed my students the difference between expensive and cheap paints using Grumbacher Academy oils. I squeezed too much yellow paint out because I was used to thicker paints! Academy paints are thinner, but that can be good – they mix together quickly when you’re learning.
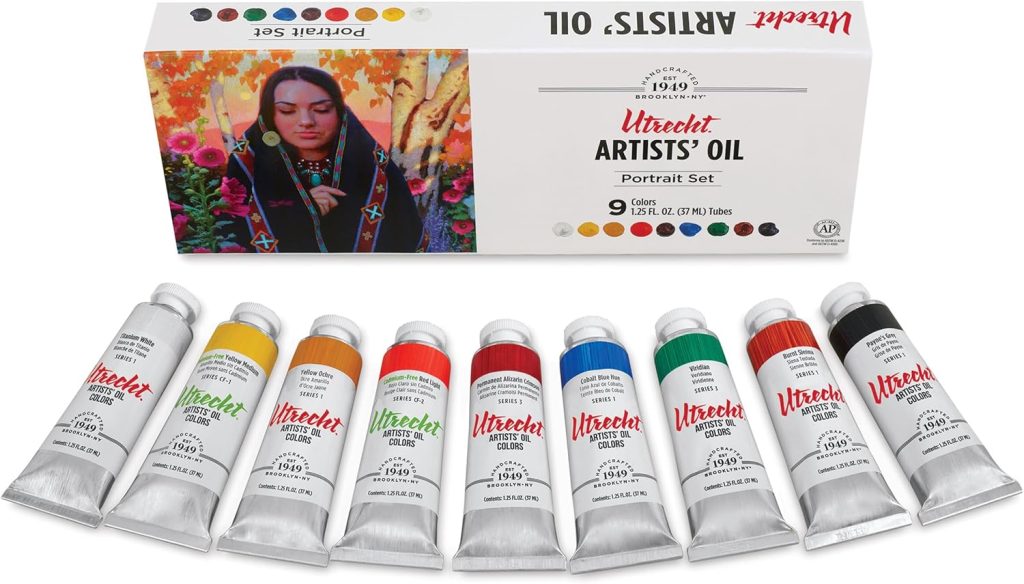
If you’re trying to save money, try Utrecht Studio Paints. They’re cheap and come in big tubes that are perfect for learning. Their brown colors work well, but their white paint sometimes feels rough. Still, they’re a great deal!
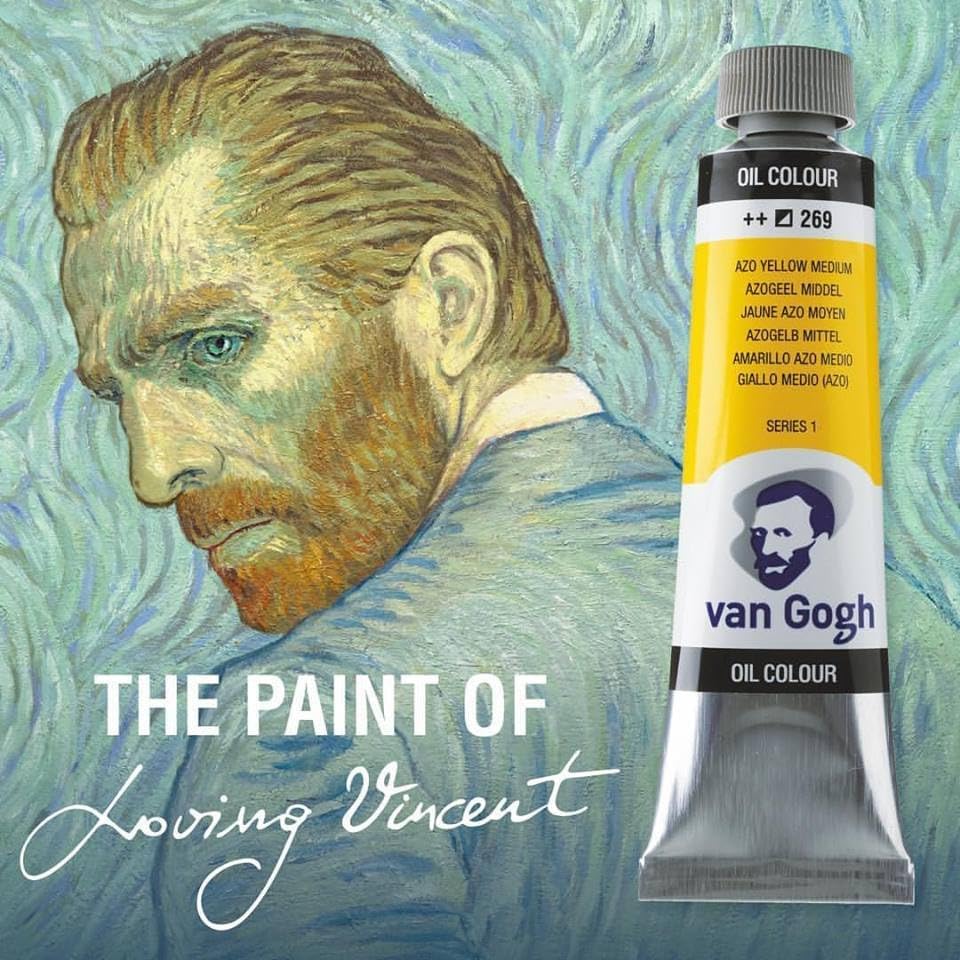
Van Gogh oils are some of my favorite teaching materials. They feel nice and creamy and don’t seem cheap at all. Their colors are bright and pretty. I especially love their deep green – I always use it when I teach people to paint landscapes!
Here’s something important: cheap paints already have more oil, so you don’t need to add as much extra oil when you use them. I learned this hard – one of my first paintings took forever to dry because I added too much oil!
These paints usually cost between $8-15 for each tube. The unique colors (like bright yellows and blues) cost more. You’ll need about 10-12 tubes, costing around $100-150. That’s much cheaper than the fancy paints, which would cost $300-400!
Cheaper paints can help you learn better! With fewer colors, you have to figure out how to mix them. It’s like learning to drive a stick shift—it’s tough at first but makes you better in the long run.
Just remember – these paints have their limits. They won’t make super bright, glowing colors like the expensive paints. But for learning how to paint? They’re perfect!

Key Factors in Choosing Oil Paints
Let me share what I’ve learned about picking oil paints after many years of trying different ones – and yes, making some costly mistakes along the way!
Did you know some paints can fade over time? I sure didn’t when I started! I used to ignore those little stars or numbers on paint tubes. Big mistake! Now I know that an “I” rating means the paint will last a very long time, and “II” is pretty good too. But anything less than that? Your painting might start looking dull after a while. I learned this the hard way when some old red paintings started looking sad and faded.
I discovered something incredible: suitable paints have way more color powder. I did a test once with white paint. The expensive one covered my canvas in one coat, but the cheap one needed three coats! That’s because the good paint was 75% color powder, while the cheap was only 15%. Yes, the good paint cost more, but I didn’t need to use as much.
Different paints dry at different speeds – this was a big surprise! Brown paints dry in a day or two. But white paint? That can take almost a week! What’s weird is that the same color from different companies can dry at various speeds.
The paint thickness is interesting, too. Some paints feel like soft butter, others feel hard like toothpaste. And when it gets hot? Watch out! I once taught a summer class where my paints got so runny they dripped everywhere!
I’m a paint nerd now – I even made a spreadsheet to compare prices! Sometimes, the expensive paint is actually cheaper in the long run. Why? Because you need less of it to get the job done. If you need three tubes of cheap paint to do what one tube of good paint can do, you’re not really saving money.
Here’s a cool trick I learned while teaching: suitable paints with lots of color powder mix together better. When you mix cheap paints, the colors can get muddy really fast. This shows up when trying to make the perfect green for painting trees.
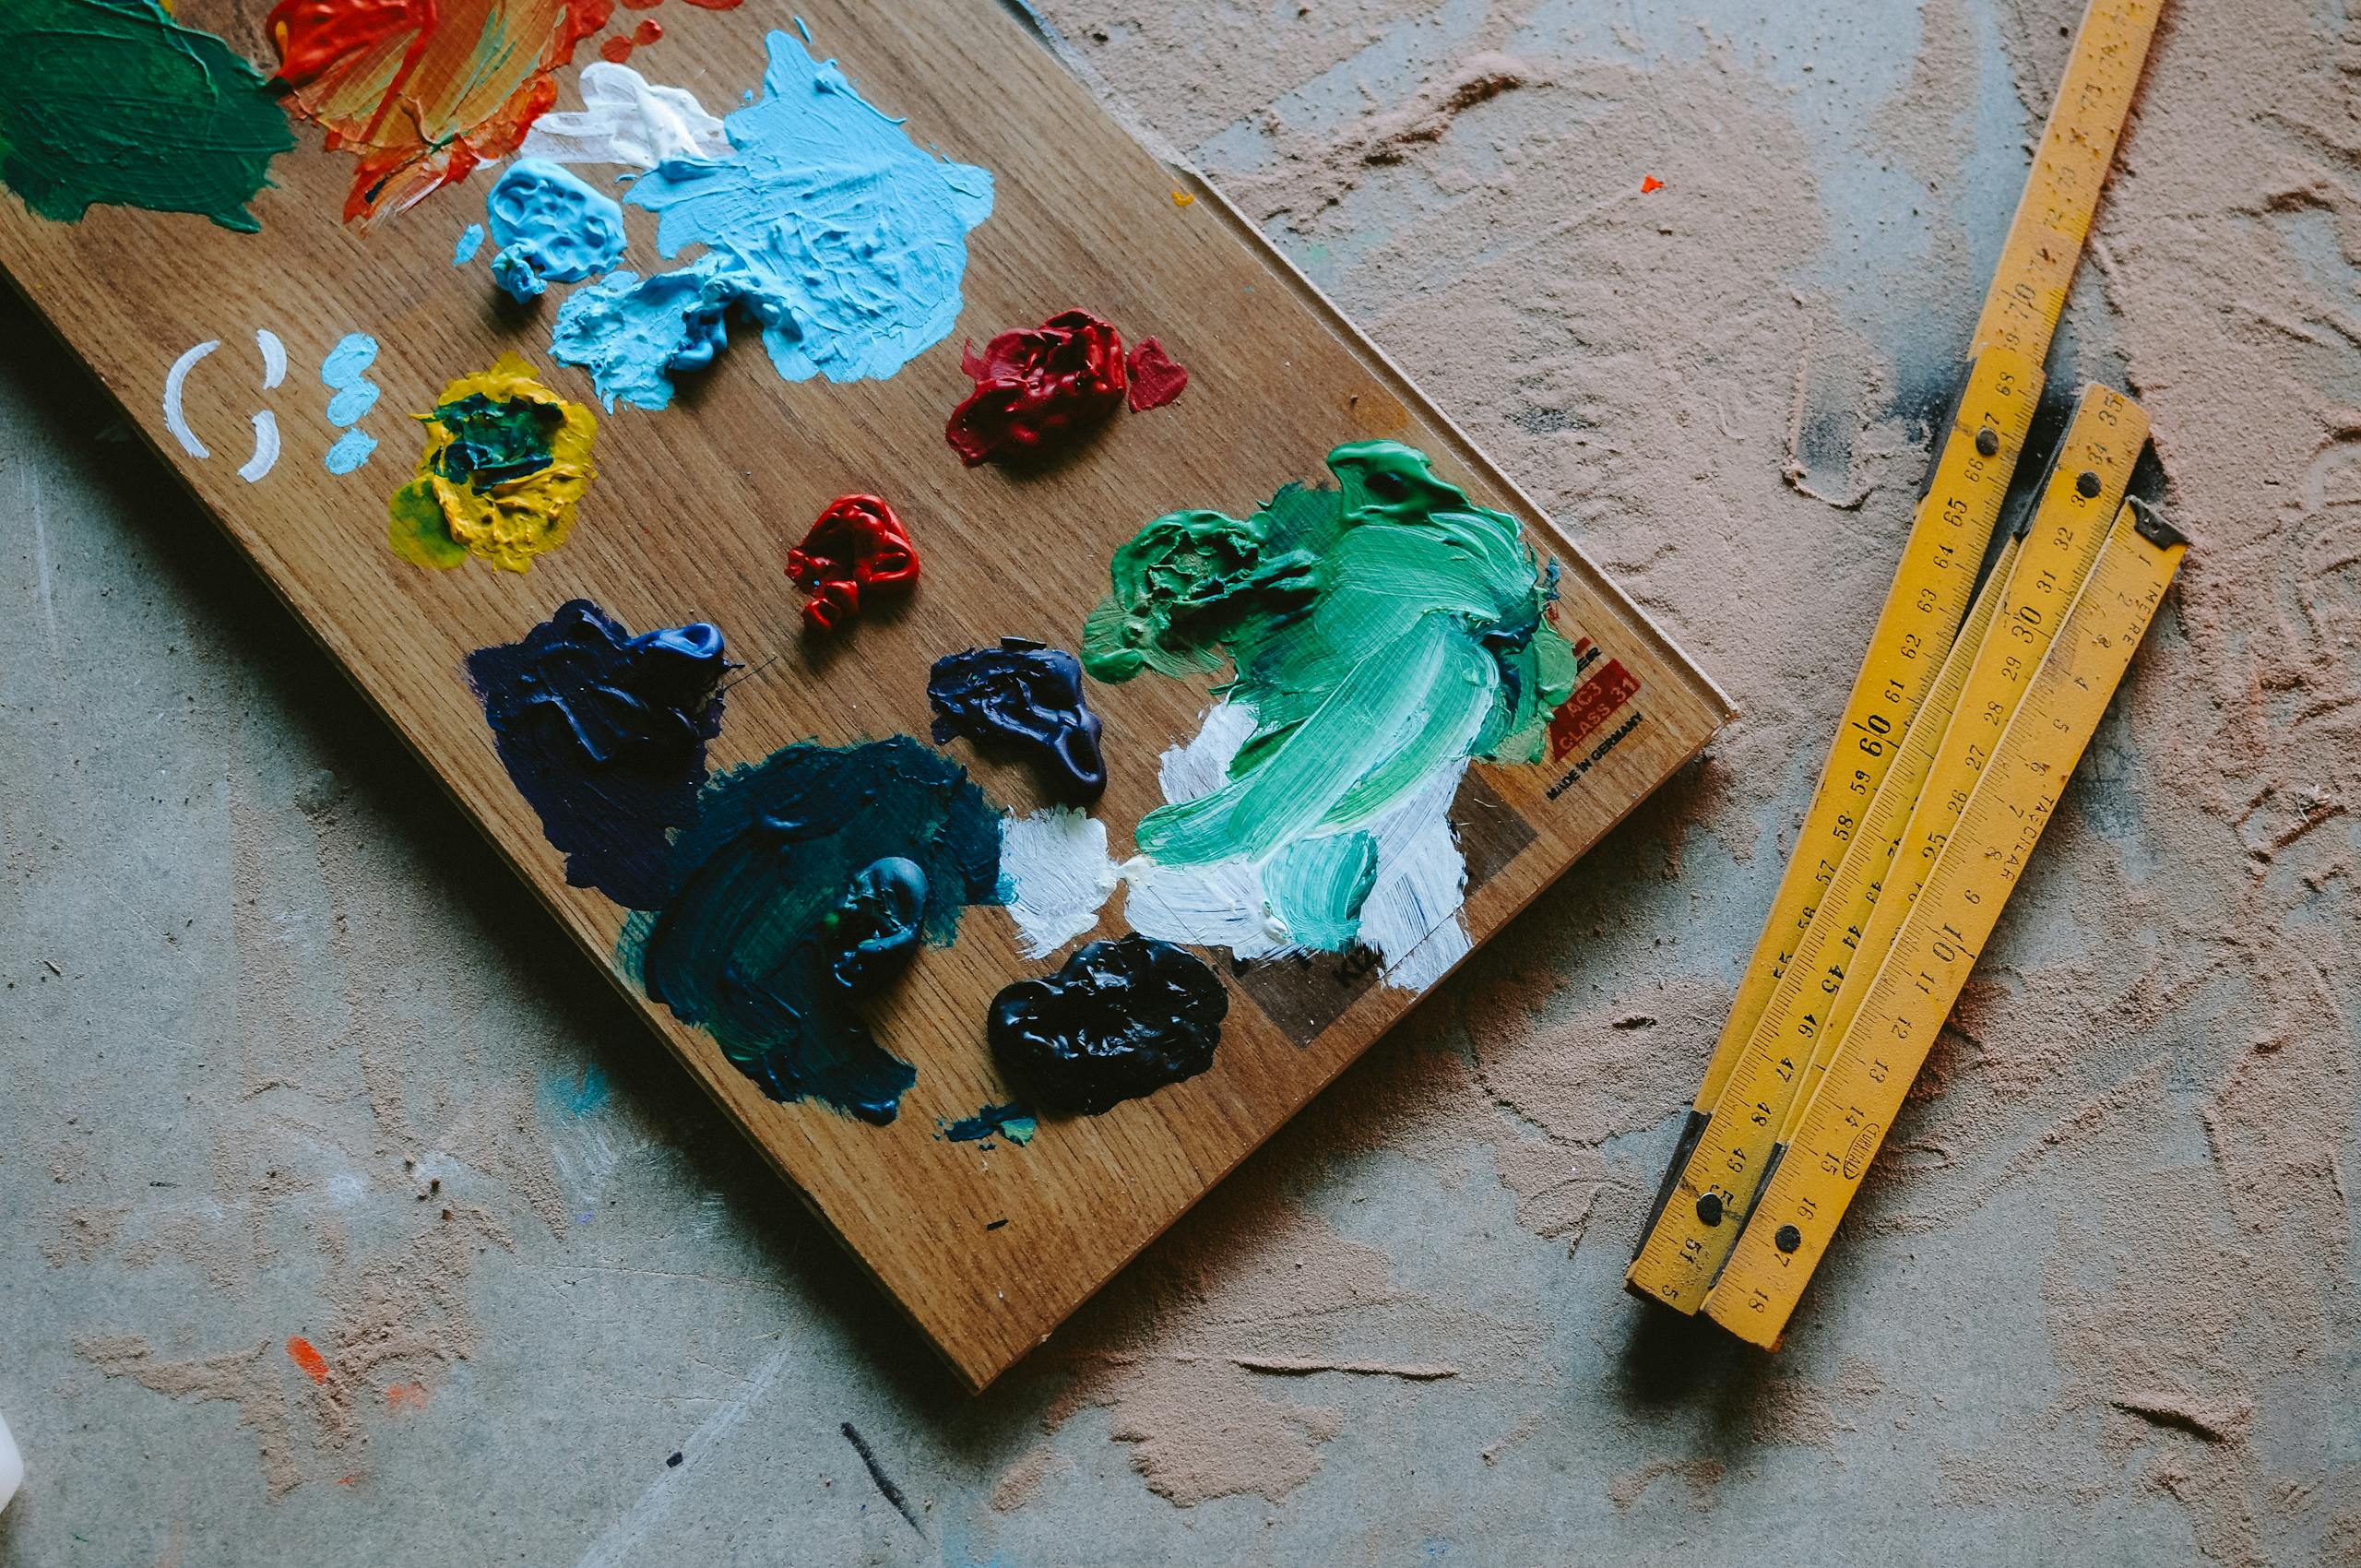
Different brands of paint leave distinct marks on your canvas, too. Some paints stand up in peaks like stiff whipped cream – great for making thick, textured paintings. Others smooth out like honey. I keep different brands around for various types of paintings.
Want a good tip? When you try a new paint, buy a small tube first. Trust me – my drawer full of paint I never use taught me this lesson!
Remember – understanding these things helps you choose which paints to buy better. Your future paintings will thank you!
Essential Colors for Your Oil Paint Collection
Let me tell you about building your oil paint collection! I’ve taught lots of beginners and learned so much about which paints you really need.
You know what? You only need about 6-8 colors to make amazing paintings! I once watched a student create a beautiful landscape with just six colors: white, yellow-brown, light red, dark blue, brown, and black. It was eye-opening – you don’t need many paint tubes to make great art!
Let’s talk about the most essential colors you need:
- White paint (called Titanium White) is a must – you’ll use lots of it!
- For yellows, get a bright one (Cadmium Yellow Medium) and an earthy one (Yellow Ochre)
- For reds, you want a bright one (Cadmium Red Light) and a deep one (Permanent Alizarin)
- For blues, get a warm one (Ultramarine) and a cool one (Phthalo Blue)
- Don’t forget brown (Burnt Sienna) – it’s great for mixing the first layers
When you’re ready to get more colors, take it slow! Students with 30 paint tubes get confused about mixing colors, while others make beautiful art with just 10 tubes. Sometimes, less is more!
Here’s something cool I learned: simple paints with just one color powder mix better than paints with lots of colors mixed in. For example, try mixing your own using blue and yellow instead of buying green paint. It looks brighter, and you have more control!
Some paints are see-through, and some are solid. The see-through ones (like Phthalo Blue) make thin, glowing layers. The solid ones (like white) are better for thick, bold strokes. It’s good to have both kinds!
Here’s a helpful tip: arrange your paints from warm to cool colors. My students who do this spend more time painting and less time looking for colors! I set mine up like this: white, yellows, reds, blues, browns, then black.
Suitable paints can be expensive! Some colors (like bright reds and yellows) cost three times more than browns. My advice? Buy the good stuff for colors you use and cheaper paints for those you don’t.
Every primary color should have a warm and cool version. Like blue – Ultramarine feels warm, while Phthalo Blue feels cool. This helps you mix colors that look just right!
Different paints have different strengths, too. A tiny bit of black can change a whole mix, but you need more yellow-brown to see a difference. Knowing this helps you not waste paint!
Remember – start with a few colors and learn how to use them. Then add new ones as you need them. It’s better than ending up with lots of paint you never use!
Storage and Longevity Comparison
Let me tell you how to keep your oil paints fresh and working well! I’ve made some expensive mistakes, but they taught me a lot.
I tried to open my expensive blue paint tube one day, but it was hard as a rock! I hadn’t cleaned the cap well, and my $40 paint was ruined. Ouch! I learned that good paints (professional-grade) usually last longer than cheaper ones. The good ones can stay fresh for 5-7 years, while cheaper ones might start to separate after 2-3 years.
Heat can really mess up paint! I once left some tubes in my car during summer (bad idea!). The paint got so hot it separated and never mixed right again. Paint likes to be kept at normal room temperature – not too hot or cold.
The tubes themselves are fascinating, too. Good paint comes in better tubes that don’t break easily. Some brands use special aluminum tubes that last longer. I learned to squeeze from the bottom of the tube after watching a student crack one by rolling it up like toothpaste!
Want to know something surprising? Paint doesn’t like damp places! I used to keep mine in the basement until I saw rust on the tubes. Now, I keep them in a dry room. Those little packets with new shoes and electronics (they say “DO NOT EAT”) are great for keeping moisture away from your paints.
Here’s a money-saving tip: use plastic shoe boxes to store your paints! They cost about $5 each and work great. Put a piece of cloth at the bottom to catch any leaks. It’s much cheaper than fancy art storage boxes!
Dried paint in the caps is super annoying. Here’s my trick: put a tiny drop of oil in each cap before closing it. For paints, I use a lot, I wrap the threads with plastic wrap. It might seem fussy, but it saves paint – and money!
Sometimes, paint forms a skin on top when you open it. To stop this, squeeze out the air before closing the cap. If you get skin, don’t mix it back in – it can make lumps in your paint.
Cheap paints tend to separate more quickly because they have more oil. You might see clear oil come out first when you squeeze them. Suitable paints do this less but gently squeeze the tube to mix everything back together if they do.
Here’s another money-saver: store tubes standing up with the caps down. This keeps the paint from separating too much. I use an old cardboard box with holes cut in it – it doesn’t cost anything and works just as well as expensive paint stands!
Most important of all – always clean the threads (the part where the cap screws on) before closing your paint tubes. I keep a rag with a bit of paint thinner just for this. It only takes a few seconds and helps your paint last much longer!
To Wrap it Up
Let me share my thoughts about picking oil paints – I’ve learned a lot from teaching art and making my own paintings!
Starting with oil paints is exciting, but it can be unclear when you see all the different prices. Some tubes cost as much as a nice lunch, while others could pay for a whole dinner!
I’ve found that cheaper paints (we call them student-grade) are great when you’re learning. They let you practice without worrying too much about cost. Think of them like training wheels on a bike – perfect for building confidence!
The fancy paints (professional-grade) have more color packed into each tube. They mix better and often look brighter on your canvas. But wow, they can be expensive!
Want to know a smart way to start? Get a few excellent paints for your primary colors – white, blue, and yellow. Then, use student paints for colors you don’t use as much. It’s like having a few nice cooking knives but using regular ones for less critical jobs.
Just remember – having expensive paint won’t magically make you a better artist. The most important things are still practice and learning good techniques. I’ve seen amazing paintings made with basic paints and not-so-great paintings made with expensive stuff!
It’s like learning to cook – a fancy pan helps, but knowing how to use it matters more. Start with what feels right for your budget, and you can always get fancier paints as you grow in your art journey!
By Antonio Limongi MA EdS
Limongi, Owner of Antonio Limongi Fine Art LLC, is a Master Painter, Portrait Artist, and Art Instructor with 20 years of experience. He reports on issues in Fine Art Education, Creating Art, Investing in Art, and Selling Fine Art. (some of the links are our affiliate partners)