Best Oil Paint Sets Under $100: Top 10 Beginner-Friendly Choices
Starting oil painting doesn’t have to be scary or expensive! If you’re new to this, I recommend grabbing a student grade oil paint set, which gives you good quality at a friendly price. Look for starter kits that have the basic colors (red, yellow, blue, white, and black) – these let you mix almost any color you want, just like having a whole rainbow in your art box!
Brands like Winsor & Newton Winton, Gamblin 1980, or Van Gogh offer great beginner oil painting supplies that won’t break the bank, usually costing between $30-50 for a basic set, and they often go on sale with bonus items like brushes or small canvases thrown in.
Remember, even the most famous artists started with simple supplies, so don’t feel pressure to buy the most expensive professional oil paint sets right away – focus on learning the basics of oil painting with affordable materials that still give you good results.
I’m excited to share my favorite budget friendly art supplies with you – ones that actually work great for learning oil painting fundamentals. Whether you’re looking for a basic oil painting supplies set to try out this amazing hobby, or you’re ready for a student grade oil paint set that will help you grow your skills, I’ve got you covered.
Ready to discover some amazing paint set recommendations that won’t empty your wallet? Let’s dive in and find the perfect oil paint starter kit for you!
Understanding Oil Paint Quality: What to Look for Under $100
Here’s an Easy Guide to Oil Paint Sets!
Think student paint is bad? Think again! Just because it costs less doesn’t mean you can’t make awesome art with it. Sure, fancy paint has more pigment in it, but you can still paint beautiful pictures with student paint sets.
Want to know a secret about paint tubes? They have special codes on them, like PB29. These tell you what makes the color. When buying paint, try to find ones with just one code – they work better when you mix colors together!
Here’s something super important: Some cheap paints can fade away over time, like a t-shirt that gets too old. Nobody wants their pretty painting to disappear! When you buy paint, look for numbers I or II on the tube. These mean your colors will stay bright. Brands like Gamblin 1980 make good, cheap paint that lasts.
Many people think more colors mean better painting. Wrong! Instead of buying a huge set with 48 colors, get a small set with 10-12 good ones. You’ll learn to mix your own colors, just like real artists do!
How much should you spend? Paint that costs $5-8 per tube is just right. Make sure it says “linseed oil” on the tube – this makes the paint work better. Good brands for beginners are Winsor & Newton student paint and Gamblin 1980.
Want to save money? Here’s what to buy:
- A small set of basic colors (not a huge box)
- Paint that costs $5-8 per tube
- Brands like Winsor & Newton student paint or Gamblin 1980
- Paint that says “linseed oil” on it
- Paint with ratings I or II
Now you know how to get good oil painting supplies without spending too much money!
Essential Color Selection for Beginners
When I first started teaching oil painting, I thought having lots of colors was the way to go. But after watching many beginners try to use huge paint sets, I learned something important: fewer colors actually help you learn better! Instead of buying a big, expensive oil paint set with every color, start with a basic starter kit of just a few colors. With student grade oil paints in red, yellow, blue, white, and black, you can mix almost any color you want!
Think of it like cooking – it’s better to learn how to make your own sauce from basic ingredients than to buy 50 different pre-made sauces. By starting with a small, affordable oil paint set, you’ll learn how colors work together and become a better painter. Plus, you’ll save money on art supplies that you don’t really need!
When you’re buying beginner oil painting supplies, these are the colors that will help you make almost any picture you want:
Get a BIG tube of:
- Titanium White (you’ll use this the most!)
Get regular tubes of:
- Ultramarine Blue (like a deep sky blue)
- Phthalocyanine Blue (a bright, strong blue)
- Cadmium Yellow Light or its cheaper copy (a bright, sunny yellow)
- Yellow Ochre (like brown-yellow dirt)
- Cadmium Red Light or its cheaper copy (like a bright fire-truck red)
- Alizarin Crimson (like dark cherry red)
- Burnt Umber (dark brown)
- Ivory Black
Many budget art supplies stores sell student grade oil paints in these colors. You don’t need the expensive artist quality oil paint sets – these basic colors in student paint will work great! With these colors in your oil paint starter kit, you can mix any other color you need.
Want to know what makes this color list so good for beginners? All these colors mix well together and don’t turn muddy. Plus, they’re common in most paint brands, so they’re easy to find! Here’s what I’ve learned makes the perfect starter palette.
You absolutely need these core colors: Titanium White (get a big tube of this – trust me!), Ultramarine Blue, Phthalocyanine Blue, Cadmium Yellow Light (or hue), Yellow Ochre, Cadmium Red Light (or hue), Alizarin Crimson, Burnt Umber, and Ivory Black.
Here’s an easy tip about oil paint colors that will make your paintings look better!
Did you know you only need nine colors to make almost any painting? It’s true! But here’s the really cool part – you need both a “warm” and “cool” version of blue, yellow, and red. Let me explain with a simple story:
One of my students couldn’t get her sunset paintings to look right.
Her skies looked muddy instead of beautiful. The problem? She was using just one kind of blue for everything! Once she learned to use Ultramarine Blue (which feels warm like a cozy blanket) and Phthalo Blue (which feels cool like a cold morning), her paintings got much better.
Think of it like this: A beginner oil painting supplies kit with both warm and cool colors is like having both hot and cold water faucets. When you mix them, you can get any temperature you want! That’s why our basic oil paint set of nine colors works so well – it gives you all the “temperatures” you need to make your paintings look just right.
That’s all there is to it! With these affordable oil paint sets, you can make beautiful art – no muddy colors in sight!
Making Your Own Colors Instead of buying lots of colors, try mixing your own! Here’s a cool trick: mix Ultramarine Blue and Cadmium Yellow Light together, and wow – you get a bright, beautiful green! It’s like magic, and you save money on buying pre-mixed colors.
The White Paint Secret Here’s something really important: buy a BIG tube of white paint! Most beginners get small tubes of everything, but you’ll use white paint more than any other color. Get a big 200ml tube of Titanium White – trust me, you’ll need it! Keep an extra tube too, just in case.
Your Secret Helper Color Yellow Ochre might not look exciting, but it’s super helpful! It’s like a quiet superhero of colors. After white, it’s the most useful color you’ll have. It makes other colors look more natural and helps fix colors that are too bright.
Organizing Your Colors Here’s a neat trick: put your colors in order from cool to warm when you’re painting. It’s like having a map for mixing colors! This helps stop your colors from getting muddy when you mix them.
Getting Good at Color Mixing Once you learn to mix colors well, shopping for paint gets much easier! You won’t feel lost looking at all those paint tubes in the art store. Start with our basic oil paint starter kit and practice mixing before buying any new colors.
Remember: More colors don’t make better paintings! Learn to mix the basic colors first, and your paintings will look great because all your colors will match nicely together.
Top 5 Student-Grade Oil Paint Sets ($20-$50)
Let me tell you about my journey to find the best affordable oil paint sets for beginners!
After years of teaching oil painting, I’ve tested just about every student grade oil paint set out there. Want to know what I’ve discovered? You don’t have to spend a fortune to get good paint! Let me share my top five favorites.
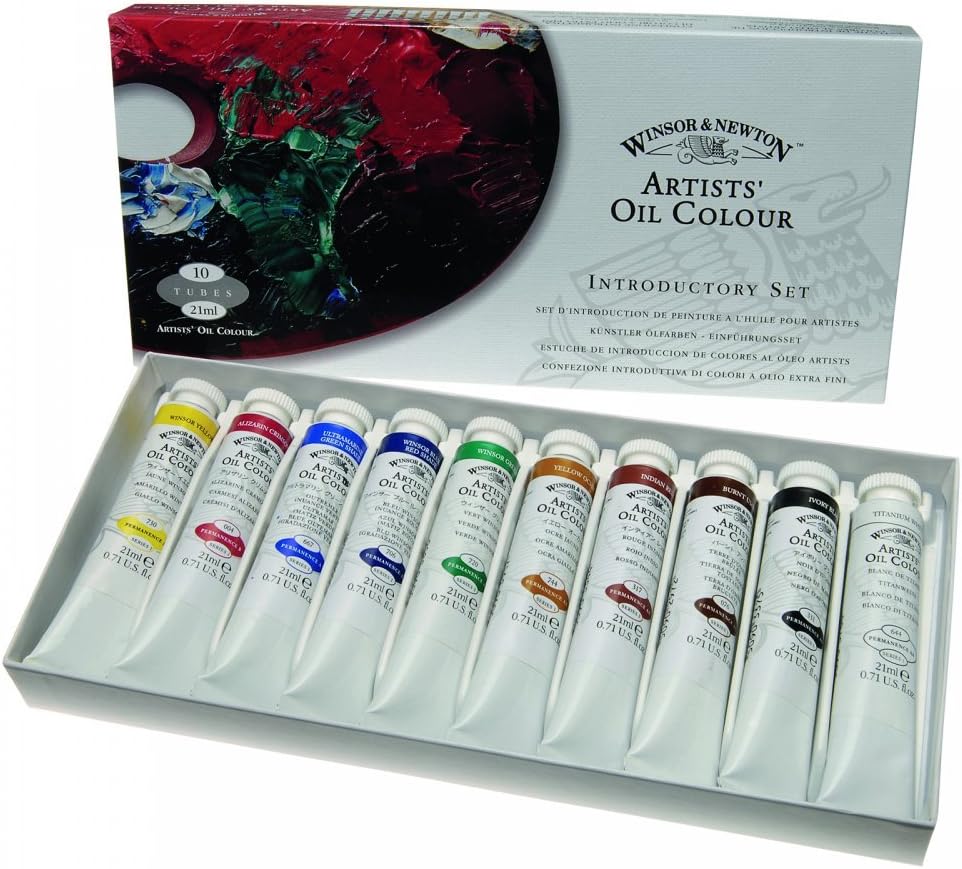
My number one pick is the Winsor & Newton Studio Collection, which costs about $45. At first, I thought it might be too pricey for beginners, but wow – was I wrong! The paint feels smooth and creamy, just like the expensive stuff. The white paint is fantastic (and that’s super important), though I noticed the yellow can be a bit weak.
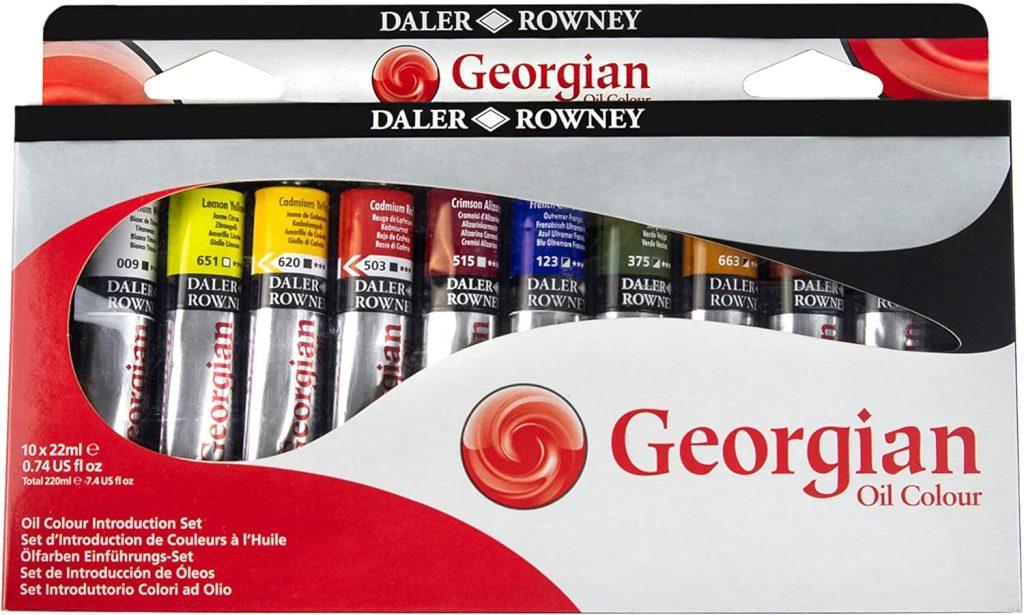
Here’s a funny story – I found my second favorite set, the Daler-Rowney Simply Oil Set ($38), by accident! My art store was out of my usual paint, and this was all they had. But sometimes mistakes turn into happy discoveries! While the tubes are kind of small, the colors stay nice and bright after they dry.
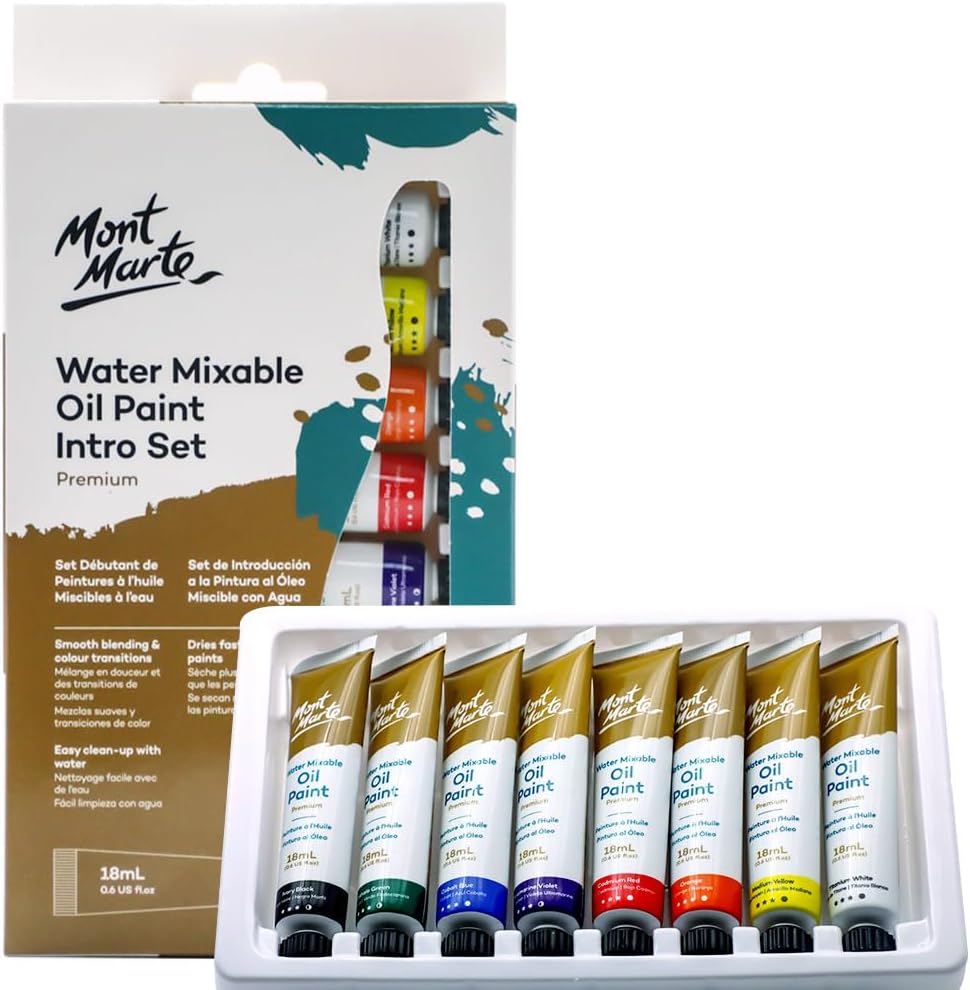
For complete beginners who aren’t sure if they’ll stick with oil painting, I love the Mont Marte set ($32). It gives you lots of colors to play with, and while some are a bit chalky, the earth tones (like browns and tans) work really well.
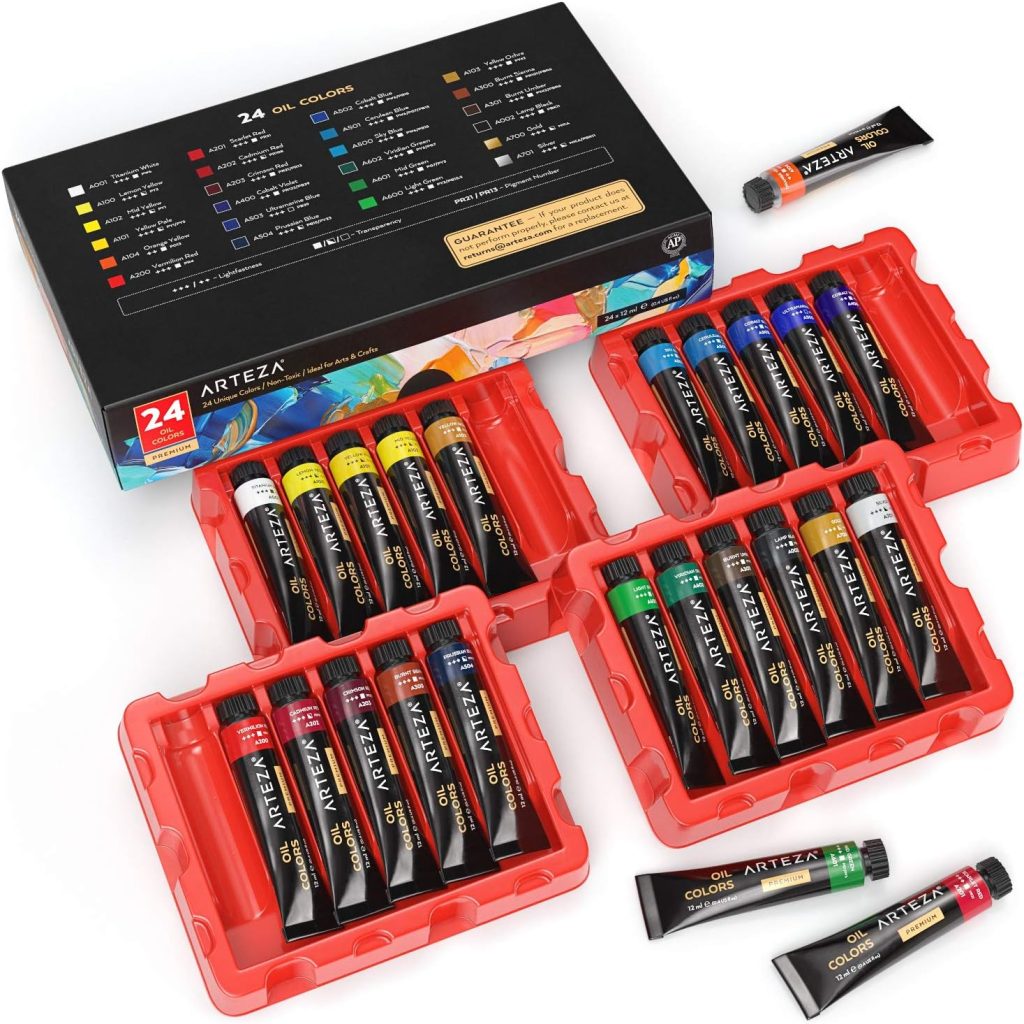
Rounding out my top five is the Arteza set ($42). It’s not the cheapest, but you get good-sized tubes and lots of colors. Their brown paint is perfect for starting paintings, though you might need to use several layers of yellow to get bright colors.
After watching hundreds of students learn with these paints, I can tell you one thing for sure – it’s not about having fancy supplies. It’s about learning to use what you have. Any of these sets will help you create beautiful art while you’re learning!
Best Mid-Range Oil Paint Sets ($50-$100)
Let me tell you about my favorite mid-range oil paint sets that are worth saving up for! After teaching lots of art workshops, I’ve found some real gems that give you great quality without breaking the bank.
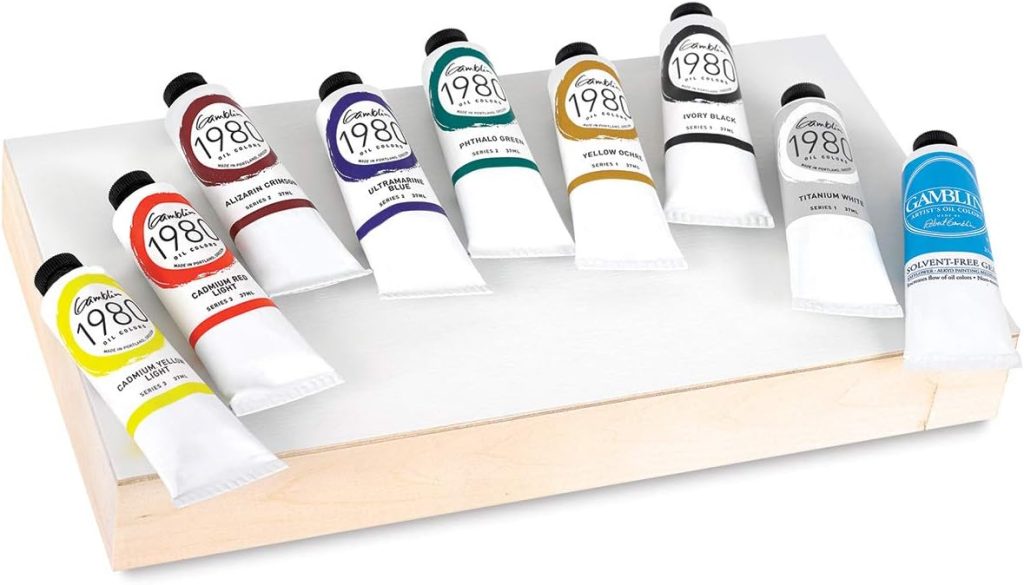
My absolute favorite is the Gamblin 1980 Oil Set, which costs about $89. The first time I used these paints, I couldn’t believe how smooth they felt – like spreading butter! They use something special called safflower oil that helps keep your paintings from turning yellow over time. While the dark red isn’t as bright as expensive brands, these paints are amazing for their price.
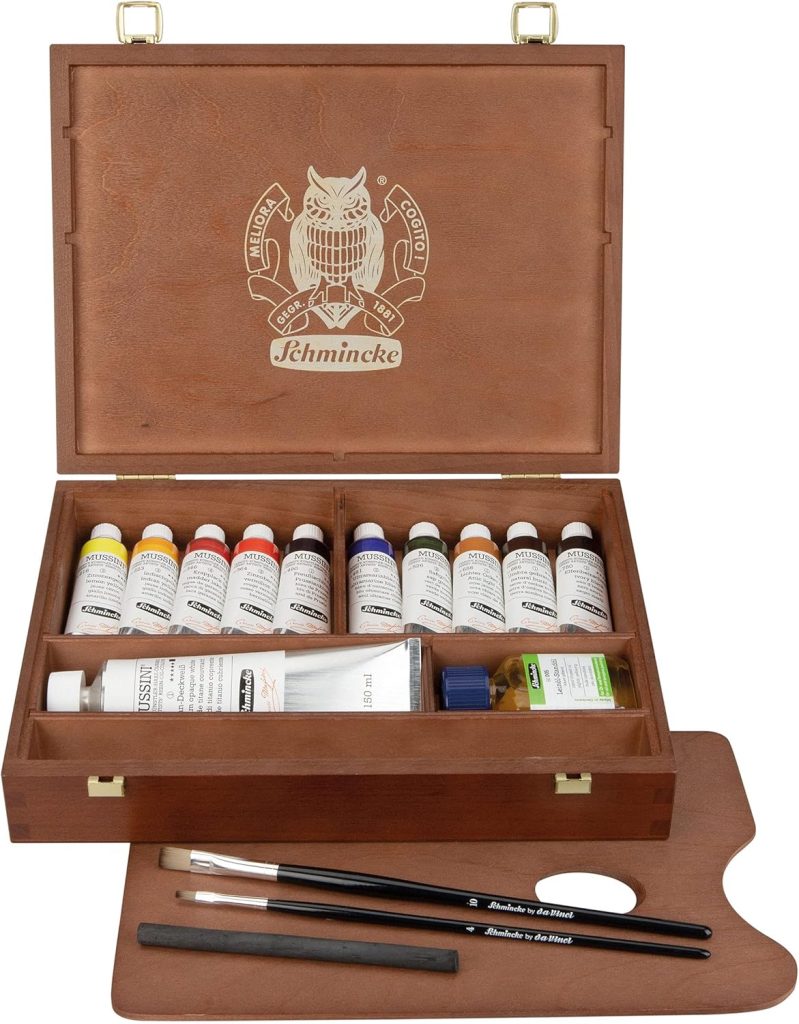
Here’s a fun story about the Schmincke Akademie Set ($75). I was teaching a student to paint a snow scene, and we were both amazed at how bright and white the snow looked, even when we made it thin! The only tricky part? Sometimes the caps get stuck if paint dries in them.
The Williamsburg Student Oil Set ($95) is like the heavyweight champion of student paints – it’s almost as good as professional paint! Their earth colors (like brown and tan) are beautiful, though the paint can be a bit stiff and hard to squeeze out of the tube.
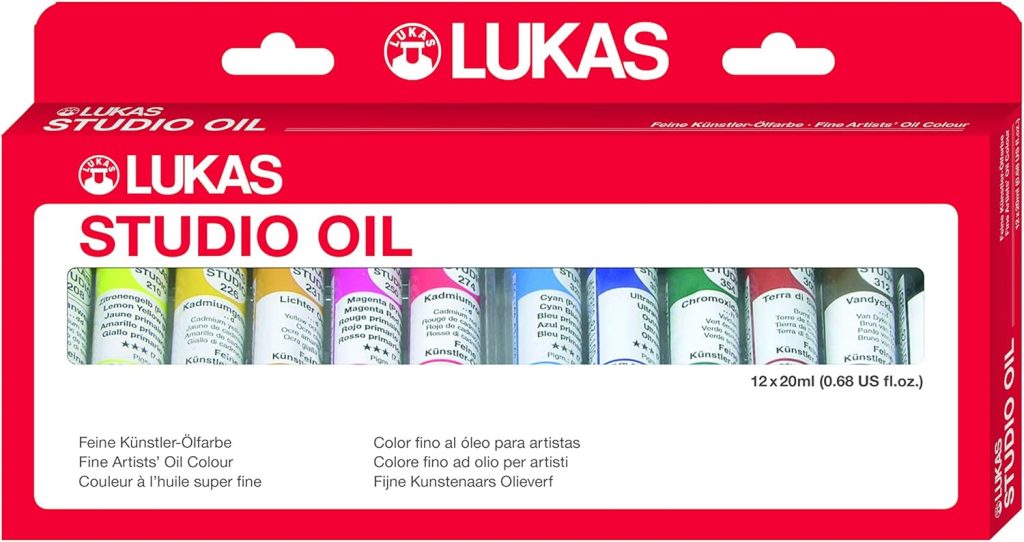
If you want lots of color choices, check out the Lukas Studio Oil Set ($65). It comes with 16 colors and a super helpful guide for mixing colors. One of my students loved the guide so much, they called it their “paint bible”!
Last but not least is the M. Graham Walnut Oil Set ($85). These paints use walnut oil instead of regular oil, which means you can work with them longer before they dry. The colors look amazing, especially the earth tones – perfect for painting faces! Just remember, you’ll need to be patient because they take extra time to dry.
Here’s what makes these sets worth the extra money:
- The paint spreads smoothly
- You get bigger tubes
- The colors are strong and mix well together
- The tubes won’t break or leak
- You get all the colors you really need
Remember, when you buy better quality oil painting supplies, they last longer and help you learn better techniques. It’s like investing in your art journey!
Additional Supplies to Pair with Your Paint Set
Let me share a fun story about learning what supplies you really need for oil painting!
When I first started teaching, I made a pretty silly mistake – I showed up with just paints and brushes. Oops! Now I know better, so let me tell you exactly what a beginner oil painting supplies kit should have.
First, you need something to clean your brushes. Skip the strong-smelling turpentine and get Gamsol (a gentle cleaner) instead. You’ll also need linseed oil to mix with your paint. Don’t waste money on fancy mixing stuff – plain linseed oil works great for beginners!
For brushes, here’s what you need to start:
– Two flat brushes (sizes 4 and 8)
– Two filbert brushes (sizes 6 and 10)
– One small round brush (size 2)
Want to save money? Get Princeton Aspen brushes – they’re about $5-8 each and work really well!
Here’s a funny story about painting surfaces: I once had a student whose paint kept sliding right off their cheap canvas board! Now I tell everyone to use canvas panels instead of stretched canvas. They’re cheaper, easier to store, and your paint stays put!
Let me tell you about my favorite money-saving tricks for oil painting supplies! When I first started teaching, I discovered some amazing ways to save money without sacrificing quality.
Here’s a cool tip about palettes that always surprises my students: skip those expensive wooden ones and head to your local hardware store instead! For about $10, you can get a piece of glass that makes the perfect palette. Just tape the edges to keep them safe, and you’ve got something that’s super easy to clean. I always tell my students to keep two jars of brush cleaner nearby – one for the first cleaning (which gets pretty dirty) and another for the final rinse to keep your brushes nice and clean.
If you’re looking for a great way to organize your art supplies, skip the expensive art boxes and try a fishing tackle box instead! I found this out while helping my students. Tackle boxes have lots of little compartments that are perfect for paint tubes, and there’s space for brushes and tools too.
The best part? A tackle box usually costs half the price of fancy art boxes. They are strong, easy to carry, and some have removable trays, which is great for painting outside or in class. Plus, you can keep your oil paints sorted by color, so it’s easy to find what you need.
My students have been using tackle boxes for years, and they work just as well as the pricey ones!
Now, let me share what else you need in your basic kit: Get yourself a metal palette knife (those plastic ones just don’t cut it), some blue shop towels (they’re tougher than regular paper towels), small cups for your linseed oil, and don’t forget vinyl gloves – trust me, oil paint is tough to get off your hands! A simple table easel will hold your canvas just fine when you’re starting out.
Oh, and here’s a little trick I learned the hard way: store your paint tubes upside down! It stops air bubbles from forming and saves your paint from drying out. I wish someone had told me that when I was beginning!
The best part about all this? You don’t have to buy everything right away. Start with these basic supplies and add more as you grow as an artist. Remember, even the greatest artists started with just the basics!
Tips for Getting Started with Your New Oil Paint Set
Let me share my favorite story about teaching beginners how to start oil painting!
I’ll never forget the mix of excitement and fear on my students’ faces when they first open their oil paint sets. It reminds me of how I felt when I started! After teaching hundreds of beginners, I’ve found some simple ways to make those first painting sessions less scary.
Here’s what I do with every new student: we start with a simple exercise using just two colors – white and brown (Titanium White and Burnt Umber). I call it the “light and dark game.” You should see their faces light up when they realize they can make five different shades just by mixing these two colors! It’s a great way to learn how the paint feels without worrying about lots of colors.
Speaking of mistakes we all make – let me tell you about the “too much paint” problem! When I first started, I’d squeeze out huge piles of paint, like I was decorating a cake. Now I teach my students to use just a tiny bit – about the size of a pea. You can always add more, but you can’t put it back in the tube! I even draw little circles on their palettes to show them the right amount.
Here’s a fun trick I teach: think about painting like making a sandwich. Your first layer should be thin, like a slice of bread. Then each new layer gets a bit thicker, like adding mayo and toppings. This helps your painting dry properly and not crack.
One of my favorite beginner projects is called the “Apple Adventure.” We paint a simple red apple, which helps you learn about light and shadow. And don’t worry if your painting doesn’t turn out perfect—it’s okay! You won’t use up much paint or canvas.
Last Thoughts
Starting your oil painting journey can be exciting, and it doesn’t have to cost a lot! I always tell my students that you don’t need fancy, expensive supplies to create beautiful art. Even the famous painters like Van Gogh and Monet used basic materials.
If you’re looking for good and affordable oil paints, I recommend two great sets. The Winsor & Newton student line is around $45, and it has all the colors you need to begin. If you can spend a bit more, the Gamblin 1980 set is about $89 and offers smoother mixing and richer colors.
The key to your art isn’t how much you spend—it’s about using what you have. I’ve seen amazing paintings come from beginner sets! I remember a student who was scared to use her expensive paints, but once we switched her to a more affordable set, she felt free to experiment. Her artwork thrived!
Get out there and PAINT!
By Antonio Limongi MA EdS
Limongi, Owner of Antonio Limongi Fine Art LLC, is a Master Painter, Portrait Artist, and Art Instructor with 20 years of experience. He reports on issues in Fine Art Education, Creating Art, Investing in Art, and Selling Fine Art. (Some of the links are affiliate partners)

Generated with Pin Generator