Essential Oil Painting Supply List for Beginners: Complete Guide
Let me tell you about getting started with oil painting supplies – and how to avoid spending more money than you need to! After teaching for years, I’ve learned exactly what new artists need and what can wait.
Here’s something surprising: Many new artists spend almost half their money on supplies they don’t need right away. That’s like buying every spice in the grocery store when you’re just learning to cook! Famous artists like Van Gogh only used 12 colors to make their masterpieces. Imagine just 12 colors to paint those beautiful sunflowers and starry nights!
I love helping new artists figure out what they need to start painting. It’s like assembling a starter kitchen – you don’t need every gadget and tool immediately. You need the basics that will help you learn and grow. Think of it as building your artist’s toolbox one piece at a time.
Let me help you determine your supplies to begin your painting adventure. Trust me – your wallet will thank you, and you’ll have everything you need to start creating beautiful art!
Essential Oil Paint Colors for Beginners
Let me tell you about choosing your first oil paint colors – it’s simpler than you might think! After teaching hundreds of beginners, I know exactly what colors you need and what you can skip.
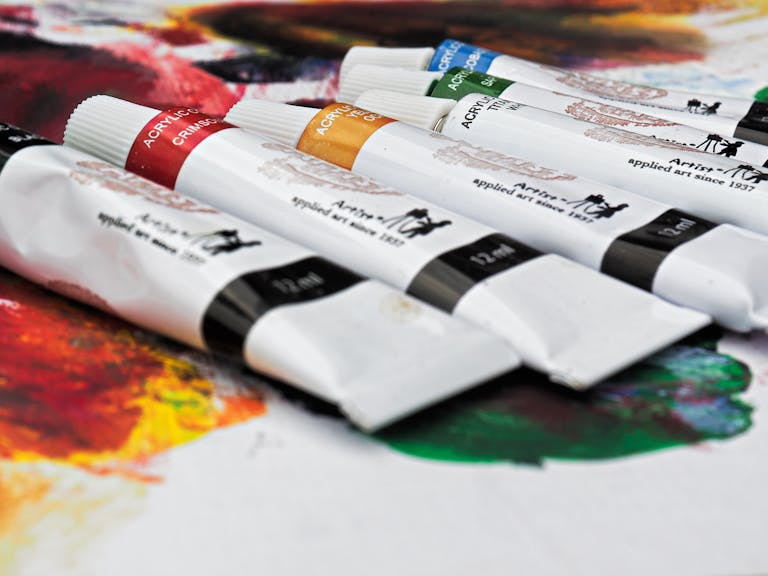
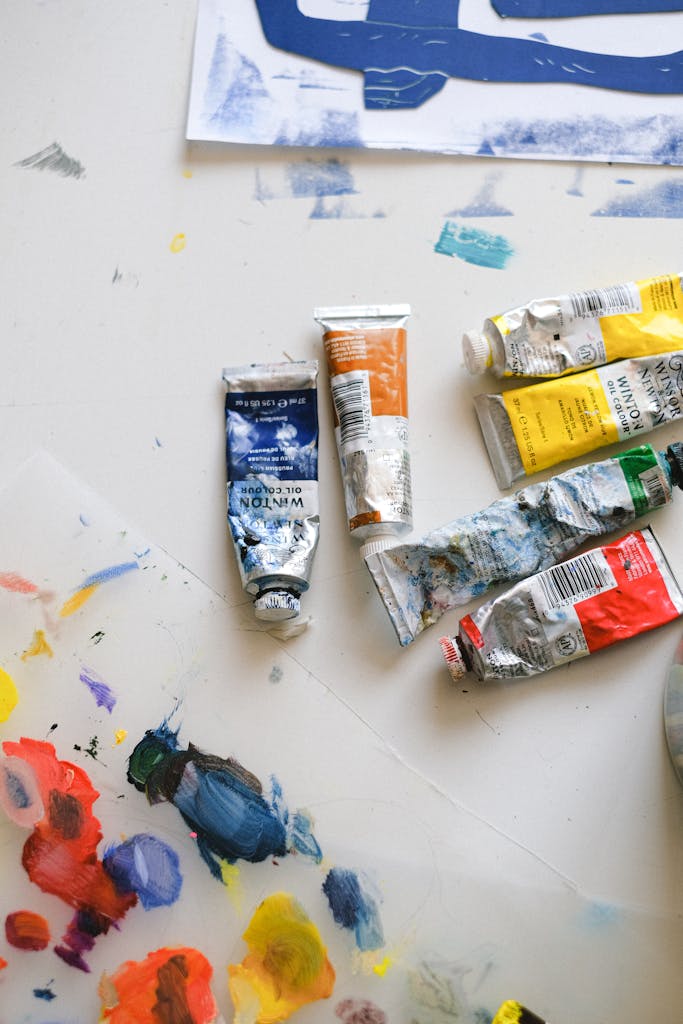
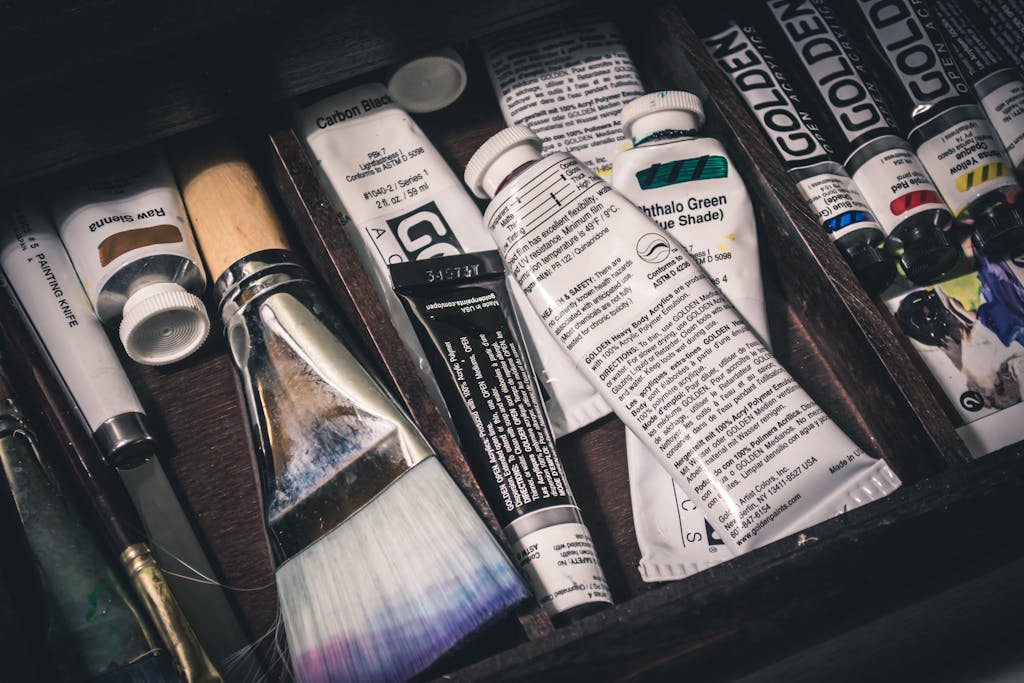
I made a big mistake when I first started painting. I bought so many tubes of paint – more than 20! – but guess what? Most of them just sat there, getting old, while I repeatedly used the same few colors. Now, I teach my students to start with just eight colors. I call them my “essential eight,” and they’re all you need to mix almost any color you can imagine!
Here are the only colors you really need:
- Titanium White (get a big tube – you’ll use lots!)
- Cadmium Yellow Light
- Cadmium Red Light
- Ultramarine Blue
- Burnt Umber
- Raw Sienna
- Ivory Black
- Permanent Rose or Alizarin Crimson
Here’s a money-saving tip: Buy the good stuff (professional grade) for just your white and yellow paints. For everything else, student-grade paints work fine while you’re learning. I remember one student who spent $400 on fancy paints before her first class – don’t do that!
Want to know a cool trick? Black isn’t just for making things dark! Mix it with white for beautiful grays or brown for rich, deep colors. Mix it with blue and you can make gorgeous deep ocean colors. Each color in your kit should be able to do lots of different jobs.
You don’t have to buy every color in the art store. Think of it like cooking: you don’t need a hundred spices to make a tasty dish! Just start with eight basic colors. If you learn how to mix them, you’ll find you can create so many amazing colors. It’s all about experimenting and having fun. You might be surprised at what you can make!
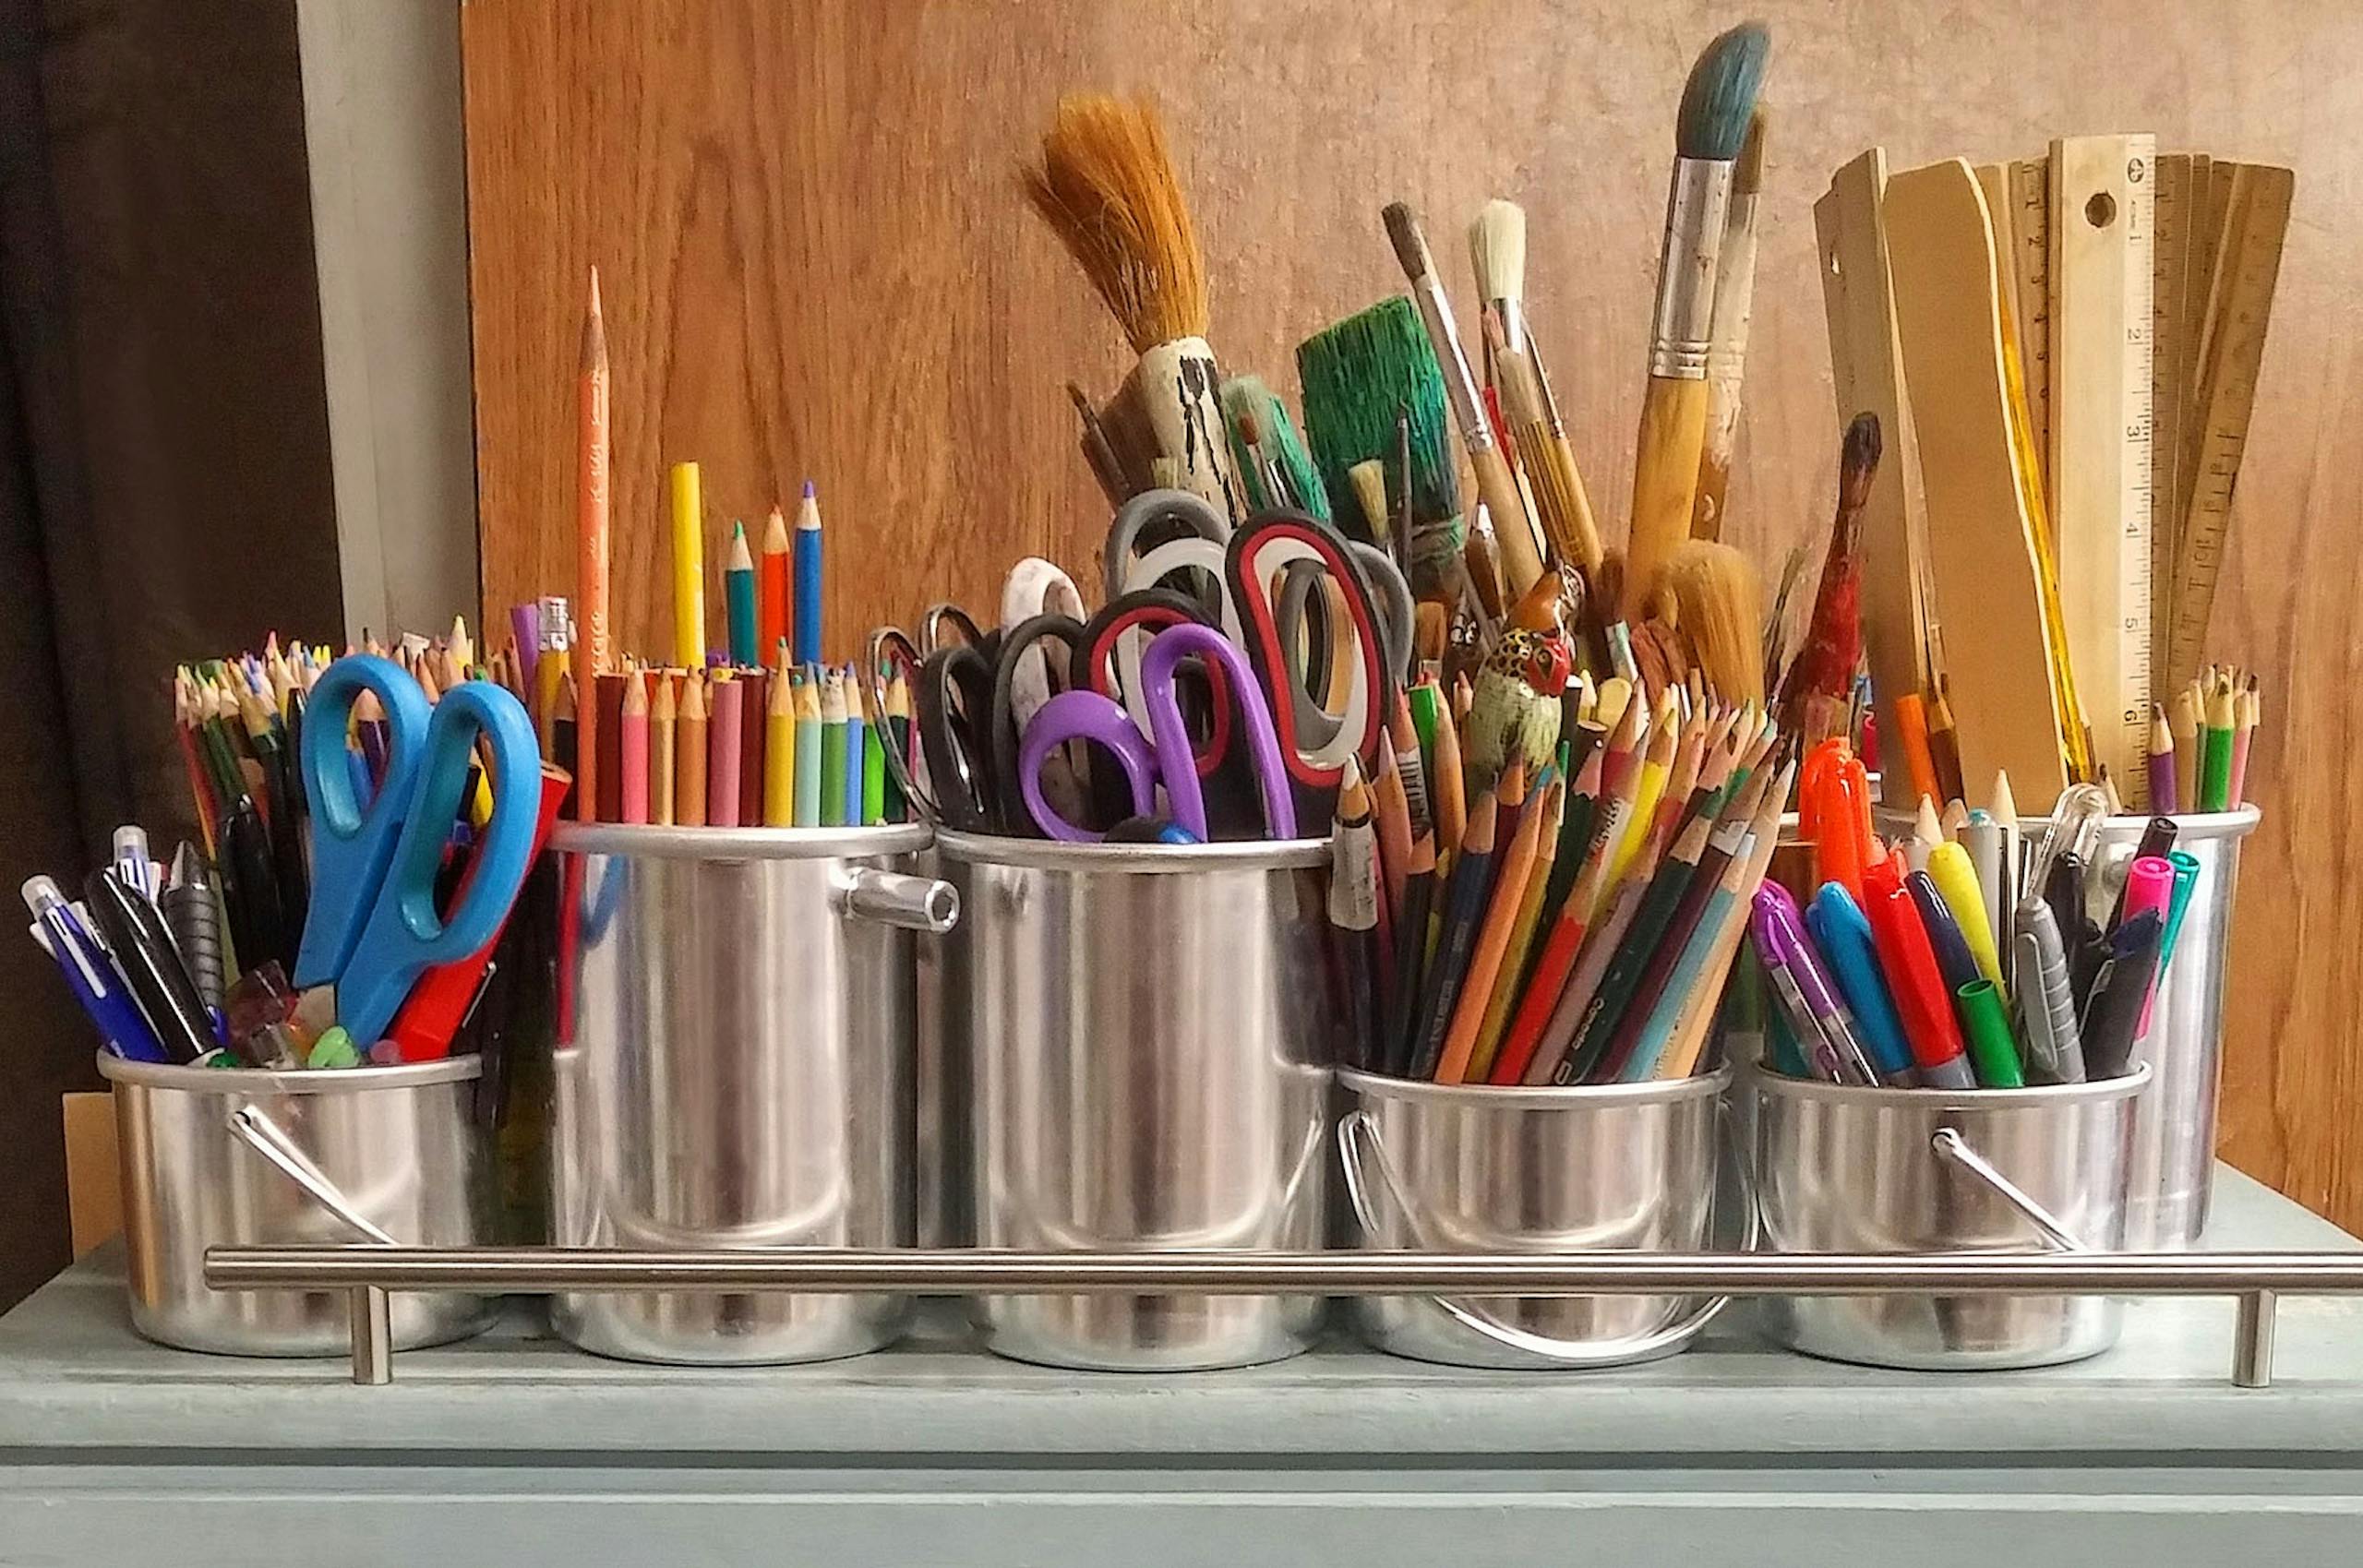
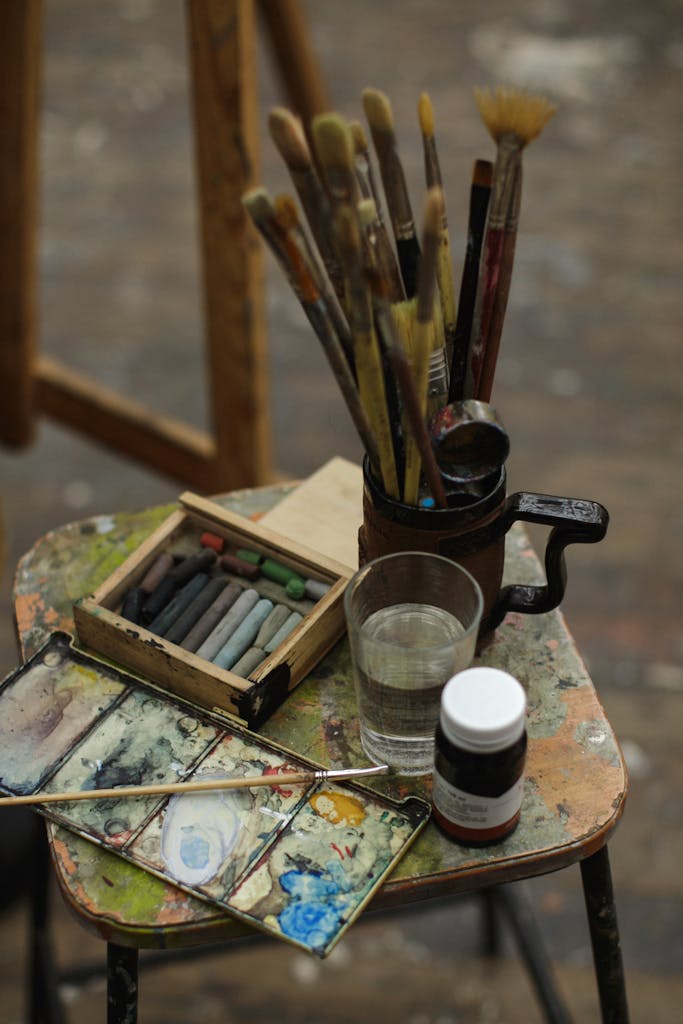
Brushes and Tools: What You Actually Need
Let me tell you the tools you need to start oil painting. After teaching lots of beginners, I’ve seen every mistake you can make with brushes and tools – including some funny ones I made myself!
I remember showing up to teach my first class with about 30 different brushes. What was I thinking? Now, you only need six basic brushes to do almost everything. It’s like cooking – you don’t need twenty different spatulas to make a good meal!
Here are the only brushes you really need:
- Two medium-sized brushes with flat, rounded tips (called Filberts)
- Two pointed brushes (called Rounds) – one small, one bigger
- One wide, flat brush for big areas
- One shorter, stiff brush for texture
Here’s something I learned the hard way: Don’t buy the cheapest brushes you can find! One of my students did this, and her brushes shed more than my old cat! You don’t need super expensive ones, but get decent quality brushes that will last.
For cleaning your brushes (this is super important!), you’ll need:
- Paint thinner that doesn’t smell (called odorless mineral spirits)
- Special brush soap
- Old t-shirts for rags
- Paper towels
- Two glass jars for cleaning
If you want to clean your brushes using plain white soap such as Ivory, Dial also works. You run warm water, gently brush the bar of soap back and forth, and gently squeeze out the emulsion. You can also add liquid soap like Dawn to help breakup the oil. This can be a good alternative, and it has no fumes.
Here’s my most important tip: Clean your brushes as soon as you finish painting. Don’t wait! I ruined so many good brushes by thinking, “I’ll clean them later.” Now, I set a timer on my phone to remind me.
Remember – you can always buy more tools later as you need them. Focus on learning to use these basic tools well. It’s like learning an instrument – you don’t need the fanciest guitar to learn how to play great music!

Surfaces and Supports
Let me tell you about choosing what to paint on – I’ve seen lots of beginners make mistakes with this, and I want to help you avoid them!
I remember one day when a student brought in plain canvas that wasn’t prepared for painting. Her paint just soaked right into it, like water into a sponge! She used up a whole tube of expensive paint before we figured out what was wrong. That’s why I now make sure to explain all about painting surfaces right from the start.
Here are the best surfaces for beginners:
- Ready-to-use cotton canvas (with a medium bumpy texture)
- Stiff canvas boards (great for small paintings)
- Smooth boards (perfect for detailed work)
- Canvas paper (amazing for practice)
Most people reach for regular canvas first, but here’s a secret – you don’t need the fancy expensive kind when you’re starting! Regular cotton canvas that’s ready to use works great. Start with something small, like 8×10 inches. I once had a student try to paint on a huge canvas – it was like trying to fill a swimming pool with a garden hose!
Canvas boards are great for beginners! They’re firmer than regular canvas, making them easier to use when you’re just starting out. Plus, they’re usually cheaper and don’t take up much space. I always have a few small ones in my studio for practice!
Want to know my favorite trick for beginners? Use canvas paper! It’s much cheaper than regular canvas but works almost the same way. I have my students do their first dozen or so paintings on this. Why spend lots of money while you’re just learning? Plus, you can keep these practice paintings in a folder instead of needing wall space.
Remember – start small and simple. Your first paintings are for learning, not for hanging in a museum. Once you get better, you can try fancier surfaces. For now, focus on learning how to paint!

Mediums and Solvents: Safety First
Let me tell you about staying safe when using oil paints and the liquids that go with them. This is super important – it’s not something to mess around with!
I learned this lesson the hard way when one of my students got a really bad headache from using strong paint thinner in a room without enough fresh air. After that, I got serious about safety. Now, I only use safer materials and make sure there’s always plenty of fresh air!
Here’s what you really need:
- Special paint thinner that doesn’t smell (called odorless mineral spirits)
- Linseed oil (get the pure kind)
- A liquid that helps paint dry
- Metal or glass containers to keep everything in
Here’s a really important tip: You need good air flow – like having a fan in the window and another fan in the room. It’s like when you’re cooking something smelly – one open window isn’t enough to clear the air! If you can smell the paint thinner, that means you’re breathing it, and that’s not good for you.
Want to know my best cleaning trick? Wipe your brushes really well with paper towels before using any paint thinner. The less paint thinner you use, the safer your space will be. It’s also better for the earth and saves you money!
And here’s something that might surprise you – those oily rags can actually catch fire by themselves if you’re not careful! I keep mine in a special metal can with a lid that closes by itself. It might sound like overkill, but I’ve heard too many stories about studio fires to take chances.
Remember – you don’t need every fancy product in the art store. Start with the basics, learn to use them safely, and only buy new things when you really need them. And always, always make sure you have good fresh air in your room. Your lungs will thank you later!
Essential Studio Equipment
Let me tell you about setting up a space to paint with oils – and here’s some good news: you don’t need a fancy art studio! I’ve seen people make wonderful art in all sorts of places, from spare bedrooms to tiny corners of their living room.
I have to laugh when I think about my first “easel” – it was just a board propped up on some books! Now I know better, and I teach my students about three main types of easels:
- Big, sturdy H-frame easels (great but need lots of space)
- Table easels that fold up (perfect for small spaces)
- Portable sketch easels (easy to move but a bit wobbly)
Here’s what you really need to get started:
- A stable easel (I recommend the folding table kind for beginners)
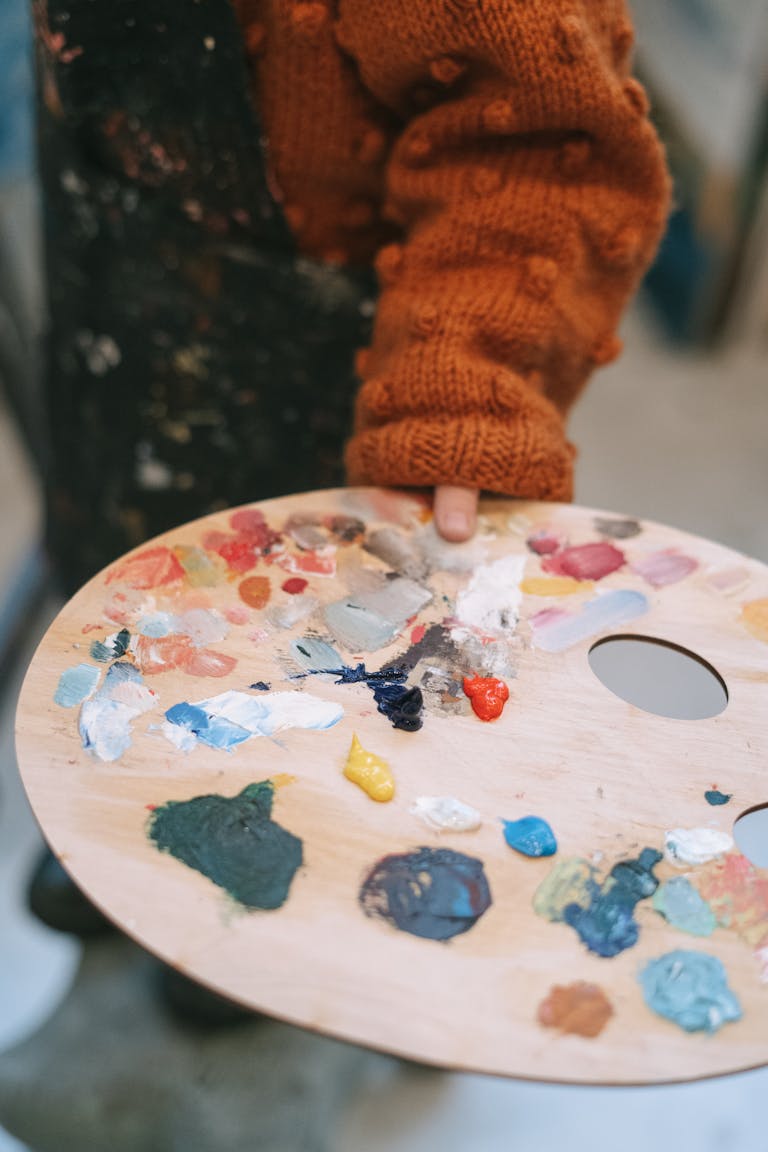
- A good-sized mixing palette (about as big as a laptop)
- Basic cleaning stuff
- Smart ways to store everything
Let me share a money-saving tip about palettes: Get a piece of glass cut at a hardware store with smooth edges. It’s much cheaper than buying one from an art store! Just don’t use plastic – it gets stained and makes it hard to see your colors properly.
Need a clever storage idea? One of my students turned a tiny closet into an amazing art supply space using just some wooden dowels and a pegboard! You’d be amazed at how much you can fit in a small space when you think creatively.
You don’t need a lot of fancy art supplies to create great art. Just start with the basics and add more tools as you go. It’s like cooking—you don’t need every gadget to make tasty meals!
Oh, and here’s one last important tip: Never store your brushes standing on their bristles! It’s like storing a broom upside down – it ruins the bristles. Keep them lying flat or standing up with the bristles in the air. Take good care of your tools, and they’ll last for years!
Optional but Useful Supplies
Let me tell you about some extra art supplies that can make painting more fun and easier – things I’ve discovered after years of teaching. Not everything you see in the art store is worth buying, but some extras are really helpful!
I have to laugh about the time I bought a fancy electric pencil sharpener that was supposed to be perfect for artists. What a waste of money! But then I found this thing called a mahl stick (it’s a long stick that helps steady your hand while painting), and wow – it made such a difference! It’s like having an extra-steady hand whenever you need it.
Here are some really useful extras that I’ve found make painting more enjoyable:
- A mahl stick (you can make your own!)
- Special paper to put on your palette for easy cleanup
- A good lamp with bright, natural-looking light
- A special container for cleaning brushes
- A case to store your finished paintings
Want to know my favorite organizing trick? I use clear plastic holders that stick to the wall to hold my brushes. No more digging through cups to find the right brush! One of my clever students did the same thing with mason jars – works just as well!
Here’s something that sounds fancy but is super helpful: a color wheel that shows you how to mix colors. Yes, you can mix colors without one, but having a guide right there saves so much time and paint! It’s like having a recipe book for colors.
Remember, none of these extra tools will magically make you a better painter. They make painting more fun and convenient. I tell my students to get good at the basics before buying fancy extras.
If you’re painting and think, “I wish I had…” that might be a good sign to get it. But if you buy something and it sits unused for three months, you probably didn’t need it!
Let’s Wrap It Up
Starting to paint with oils doesn’t have to cost a fortune or feel overwhelming! After teaching so many beginners, I’ve learned that keeping things simple at first is the way to go.
Think of it like learning to cook. You don’t need every kitchen gadget right away – just some good basic tools to start making delicious meals. With painting, it’s better to have a few quality brushes and paints than a whole bunch of cheap stuff that doesn’t work well.
Here’s what I tell all my new students: Start with small canvases (about the size of a piece of paper) and just a few basic colors. It’s like learning to ride a bike – you start with training wheels before hitting the big trails! As you get more comfortable, you can try bigger canvases and add more colors to your collection.
Ready to get started? Grab the simple supply list we talked about and head to your local art store. The staff there can help you find everything you need. Remember, every great artist started exactly where you are – with basic supplies and a desire to create. Your artistic adventure is about to begin, and I’m excited for you!
The most important thing is just to begin. Don’t worry about having everything perfect. Start small, learn the basics, and have fun exploring this wonderful new world of oil painting!