Getting Started with Acrylic Paint: Basic Techniques
Tell you about my favorite type of paint for beginners – acrylics! They haven’t been around very long (only since the 1940s), but they’ve changed how people make art.
I still remember the first time I used acrylic paints. It felt like magic! They’re much easier to use than oil paints, and they forgive your mistakes. Think of them like a helpful friend who’s always ready to try again if something doesn’t work out the first time.
I love teaching people how to use acrylics because they’re easy to work with! If you make a mistake, wait for the paint to dry, then paint right over it. Cleanup is a breeze—you only need water, no unique soaps or cleaners.
Acrylic paints are great for beginners. They dry fast so that you can experiment without long waits. Ready to grab some brushes and start Let’sing? Let’s dive in!
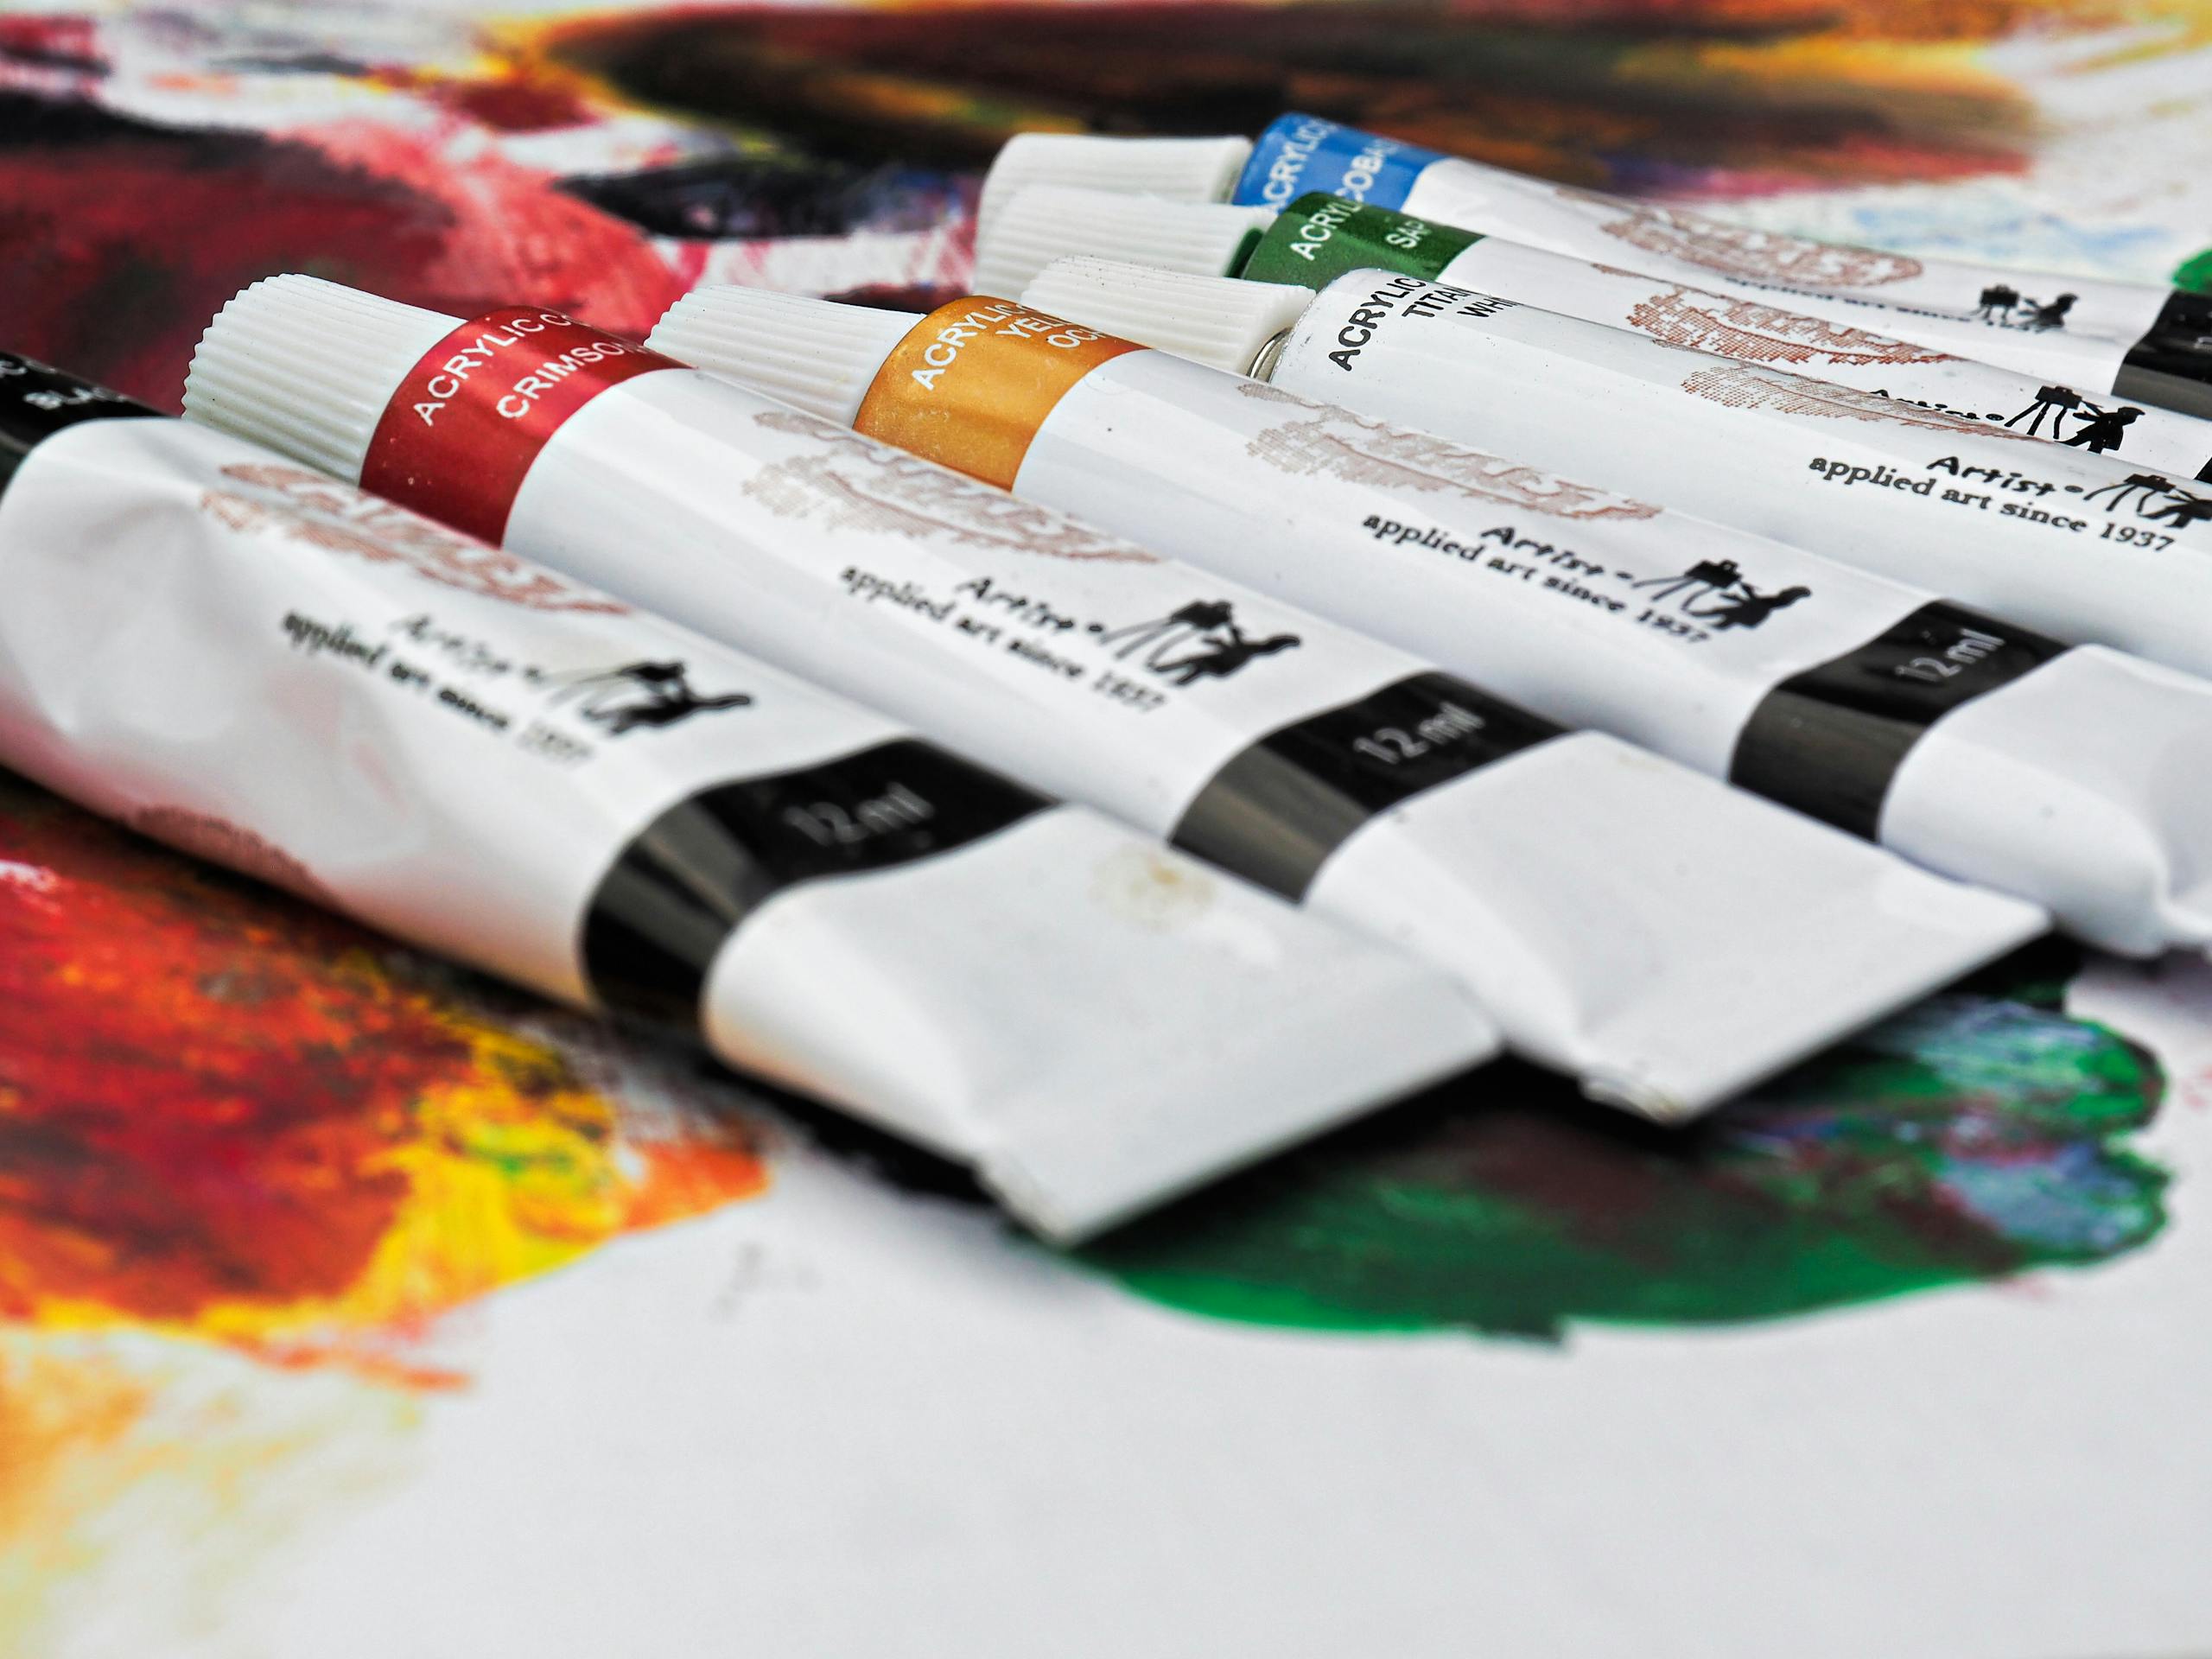
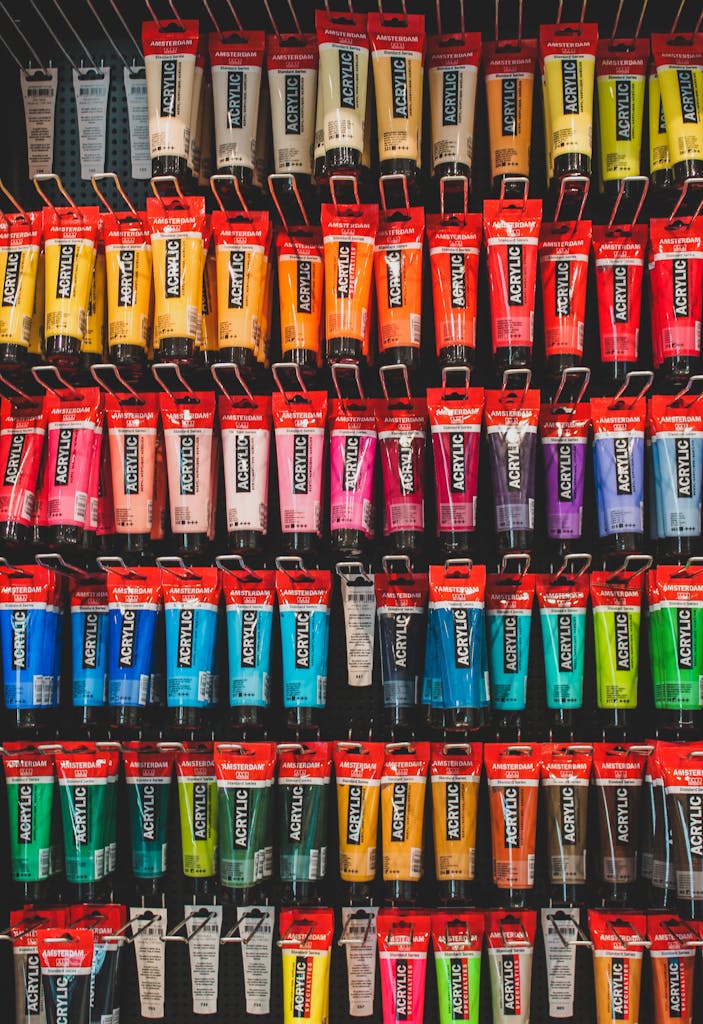
Essential Acrylic Painting Supplies for Beginners
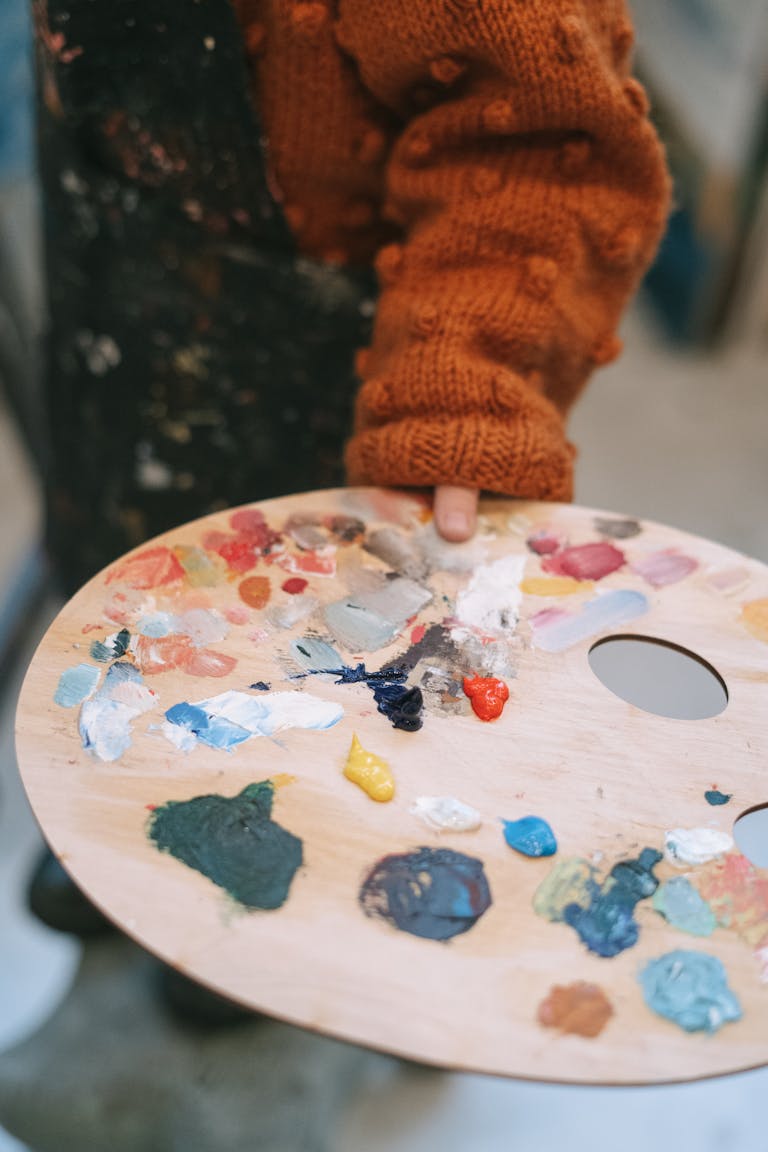
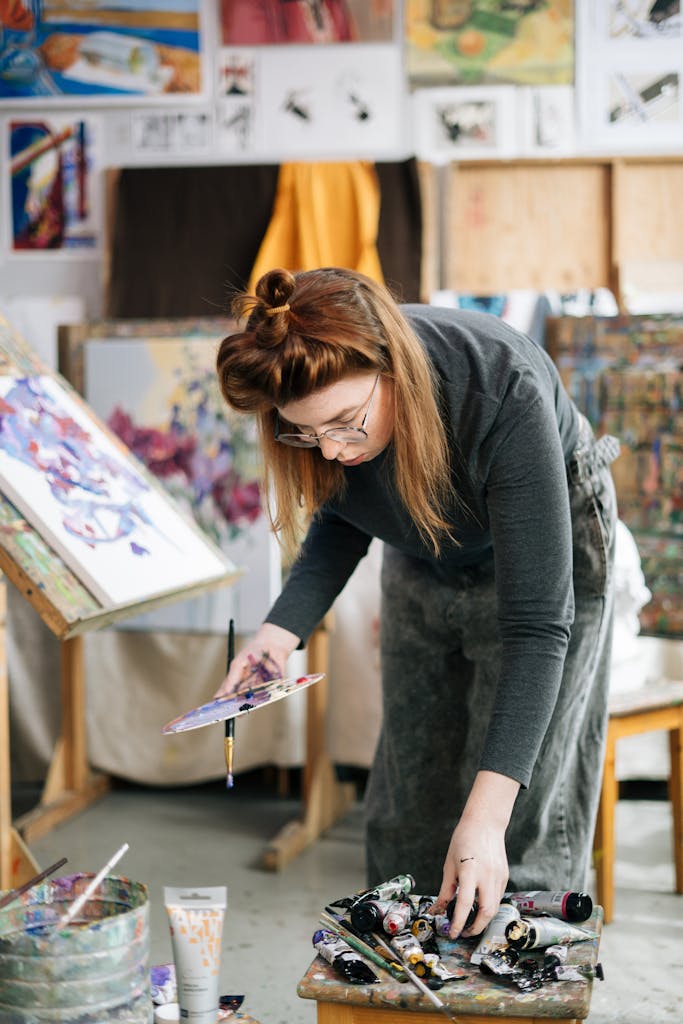
When I first bought art supplies, I was over-excited and had too much that collected dust. But after teaching beginners, I realized that you only need a few essential tools to start making art—just like cooking doesn’t require fancy gadgets, just the essentials and a love for creating! If you want to know what supplies to get without overspending, I can help you find the right ones. Sometimes, having less actually makes learning easier!
The most important thing I learned is that you don’t need expensive paints when you’re beginning! I once spent $30 on one tube of fancy paint (ouch!). Now, I tell my students to get student-grade paints instead. They work just fine for learning, and they cost much less.
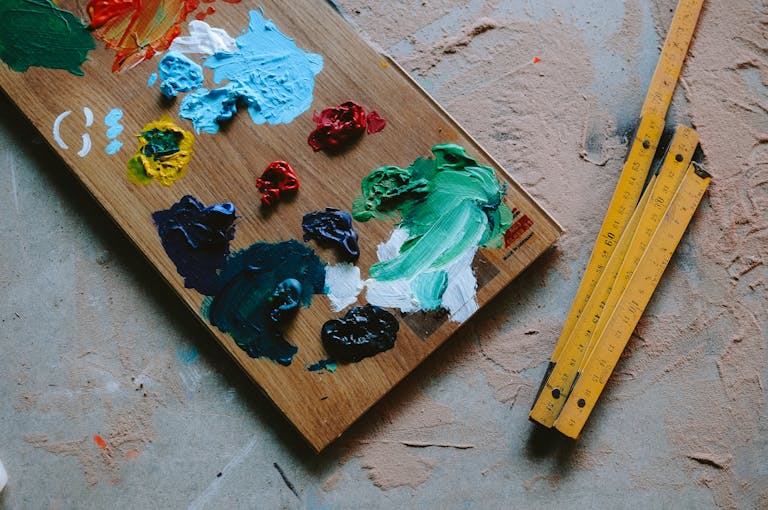
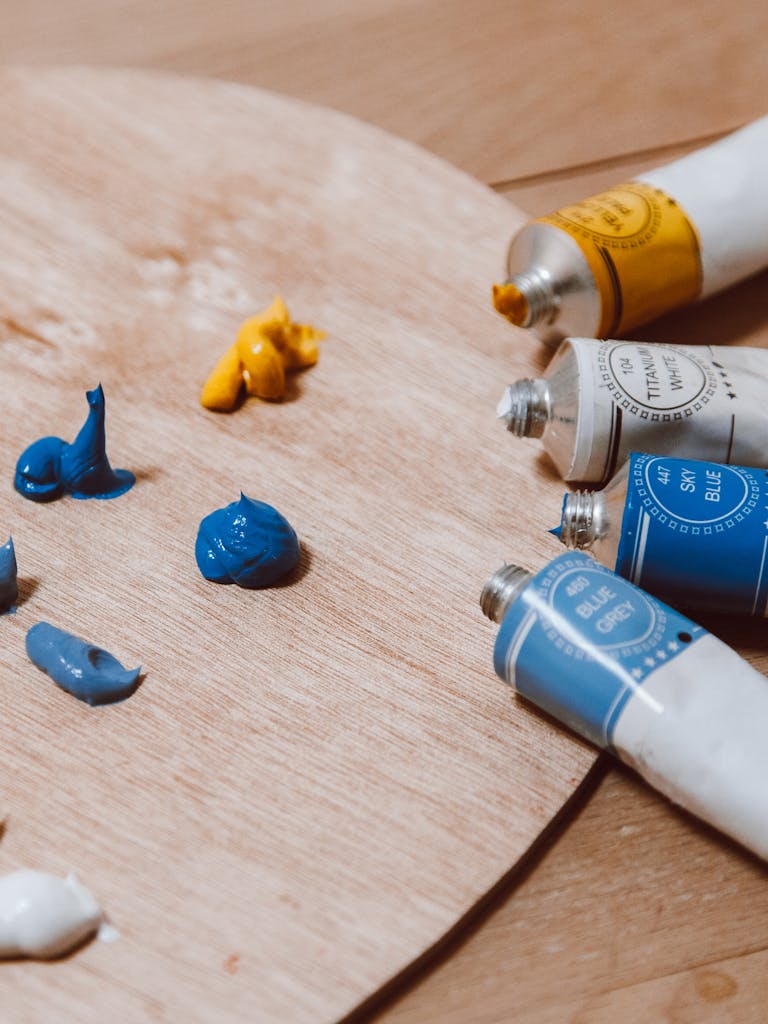
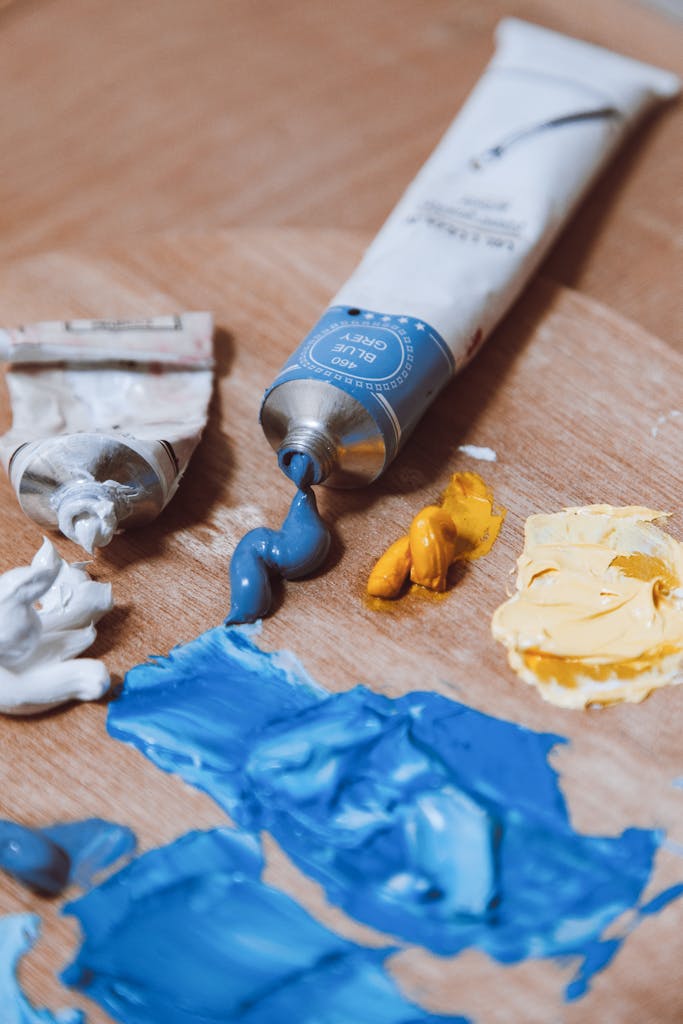
Want to know the only colors you need to start?
- White
- Medium red
- Blue
- Medium yellow
- Dark brown
You can mix almost any color you want with just these five!
For brushes, could you keep it simple? You only need four:
- One big flat brush for large areas
- Two pointed brushes (one small, one medium) for details
- One special brush for blending
Here’s a money-saving tip: Don’t buy expensive canvases right away! Start with canvas paper pads instead. They’re cheaper, and you won’t feel bad about making mistakes. You can even paint on thick paper or cardboard if adequately prepared!
Want to know my complete shopping list for beginners? Everything you need should cost under $50 if you shop smart and use coupons. That’s right – you can start creating beautiful art without spending a fortune!
It’s not about having many supplies; It’s about learning to use a few well. I’ve seen students create amazing paintings with just basic materials. Start small, master the basics, and add supplies only as needed!

Understanding Acrylic Paint Properties
Let me tell you about my first time using acrylic paints – I almost threw my brushes across the room! No one told me the paint would dry so fast. There I was, trying to blend my colors, and the paint dried before I could even finish. It was like trying to spread peanut butter that gets hard as soon as you remove it from the jar!
Using fast-drying paint can be beneficial by allowing you to work in small sections, like the size of a postcard, rather than all at once. Keeping a spray bottle of water nearby to mist the paints (but not the painting itself) helps keep them soft and workable.
Want to know a trick about paint thickness? The paint should feel like soft butter when it comes out of the tube. If you need to make it thinner, do not just add water – that was my mistake! Too much water makes the paint weak and flaky, like trying to make juice by adding too much water.
I learned something interesting about temperature: If your room is too cold, the paint gets stiff and rigid to use. It’s too warm, and it dries super fast. It’s like Goldilocks – you need it just right! I discovered the hard way when my space heater made my paint dry so fast I couldn’t even use it.
Remember that these paints darken as they dry, typically by about two shades. I once painted a beautiful beach scene, but it looked like it was shot at midnight because I wasn’t unaware of it! I constantly mix my colors a bit lighter than I want for the final piece.
Don’t worry if this seems like a lot to remember. Once you get used to how acrylic paints work, it becomes second nature – like riding a bike or making your favorite sandwich!
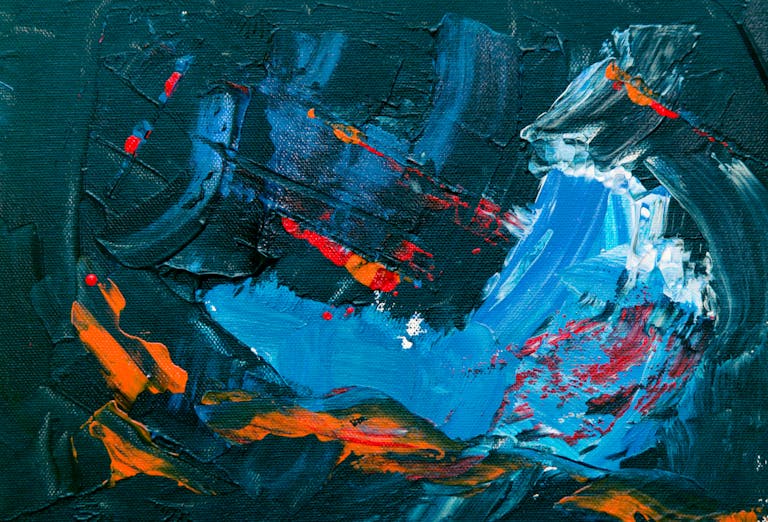
Basic Acrylic Painting Techniques
Let me tell you about learning to paint with acrylics – and my funny first attempt at blending colors! Picture this: I was trying to paint a beautiful sunset sky, but instead of smooth, flowing colors, it looked like a striped flag. Nobody told me you can’t blend acrylic paint the same way as oil paint!
Here’s what I learned about using your brush: Think of it like spreading butter on bread. You want even pressure and smooth strokes. I tell my students to practice making smooth lines on scrap canvas until it feels natural – like learning to write your name.
Want to know my secret for blending colors? You need two brushes and quick hands! Put your first color down, then your second color right next to it while everything’s still wet. Then, gently brush a clean, slightly damp brush where the colors meet – like softly petting a cat. Don’t scrub hard – that makes a mess!
The author discovered that using a palette knife instead of brushes can create cool textures that look like cake frosting. They recommend starting with thin layers of paint and letting each layer dry for about 20 minutes before adding thicker ones. To speed up drying, you can use a hair dryer on low heat; just be sure to keep it moving.
Remember – every new technique takes practice. But once you get the hang of these basics, you’ll be amazed at what you can create!
Color Theory and Mixing for Acrylics
Let me tell you about my biggest mistake with mixing colors! I was painting someone’s portrait and mixed what I thought was the perfect skin color. But halfway through, I ran out of paint. It wasn’t even close when I tried to make the same color again! The poor person in my painting looked like they had weird patches of suntan all over their face.
Here’s something cool I learned about colors: Warm colors (like orange and red) seem to come forward in a painting, while cool colors (like blue and purple) look far away. Once I understood this, my paintings stopped looking flat! When I painted a sunset, I used cool purples for the far-away parts and warm oranges for the close parts. Suddenly, my painting looked like it had real depth!
Want to know a tricky thing about acrylic paint? It gets darker when it dries! Now, I always test my colors on a scrap canvas and let them dry before using them in my painting. I even keep a little notebook where I write down exactly how I mix each color – like a recipe book for paint!
Avoid using them straight from the tube when mixing colors because they can look too bright and fake. Instead, add a bit of the opposite color from the color wheel to make them softer and more natural. Please don’t overdo it, or you’ll get a muddy color! Mixing colors takes practice, just like cooking, so start simple, keep notes on what works, and don’t be afraid to try new things. Before long, you’ll be a color-mixing expert!
Simple Projects to Practice Your Skills
Let me share some fun painting projects that helped me learn – and can help you, too! I remember my first significant painting attempt. I tried to paint everything at once: mountains, trees, a lake, and clouds. It was way too much! Now, it’s better to start small and build your skills step by step.
My favorite exercise for beginners is the “Color Block Challenge.” Pick something simple to paint, like an apple or your favorite coffee mug. Then, paint it using just three colors plus white. Don’t focus on fancy brushwork – concentrate on getting the basic shapes right. It’s incredible how much better you get after trying it three times!
Practice your brush skills by drawing six small squares on paper and trying different strokes like straight lines, dots, and curves. It’s like warm-ups for musicians! Create a sunset sky with just colors and a simple horizon for a fun first painting project. This practice helps you learn how to blend paint, and every sunset you create will be unique.
Even the greatest artists had to start somewhere, so take your time, just as you would when cooking simple recipes before attempting more complex dishes. Enjoy the creative process, and you’ll notice your skills improving!

Let’s Wrap It Up!
Let me tell you something exciting – you’re ready to start your painting journey! After teaching lots of beginners, I know that first step can feel scary. But guess what? Every amazing artist you’ve ever heard of started exactly where you are now.
Think of it like learning to ride a bike. At first, you might wobble a bit and need some practice. But with each try, you get better and more confident! That’s exactly how painting works too.
You’ve already learned some really helpful basics about paint and brushes. Now comes the fun part – actually using them! Why not try that simple exercise we talked about? Grab your supplies and give it a try. Don’t worry about making it perfect – just enjoy exploring what the paint can do.
Remember – every painting you make helps you learn something new. Even the ones that don’t turn out quite like you planned teach you something valuable. So let’s get started! Your creative adventure is just beginning, and I can’t wait to see what you’ll create!