Oil vs Acrylic Paint for Beginners: A Complete Comparison Guide
Choosing the right paint can be challenging. Should you go with oil paint or acrylic paint? This guide will help you find out which is better for beginners. We’ll look at drying times, costs, techniques, and supplies.
Did you know that Bob Ross painted over 30,000 pieces in his life? And none of them were made with acrylic paint! Both oil and acrylic paints have their unique styles. Think about Van Gogh with his rich oils and Andy Warhol with his bright acrylics. This guide will break down the main differences between these two types of paint, making it easier for you to start your art journey.
Understanding the Basics: Oil vs Acrylic Paint Properties
I used to stand in art stores and stare at paint tubes. Which ones should I buy? After teaching art for 15 years, I want to share what I know about oil and acrylic paints.
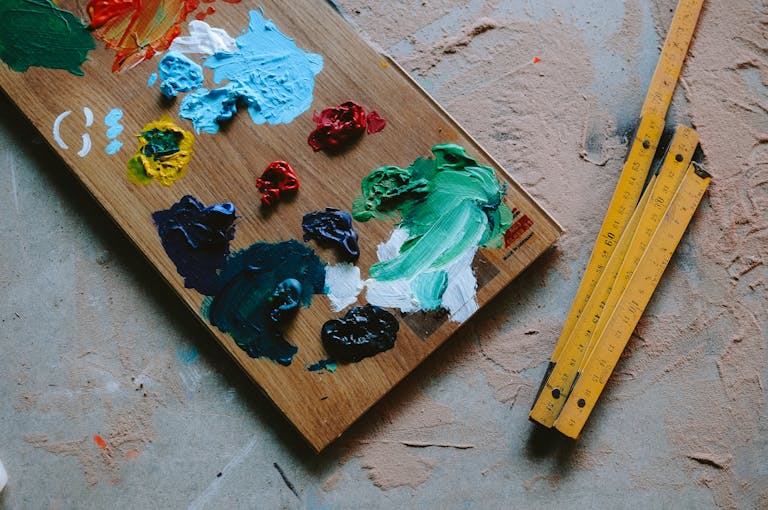
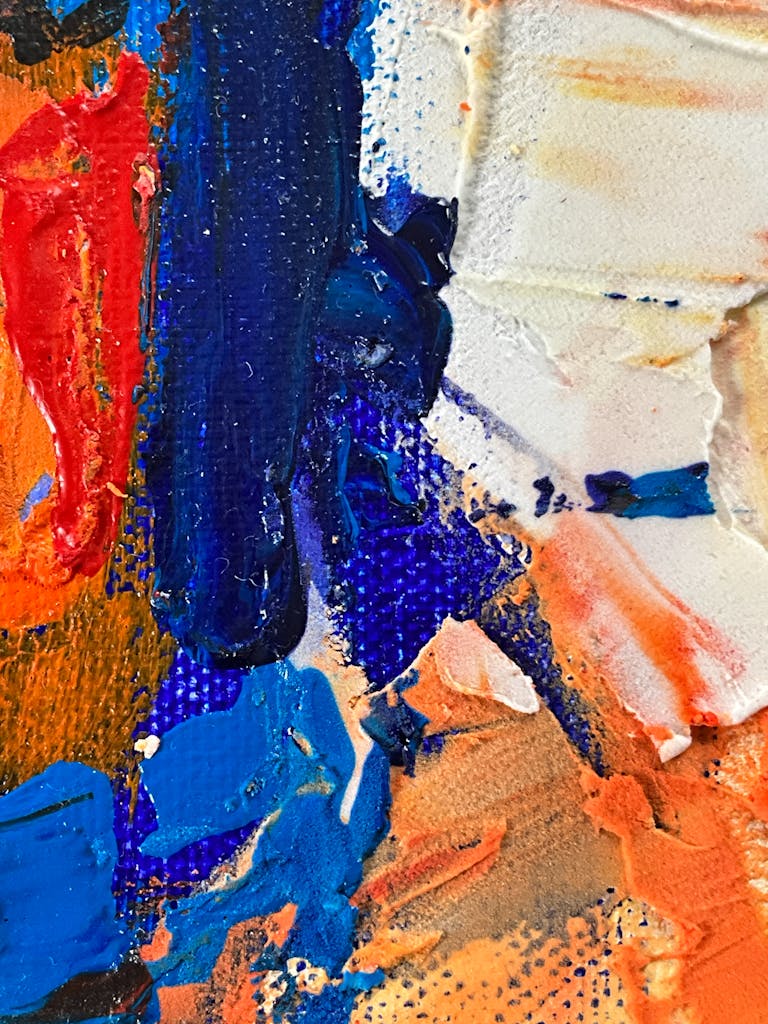
Let’s start with oil paints. They’re made with natural oils, mainly from flax seeds. Oil paint feels like soft butter when you use it. The colors are deep and rich. My students love blending oil paints for days without drying out.
Acrylic paints are different. They’re made with artificial materials, kind of like liquid plastic. But don’t worry – they make beautiful art too! The colors can be just as bright as oils. Acrylic paint is thinner than oil paint, but you can make it thicker.
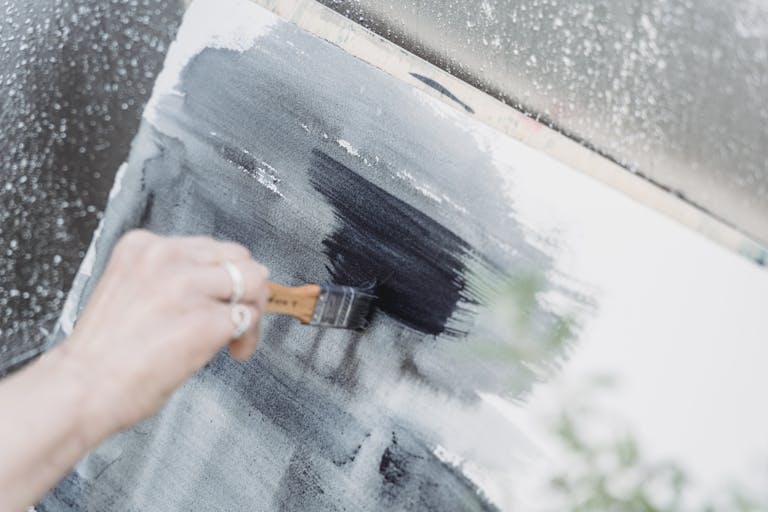
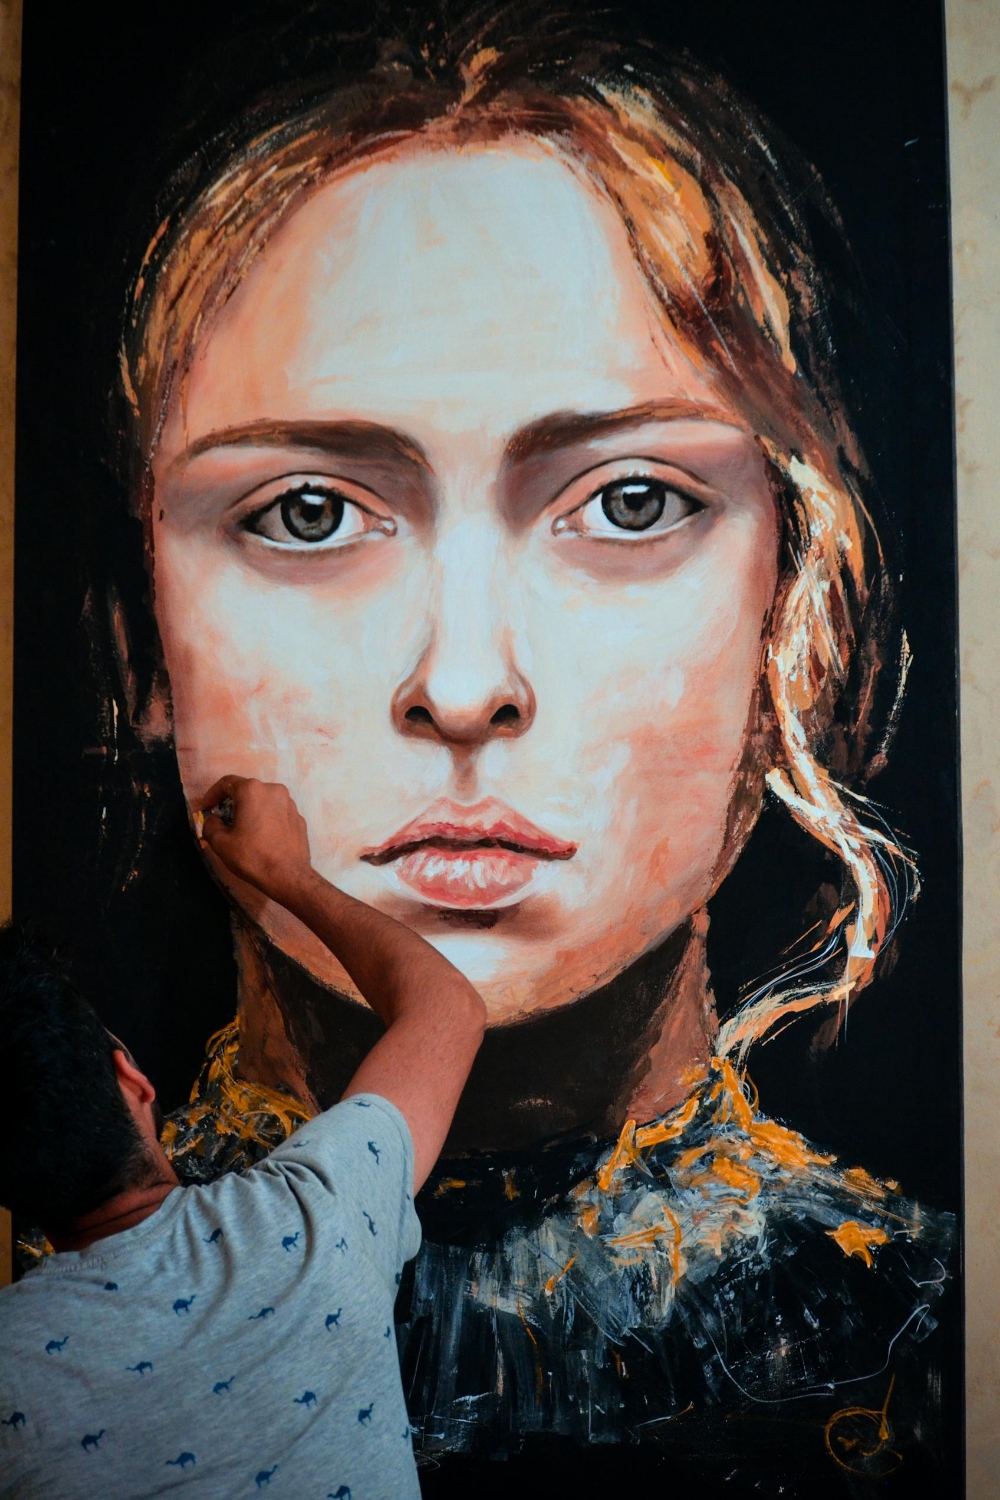
These paints feel very different when you use them. Oil paint is smooth and creamy. One of my students said it’s like painting with frosting – that’s a great way to think about it! You can see each brush stroke when you put oil paint on canvas. Acrylic paint tends to flatten out as it dries.
I learned something cool when teaching a class. We used both kinds of paint side by side. Oil paint stays wet for a long time, so you can keep mixing colors on your canvas. Acrylic paint dries fast – you can’t blend it anymore once it’s dry.
I tell people who are just starting: don’t worry about picking the “best” paint. Each type is good for different things. Oil paints give you rich colors and lots of time to work, but they smell strong and need good airflow. Acrylics are great if you want your art to dry quickly or if you like to paint in layers.
I’ve taught many new artists. Understanding how these paints work helps you pick the right one for your art. Try both kinds! It’s okay to make mistakes – that’s how you learn what works for you.
Remember: both oil and acrylic paints can make beautiful art. The best paint is the one that feels right to you.

Drying Time and Work Flexibility
Want to hear a funny story? One day, I set up my acrylic paints and took a phone call. When I came back, my paint had turned into hard plastic chips! That’s when I learned just how fast acrylic paint dries.
Let’s talk about how fast these paints dry. Acrylic paint dries in about 15-20 minutes. On hot days, it can dry even faster – sometimes in less than 10 minutes! This can be good or bad. One of my students painted a whole scene in one afternoon. You can’t do that with oil paints.
Oil paints are very different. They take days or weeks to dry fully. I once painted a fall scene with oil paints. I could work on it every day for a week, mixing colors and making the sky look just right. You can do so much with oil paints because they stay wet for so long.
Here’s what I tell my students about working with acrylic paints:
* Keep water in a spray bottle to wet your paints
* Use a special tray that keeps paint wet
* Work on small parts of your painting at a time
* Mix all your colors before you start
For oil paints, you need different tricks:
* Use special liquids to make paint dry faster if you want
* Put thin paint layers down first, thick ones last
* Plan when you’ll paint based on drying time
* Try painting wet paint over wet paint
I help my students pick the right paint for them. If you don’t have much time to paint, or need to put your supplies away after painting, try acrylics. If you like to take your time and blend colors for days, try oils.
Sometimes new painters worry about acrylic paint drying too fast. I tell them it’s like cooking – acrylics are like quick stir-fry, oils are like slow-cooking. Both make great food, just in different ways!
If you’re new to painting, start with acrylics. Make small paintings until you get used to how fast they dry. Then try oils if you want more time to blend colors. What you learn from each type of paint will help you with the other.
Both types of paint can make beautiful art. The secret is working with how they dry, not against it. Once you understand this, you’ll find the paint that works best for you.
Cost Comparison and Essential Supplies
Let me share what I’ve learned about paint costs in a simpler way. I want to help you save money and buy what you really need.
I Made Some Mistakes So You Don’t Have To
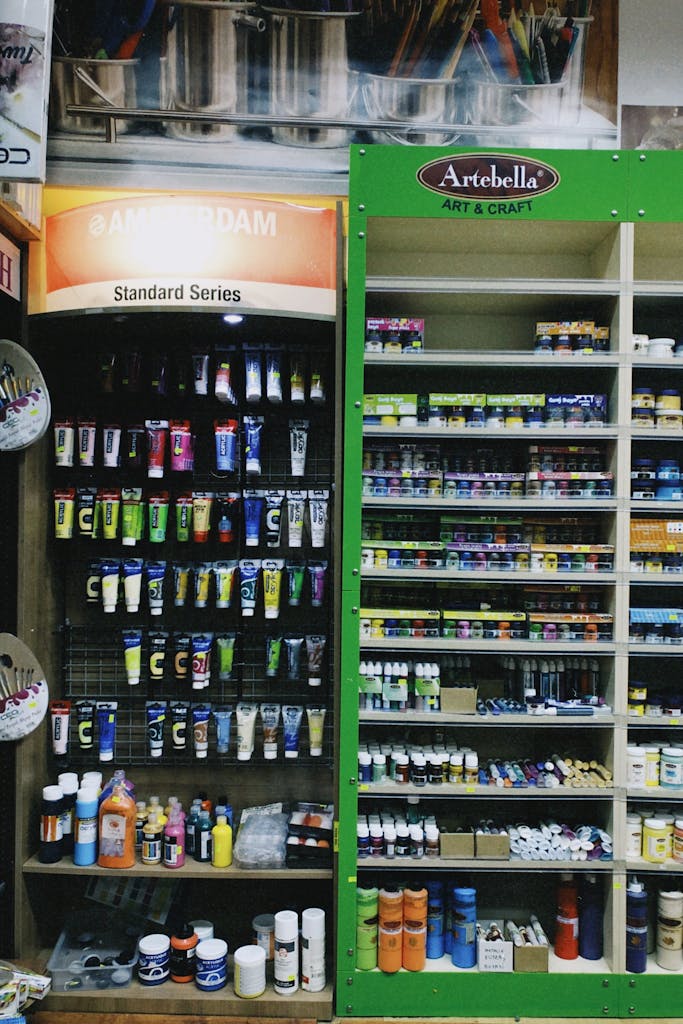
Here’s a funny story – when I first started painting, I bought everything in the art store! Most of those supplies just sat in a drawer. Now I teach art, and I know what you really need to start painting.
Let’s Talk Money
Acrylic paints cost less to start with. Here’s what you need:
* A set of student acrylic paints – about $35
* Some plastic brushes – about $25
* Canvas to paint on – about $20
* A plastic tray for mixing paint – $5
* Jars for water – free (just use clean jars from home!)
* Things like pencils and paper towels – about $10
This adds up to about $100 to start painting with acrylics.
Oil paints cost more to begin with:
* A set of student oil paints – about $50
* Better brushes – about $35
* Canvas to paint on – about $20
* A wooden mixing tray – about $20
* Things to clean your brushes – about $25
* Basic supplies and good airflow – about $35
This adds up to about $180 to start painting with oils.

Some Money-Saving Secrets
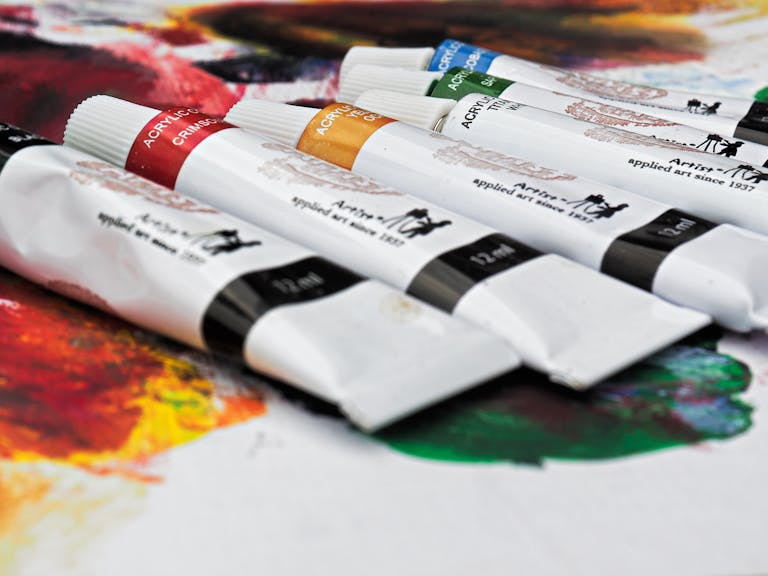
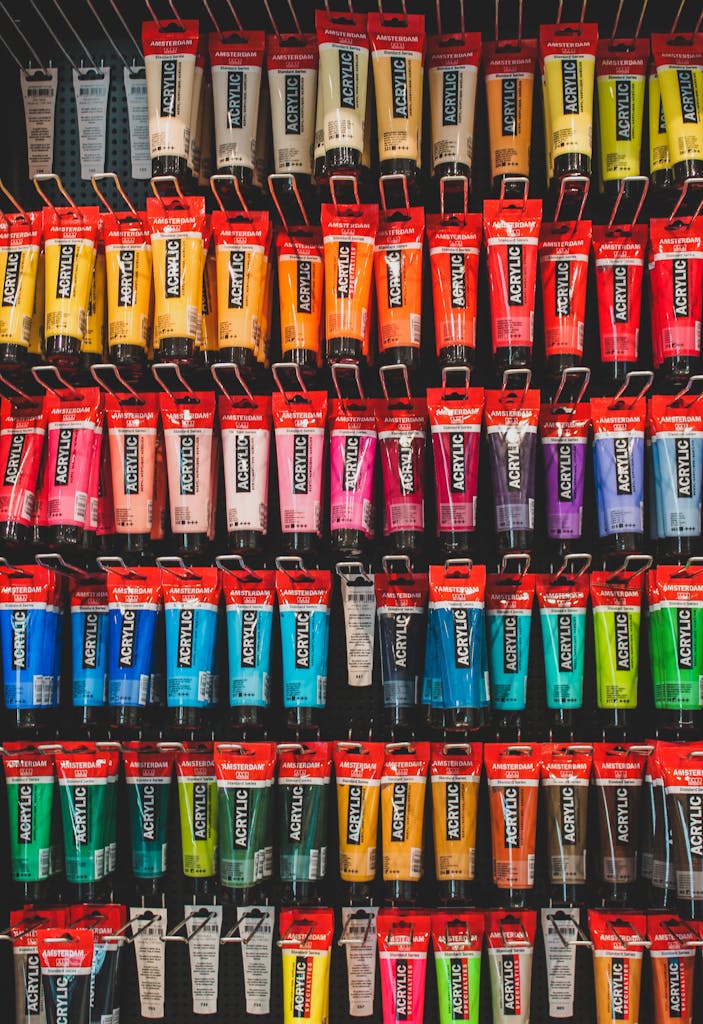
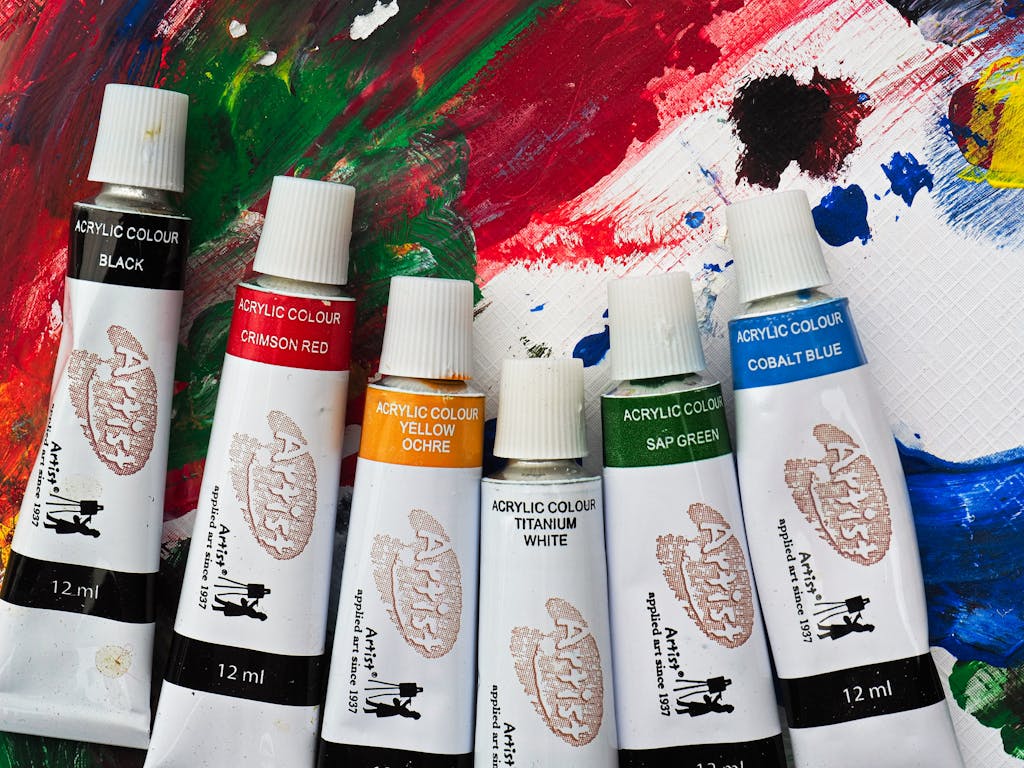
Here’s something cool I learned: you only need 6-8 colors to start! You can mix these colors to make any other color you want. Some of my students make amazing paintings with just red, blue, yellow, white, and black.
Want to save money on paint? Get a special tray that keeps paint wet. It costs about $25, but it stops your paint from drying out and going to waste. For oil paints, use a glass tray with a lid to keep the paint fresh longer.
Good News About Cheap Paint
You don’t need expensive paint to make good art. I’ve seen beautiful paintings made with student paint. The cheap paint just might not be as bright or cover as well as expensive paint.
Here’s What I Tell My Students:
* Start with student paint (but not the very cheapest kind)
* Buy better brushes over time
* Buy bigger tubes of colors you use most
* Take good care of your supplies so they last
Take care of your art supplies! I once lost some expensive brushes because I didn’t clean them right. If you store your supplies well, they’ll last much longer.
You don’t need to spend a lot of money to start painting. Learn the basics first with simple supplies. You can always buy better supplies later when you’re ready.
Learning Curve and Techniques
Let me rewrite this in a friendlier way, sharing what I’ve learned about teaching people to paint.
Learning to Paint: What I’ve Learned as a Teacher
Want to know what new painters always say to me? “I messed it up!” But here’s something cool I’ve learned from teaching – those mess-ups are how you learn. Let me tell you what I know about learning to paint with acrylics and oils.
Learning Acrylic Paint
Acrylic paint is like driving a car with automatic transmission – it’s easier to start with. The paint stays where you put it. One day, a student was upset because her paint was drying too fast when she tried to blend colors. I showed her a trick I call the “two-brush method.” Use one brush to put the paint on, and keep another brush a little wet for blending. It works great!
Learning Oil Paint
Oil paint is more like driving a stick-shift car. It’s harder to learn at first, but you can do more with it. When I started using oil paints, I fought against how thick and buttery they felt. Now, I teach my students to love that feeling – it’s what makes oil paints special.
Mistakes Everyone Makes
With acrylic paint, here are things to watch out for:
* Using too much water makes the paint weak
* Not getting your canvas ready the right way
* Trying to blend paint that’s already starting to dry
* Using tiny brushes for big areas
With oil paint, people often make these mistakes:
* Mixing colors until they turn brown
* Using too much paint thinner
* Getting in a hurry
Different Ways to Paint
Acrylic paint dries fast, so you need to work quickly and paint small areas at a time. I showed my class how to put on layers of paint, waiting just a few minutes between each one. They were surprised to see how the colors looked different when wet and dry!
Oil paint stays wet longer, so you can blend colors together on your canvas. But here’s something that took me years to learn – just because you can keep blending doesn’t mean you should. Sometimes it’s better to leave it alone.
Colors and Cleaning
Both kinds of paint use the same color rules, but they work differently. Acrylic paint looks about the same when it dries. Oil paint can change a little as it dries, and it has a special shine.
You have to clean your brushes differently for each kind of paint. With acrylics, clean them fast – I keep water right next to me when I paint. With oils, you have more time to clean up, but you have to do it right. I once ruined a good brush by not cleaning it well enough!
The Big Secret
Here’s the most important thing I’ve learned: acrylic and oil paints need different ways of thinking. With acrylics, be quick and sure about what you’re doing. With oils, take your time and plan ahead.
Remember: everyone is learning when they start. Keep practicing, and don’t worry if your paintings aren’t perfect right away. Learn the basics first, and the rest will come with time.
Workspace Requirements and Safety
Let me tell you about the first time I set up a room for painting. I was so excited! I had a tiny spare bedroom in my house, and I filled it with all my new art supplies. I set up a small table near the window and put my paints in neat rows. I couldn’t wait to start painting with oils.
That first day of painting taught me a big lesson. I closed the door and started working on a sunset picture. After an hour, my head really hurt. The oil paint smell was so strong in that tiny room! I had to run out and open all the windows. That’s when I learned that oil paint needs lots of fresh air.
These days, I teach others how to set up their paint rooms the right way. First, we talk about air. Acrylic paint is easy – you just need a normal room with maybe a window open. But oil paint? That needs more care. You must have windows open and fans running. I even bought an air cleaner, which really helped!
Cleaning up is another thing I had to learn about. Acrylic paint cleans up with soap and water, like washing dishes. But oil paint needs special cleaning liquids. I keep these in covered jars and always wear gloves when I use them. I learned to clean my brushes in a special spot away from where I paint. This keeps my painting space cleaner and safer.
Storing paint right is super important too. I once lost an expensive tube of oil paint because I didn’t close it right. Now, I keep my acrylic paints standing up where they won’t freeze. My oil paints stay out of bright sun, with their tops on tight. I write labels on everything so I know what’s what.
The most important thing I tell my students is to think about their health first. No food or drinks near paint – even if you’re really thirsty! Always wash your hands after painting. Use good lights so you can see well. Keep oily rags in metal bins, and never pour cleaning liquids down the sink.
You don’t need a fancy room to make great art. I’ve seen amazing paintings made in tiny spaces. But you do need a safe space. Start with good storage boxes and safety gear. Get some gloves and an apron. Make sure you have good airflow. You can always buy better paint later, but staying safe comes first.
I love my painting room now. It has big windows that open wide, good lights, and clean air. My brushes stay clean in their holders, and my paints are stored safely. Best of all, I can paint for hours without a headache! Setting up a safe space means I can focus on making art, not worrying about fumes or spills.
Remember my first mistake with that tiny, stuffy room? It taught me that good art starts with a safe place to work. Now I can paint whenever I want, and my family doesn’t mind the smell anymore. That’s what I call a happy ending!
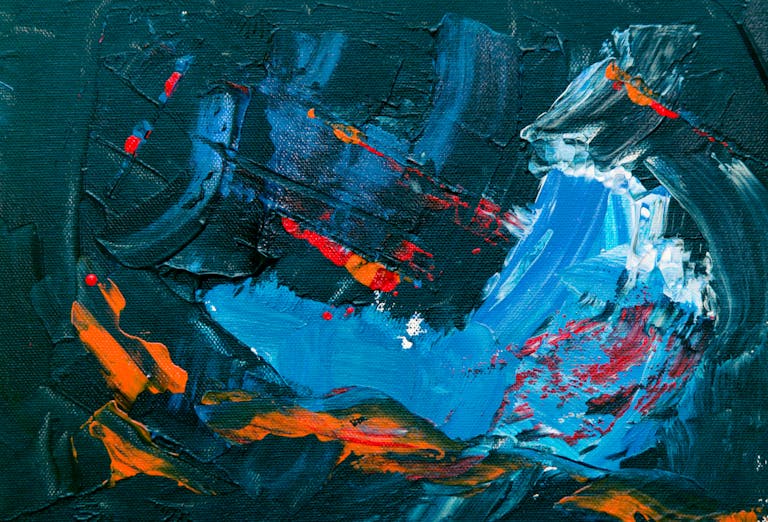
Creative Possibilities and Limitations
I remember a funny thing that happened when I was teaching art. One of my students thought oil paint was better than acrylic paint for everything. Then she tried to make thick, bumpy art with oil paint. It took forever to dry! That’s when she learned that each type of paint is good for different things. Let me tell you what I’ve learned about both kinds.
Colors and How They Work
Acrylic paint plays tricks with color. When it dries, it gets a little darker. One time, I painted a light blue sky. When I came back the next day, it was much darker than I wanted! Now, I tell my students to mix their colors a bit lighter than they want them to end up. Oil paint doesn’t do this – the color stays about the same when it dries.
What Each Paint Can Do Best
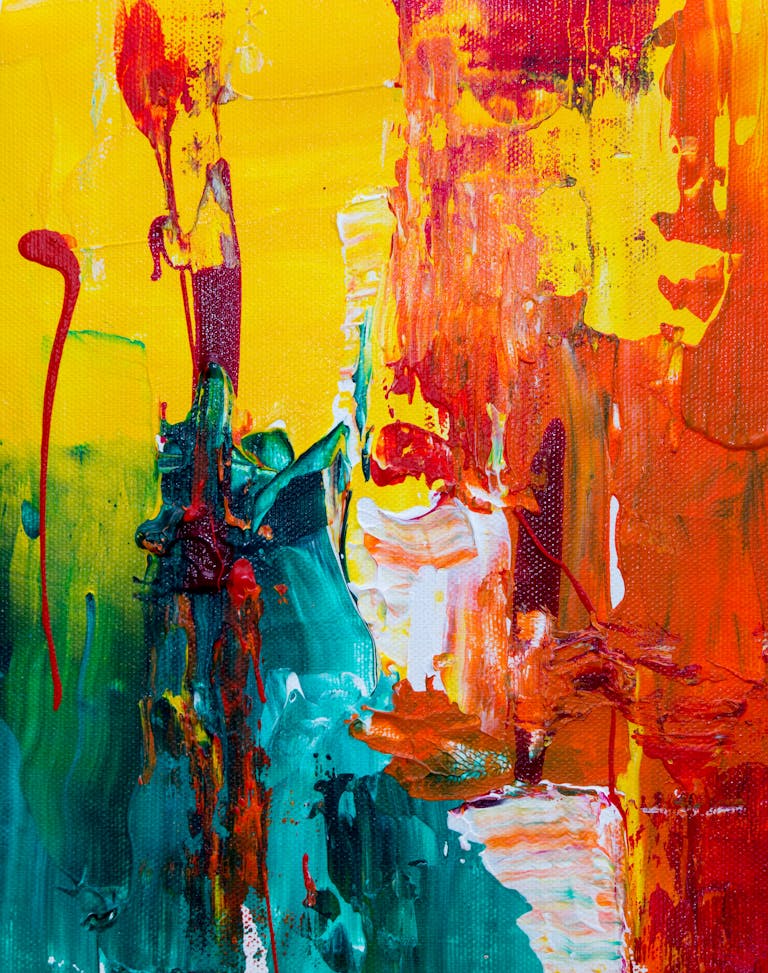
Acrylic paint is great for:
* Making lots of layers quickly
* Clean, sharp lines
* Making bumpy, rough surfaces
* Flat, smooth areas like you see on posters
Oil paint is great for:
* Smooth, buttery brush strokes
* Mixing colors together softly
* Making paint look like it glows
* Thick paint that keeps its shape
Where You Can Paint
Here’s something funny – one of my students once tried using oil paint on plain paper. What a mess! Acrylic paint is easier. It sticks to almost anything. One of my students even painted her flower pots! Oil paint needs special surfaces that are ready for paint.
Making Special Effects
Acrylic paint lets you:
* Pour it to make fun designs
* Add things like paper or fabric to your painting
* Make layers quickly
* Mix it with other art stuff
Oil paint lets you:
* Blend colors together slowly
* Make see-through layers
* Make soft, cloudy effects
* Mix wet paint together on your canvas
Making Your Art Last
Both kinds of paint can last a long time if you take care of them. Acrylic paintings are tough and don’t change color much. Oil paintings need more care, but they can last hundreds of years if you do it right. I tell my students, “Make good art – it might last longer than you do!”
Trying New Things
The best part about teaching art is seeing what new things people try. Some students make acrylic paint look like oil paint. Others mix different types of paint in new ways. Some try painting on weird things to see what happens.
Every kind of paint has things it’s good at and things it’s not so good at. The best artists don’t fight with their paint – they learn what it’s good at and use that to make great art. After all, famous artists like Rembrandt didn’t wish his oil paint would dry faster, and Andy Warhol didn’t wish his acrylic paint would blend like oil paint. They just got really good at using their paint the right way.
What Does All this Mean?
Let me share a story about two students, Sarah and Jim, that taught me about choosing the right paint.
Sarah, a busy mom, tried oil paints but got frustrated because they took too long to dry. When she switched to acrylics, she was thrilled! They dried quickly, allowing her to paint while waiting for her kids.
On the other hand, Jim, a retired teacher, started with acrylics but didn’t like how fast they dried. When he tried oil paints, he loved being able to take his time and perfect his work.
From their experiences, I learned that the best paint depends on your lifestyle. Now, I ask students about their routines and let them try both types of paint before buying.
In the end, many students end up using both kinds. Sarah is teaching her daughter to paint with acrylics, and Jim enjoys oil paints for longer projects.
So don’t worry about picking the perfect paint right away. Try both and see what inspires you to keep creating!
By Antonio Limongi MA EdS
Limongi, Owner of Antonio Limongi Fine Art LLC, is a Master Painter, Portrait Artist, and Art Instructor with 20 years of experience. He reports on issues in Fine Art Education, Creating Art, Investing in Art, and Selling Fine Art.

Generated with Pin Generator