Switching from Acrylics to Oils: A Complete Beginner’s Guide
Switching from acrylic to oil paints is like moving from a microwave to a fancy kitchen! It can feel scary at first—many artists feel the same way. I remember when I started using oils; it felt like I was learning to paint again. But the great news is that oil paints offer so many new possibilities!
They’re like having super-slow-drying paints that let you blend colors for hours instead of minutes. Sure, many artists feel nervous about trying oils (about 65% feel this way), but that’s normal. Think of it like learning to ride a bike – at first, it seems tricky, but once you get the hang of it, you’ll love the freedom it gives you. I’m excited to share everything I wish someone had told me when I started with oils. Trust me, once you get comfortable with these paints, you’ll discover amazing new ways to create art that weren’t possible with acrylics.
Key Differences Between Acrylics and Oil Paints
Let’s talk about how acrylic and oil paints differ – it’s simpler than you might think!
Acrylic paints dry quickly, often in just a few minutes, while oil paints take much longer—sometimes days. This means mixing and blending oil paints on your canvas for hours!
The paints feel different, too. Acrylics feel like thick craft paint – they get sticky as they dry. Oil paints feel more like butter – smooth and creamy- and stay that way while you work. When I first tried oils, I was amazed at how smoothly they spread on the canvas.
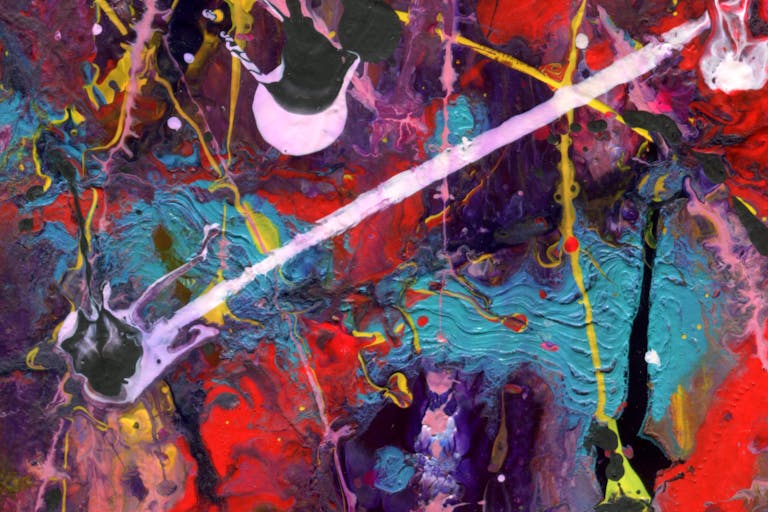
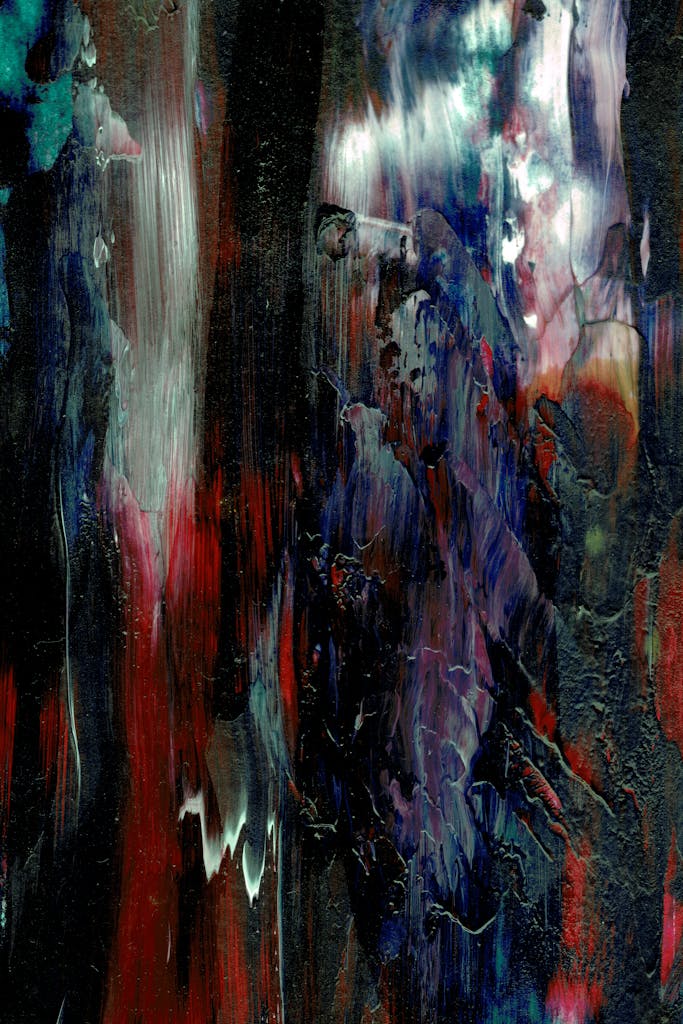
Colors look different in these paints, too. Think of acrylics like regular TV and oils like a fancy 4K screen – the colors in oils look more profound and more prosperous. Plus, oils have this special glow that acrylics can’t match. I still remember the first time I saw how an oil painting seemed to shine from within!
Blending colors is different, too. With acrylics, you have to work fast because they dry so quickly. But with oils, you can take your time mixing colors right on your canvas. It’s like mixing quick-set cement and playing with clay – one gives you time to get things right, while the other makes you rush.
Both paints have their perks—they’re just suited for different tasks. Think of it like choosing between a pencil and a marker; each brings a unique touch to your art!ferences Between Acrylics and Oil Paints
Essential Oil Painting Materials for Acrylic Artists
Let me tell you about switching from acrylic to oil paints – and what supplies you need to start. Don’t worry, you won’t need to buy everything in the art store!
I remember one of my students arriving to class with her acrylic brushes, thinking they’d work for oil painting. Poor thing! Those soft brushes couldn’t handle the thick oil paint at all. It was like trying to spread peanut butter with a paper straw—just silly!
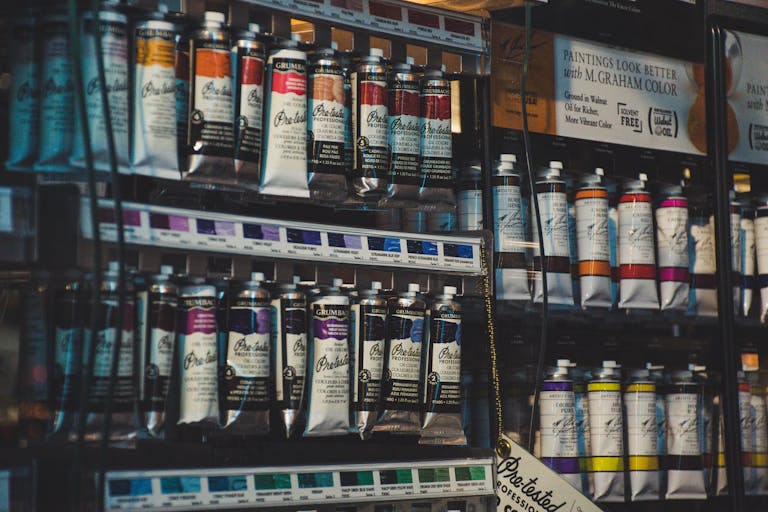
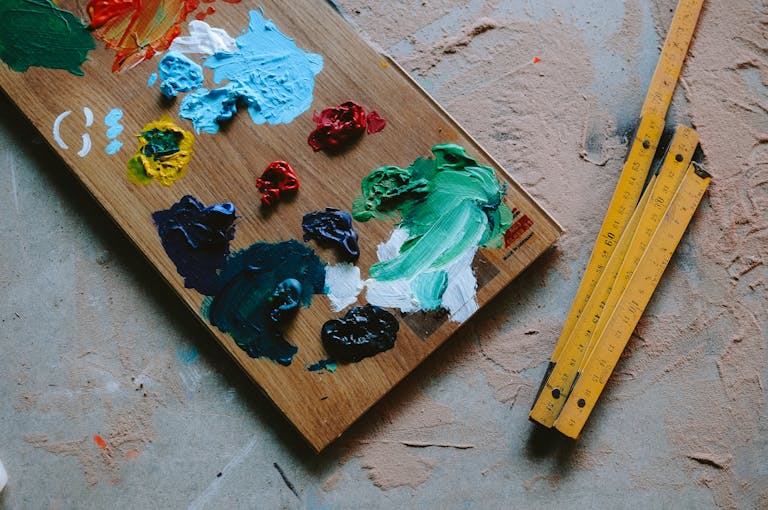
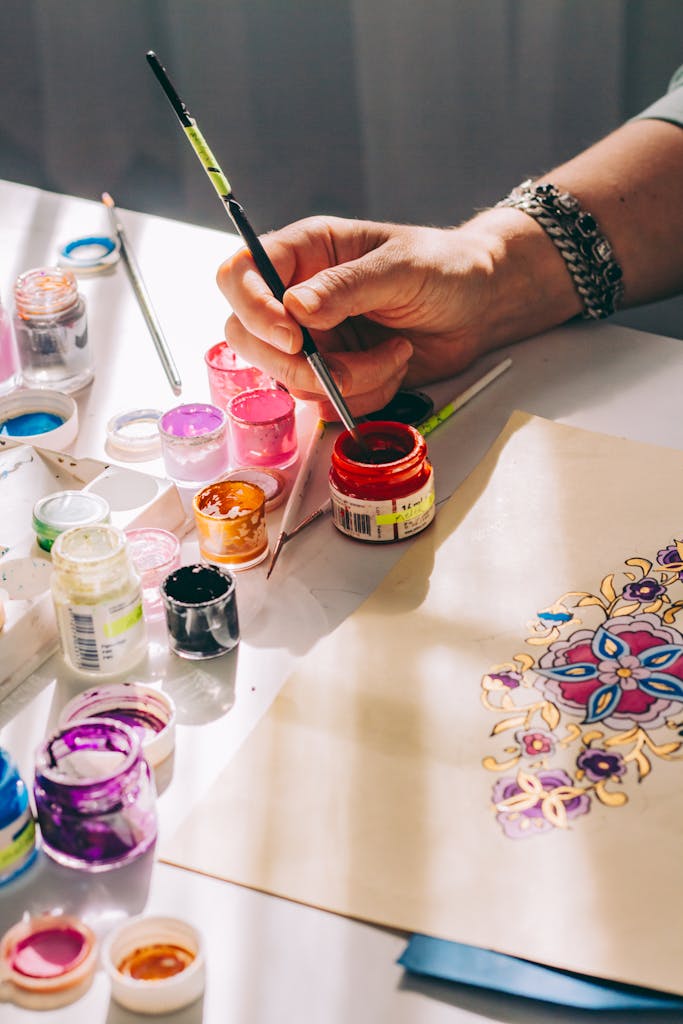
Here’s what you need to start painting with oils: First, get five basic colors – white, blue, yellow, red, and brown. That’s it! You can mix these to make almost any color you want. It’s like having a basic cooking kit – you don’t need twenty spices to make a good meal.
You’ll also some liquids, and or soap – linseed oil and odorless mineral spirits. The oil makes your paint flow better, and the mineral spirits help clean your brushes. Another way is to get a bar of simple white soap and brush the bar under water and gently brush it in your palm, it works very well with no chemicals. Don’t let the art store talk you into buying lots of fancy bottles – these are all you need to start.
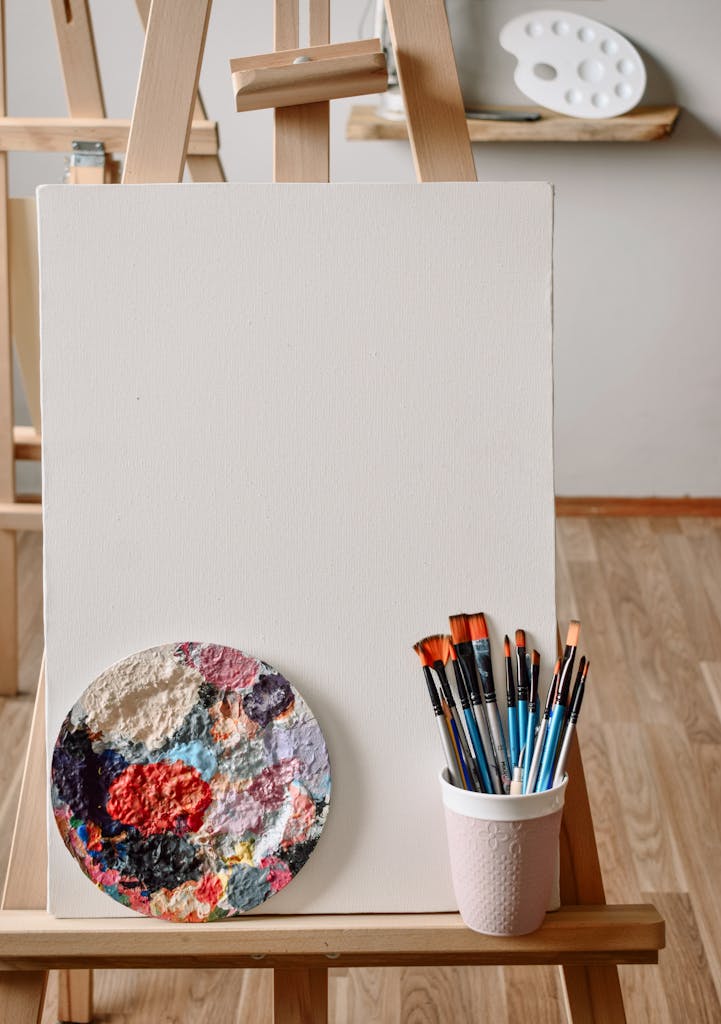
Get three good ones for brushes: two flat brushes (one medium and one large) and one small round brush. Make sure they’re made with stiff bristles – they’re like the workhorses of oil painting. They cost more but last longer and work better than soft brushes.
Here’s a money-saving trick I teach my students: Buy expensive paint for colors you use a lot (like white) and cheaper student paint for others while you’re learning. It’s like buying an excellent chef’s knife but cheaper pans while learning to cook.
One surprising thing about oil paint is that you can’t just close up your palette and come back tomorrow like with acrylics. But I’ve got a nifty trick: wrap your palette in wax paper and put it in the freezer! The paint will stay fresh for days.
Remember, you’ll need good airflow in your painting space – open a window or use a fan. And get some old cotton rags (I just cut up old t-shirts) for cleanup. Oil paint doesn’t wash off with water like acrylics do.
Start with these basics and add more supplies as you learn what you need. Trust me – it’s better to have a few good tools you know to use than a whole art store full of stuff you don’t understand yet!
Adapting Your Painting Techniques
Let me tell you about moving from acrylic to oil paints – it’s like switching from driving an automatic car to a manual one. Same road, but a totally different way of handling!
I once showed my acrylic painting class how to use oils. When I mixed colors on the canvas, the students were amazed! One even gasped, “You can DO that?” Unlike acrylics, which dry quickly and need fast work, oils stay wet for hours. It really felt like magic!
Here’s something that might feel strange: With acrylics, you usually paint dark colors first, then light ones on top. But with oils, you often do the opposite! I learned this the hard way when my light colors got muddy because the dark paint underneath wasn’t dry yet. Oops!
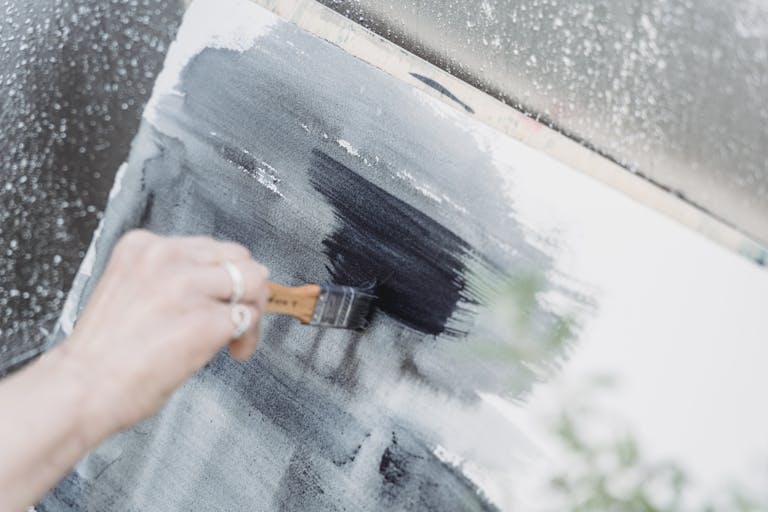
Oils feel different under your brush. Acrylics grab onto the canvas right away, but oils feel slippery—like painting with butter. One of my students got frustrated because her brushstrokes weren’t “sticking” like they did with acrylics. But that’s actually how the paint works! You have time to blend and play with the paint!
Here’s a really important tip: When painting with oils, each nHere’ser needs a little more oil mixed in. I call it the “sandwich rule” – start thin, then get thicker. Skip this rule” and your pai” ting might crack! I made this mistake a lot when I was learning.
And here’s my favorite part about oils – you don’t have to rush! Where’srylics, you’re always racing againsdon’t paint drying. But with oils, you’ll take your time to blend colors and make smooth changes. Just remember – don’t fiddle with it too much. Even oils can get muddy if you don’t use them.
Remember, learning oils takes time. Don’t get frustrated if your first paintings don’t look like masterpieces. Every “mistake” teaches you something new. Sometimes, the paint does unexpected things that turn out beautiful – I call these “happy accidents.” Learning to work with these surprises is part of the fun!
Common Challenges and Solutions
Let me tell you about the tricky parts of switching to oil paints and how to handle them. After teaching many students, I’ve seen almost every problem you can imagine!
Want to know what I have the biggest headache with oil paints? It’s how long they take to dry! I had one student who was used to finishing her acrylic paintings in a day – she nearly went crazy waiting for her oil paint to dry. Here’s a cool trick: work on several paintings at once. While one is drying, you can paint another!
Cleaning up oil paints is totally different from acrylics, too. You can’t just rinse your brushes in water anymore! I’ll never forget when one of my students tried that in her bathroom sink – what a mess! My simple cleaning method is to wipe off extra paint with paper towels. Then clean your brush in mineral spirits (it’s like paint thinner). You can’t just rinse your brushes in water anymore! I’ll never forget when one of my students tried that in her bathroom sink – what a mess! My simple cleaning method is to wipe off extra paint with paper towels.
Mixing colors with oils can be tricky at first. Unlike acrylics, oil colors get a bit darker as they dry. It’s like making coffee – it looks lighter in your cup than in your mug! I tell my students to mix their colors slightly brighter than they want because they’ll darken up later.
One of my students thought she could thin her oil paints like she does with acrylics. It was a funny mess—oil and water don’t mix! Instead, she should use linseed oil to thin her paints. It’s similar to water versus milk in cooking; they are both liquids but behave differently.
Remember, every mistake teaches you something new about oil paints. It’s like learning to ride a bike – you might wobble at first, but soon, you’ll be cruising along like a pro!
Understanding Oil Paints: Safety and Studio Setup
Let me tell you about staying safe when painting. After teaching for years, I’ve learned some essential safety tips I want to share!
I learned this the hard way. One time, a student got a headache because we didn’t have enough fresh air in the room. Now, I’m super careful about ensuring good airflow. I always keep a window open and run the fan. It’s like having a nice breeze throughout the studio!
Oil paints and the liquids used with them aren’t like acrylic paints. You can’t just use any liquid with them. That isn’t good for the environment. It’s essential to be aware of the materials we use in painting.
Did you know that rags soaked in certain substances can catch fire on their own if you’re not careful? I learned this lesson when some rags got hot in my trash can. I always store them in a safe, fireproof metal container, like a cookie tin.
Here’s my setup for staying safe while painting: Keep your paint tightly sealed with the lids firmly on, and always label your containers clearly. I have a stable work surface where everything is secure, so they won’t tip over. I learned that lesson the hard way after spilling mineral spirits once—what a mess! It’s essential to keep your workspace clean and organized, just like you would when cooking.
Fresh air is really important when painting with oils. I don’t just open windows if it’s too cold; I use air cleaners instead. They can be expensive, but breathing clean air is totally worth it. Plus, good air helps me create better paintings!
These safety tips may seem overwhelming initially, but they will become second nature with practice. For example, remember to look both ways before crossing the street.
Let me also share my experience helping beginners with their first oil painting project. After teaching for years, I have discovered the best ways to help people feel comfortable with these new paints!
I remember watching one of my students try oil paints for the first time. She was great with acrylics and tried to paint super fast, just like she did with those. But oils don’t work that way! Her painting got muddy because she didn’t give each layer time to set. It was like trying to frost a cake before it cooled – everything gets messy!
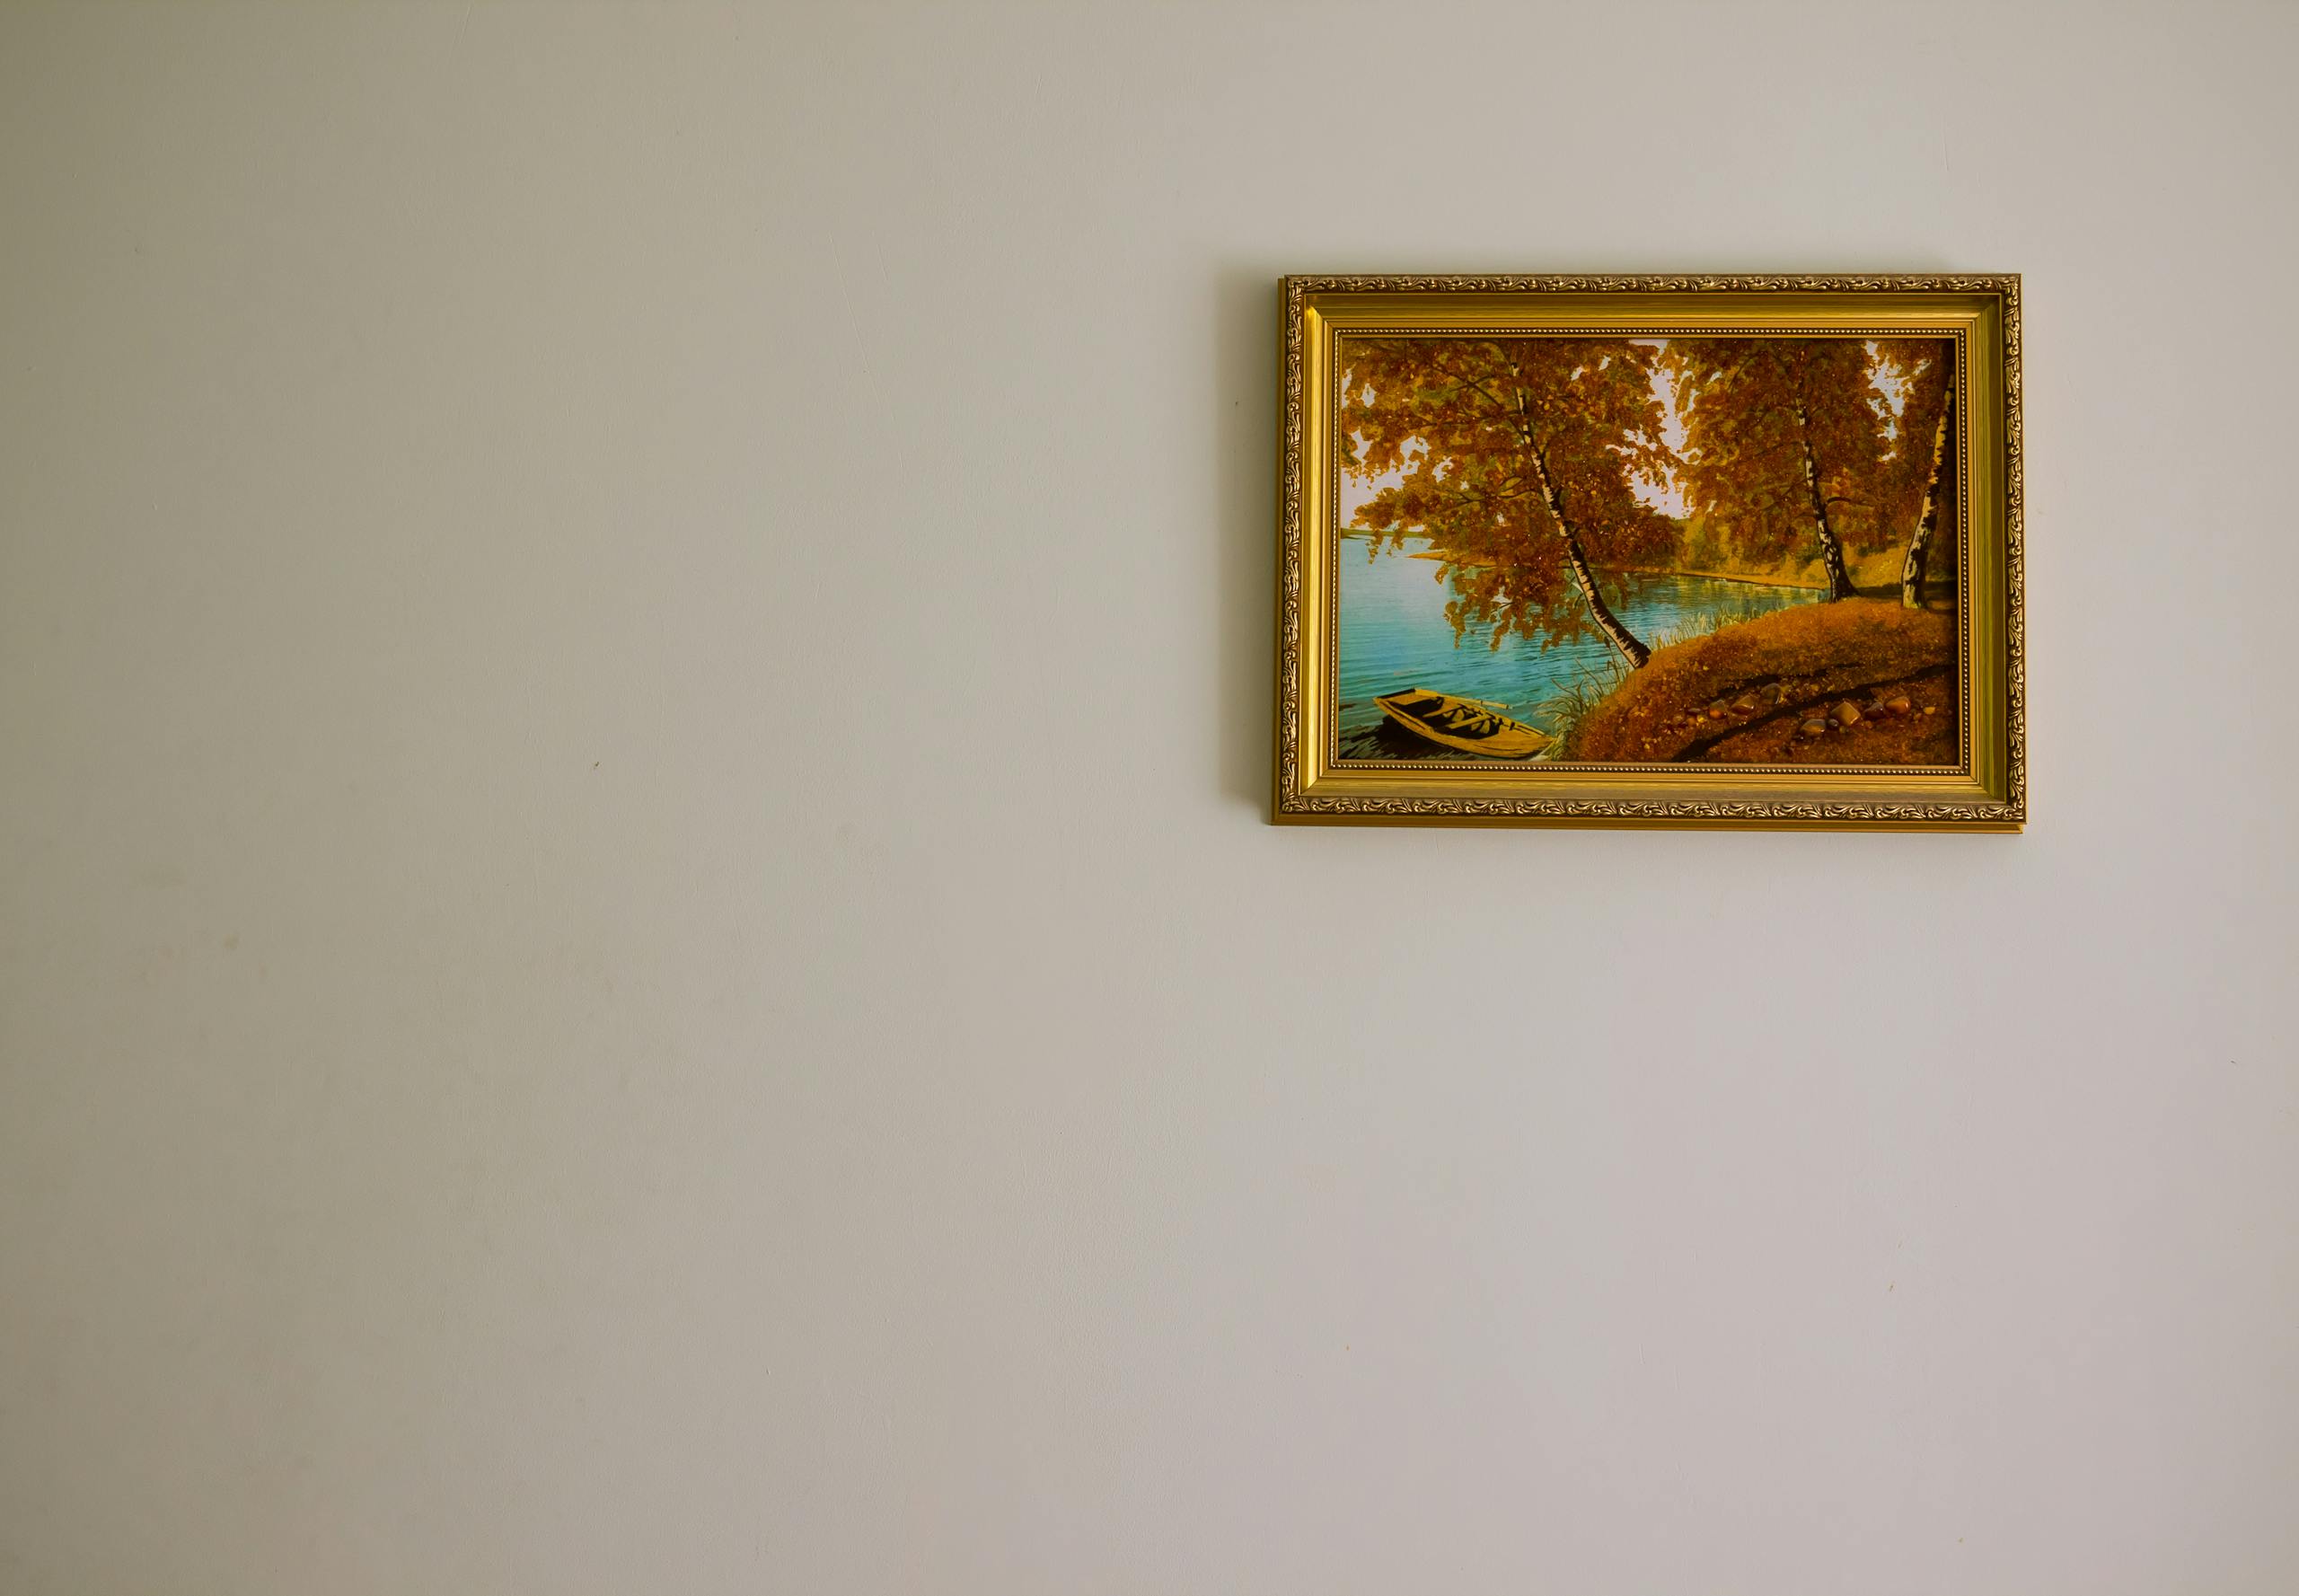
Here’s how I help people start now: Begin with something simple to paint, like two or three objects on a table. Nothing fancy! Once, a student wanted to paint a whole landscape as her first oil painting. Poor thing got totally overwhelmed – it was like trying to run before learning to walk.
Let’s Wrap It Up
Let me share my simple three-day plan:
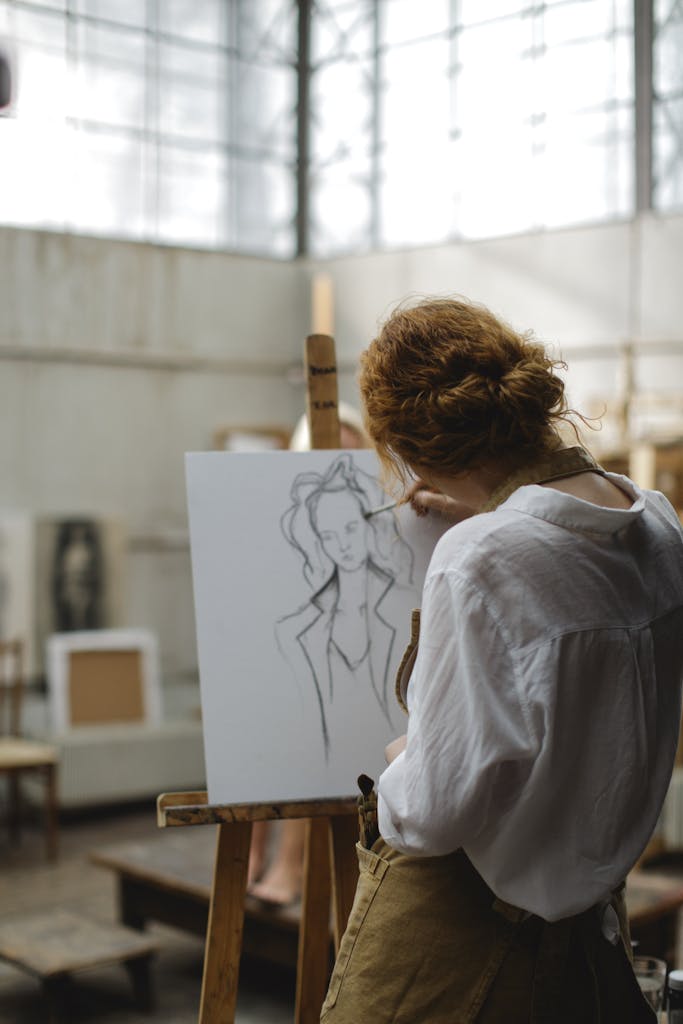
– First day: Make a light brown sketch to map out your painting
– Second day: Add your primary colors
– Third day: Add the details that make it special
Here’s a cool trick: Work on more than one painting at a time. While one is drying, you can work on another. It’s like having cookies in the oven while mixing dough for the next batch!
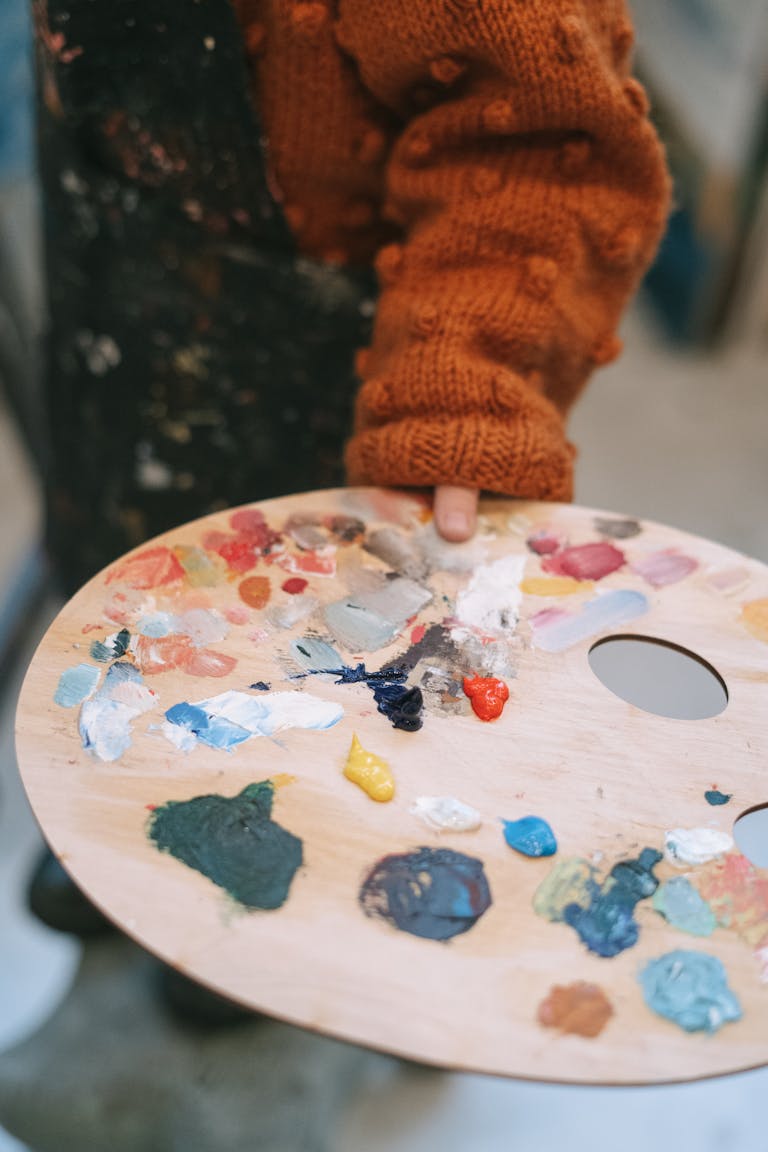
Practice mixing colors on your palette before putting them on your canvas. One of my students got so excited when she realized she could blend colors on the canvas because oils stay wet for so long! But keep it simple – you only need two extra liquids to start: linseed oil and odorless paint thinner.
Your first oil painting doesn’t have to be perfect! It’s normal to feel upset if it’s not as good as your acrylic ones. Think of it like trying to write with your other hand—it takes practice. Just focus on learning how the paint works, and you’ll improve with each painting you make.
By Antonio Limongi MA EdS
Limongi, Owner of Antonio Limongi Fine Art LLC, is a Master Painter, Portrait Artist, and Art Instructor with 20 years of experience. He reports on issues in Fine Art Education, Creating Art, Investing in Art, and Selling Fine Art.