15 Common Oil Painting Mistakes and How to Fix Them: Expert Tips for Better Artwork
Let me tell you about some common oil painting mistakes every artist makes – even the famous ones! You might be surprised to learn that Vincent van Gogh had the same struggles while learning to paint. It’s comforting to know that even the most significant artists had to figure things out through trial and error.
Let me tell you about one of my students who almost gave up painting because her colors kept turning muddy and brown. The poor thing was so frustrated! But then something amazing happened – once she understood why her colors were getting muddy, painting became fun again.
What I love about teaching art is seeing students have their “lightbulb moments.” It’s like learning to bake cookies and realizing the oven is too hot. Once you spot the problem, fixing it is often easy!
Painting mistakes can be great teachers. If your colors look muddy or your paint isn’t drying, don’t worry! These are chances to learn and improve.
Whether you’re new to painting or have some experience, understanding common mistakes can help. I’ve made these errors, too, and I can help you avoid them!
Ready to turn “Oh no!” moments into “Aha!” moments? Let’s tackle those painting challenges together!
Poor Surface Preparation Mistakes
Let me tell you about a big mistake I made when painting with oils. I could save time by skipping a vital step – preparing my canvas. The canvas looked nice and white, so I figured, why bother? Oh boy, was I wrong!
Do you know what happened? My expensive paint just soaked right into the canvas like water into a paper towel! The colors looked dull and lifeless. Even worse, after a few months, the canvas started falling apart where the oil paint had touched it. That was an expensive lesson – it cost me about $50 worth of supplies!
I learned that you need to prepare your canvas with special coatings. First, you need sizing (I use rabbit skin glue, but there are modern options too). It’s like putting a waterproof coating on a wooden deck – it protects what’s underneath.
Then comes the white stuff called gesso. I used to glob it on thick, thinking more was better. Wrong again! You want 3-4 thin layers instead and sand lightly between each one. I do the first layer side to side, the next up and down, and so on. This makes the canvas smooth and ready for paint.
Want to know another funny mistake I made? I tried preparing canvases in my garage during a hot, humid summer. The gesso got all bumpy and weird – like trying to spread frosting on a hot cake! Now, I only prepare canvases indoors where they are cool and dry.
Remember – rushing never helps. Each layer needs a full day to dry. I once ran it, and months later, right in the middle of painting something for a customer, the whole surface cracked! Talk about embarrassing!
I have a checklist on my studio wall to help me remember all the steps. It takes a few days to prepare a canvas properly, but it’s worth it. Think of it like baking a cake – if you rush the preparation, no amount of fancy frosting will make it turn out right!
Color Mixing and Palette Management Issues
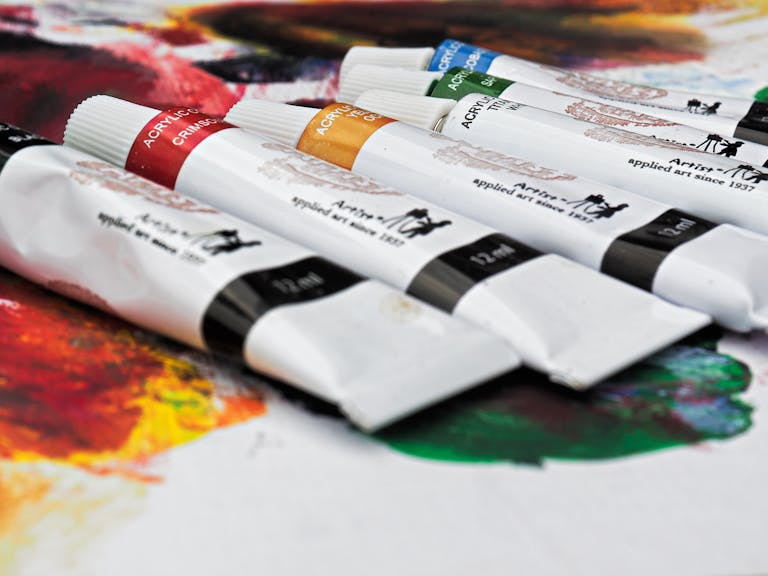
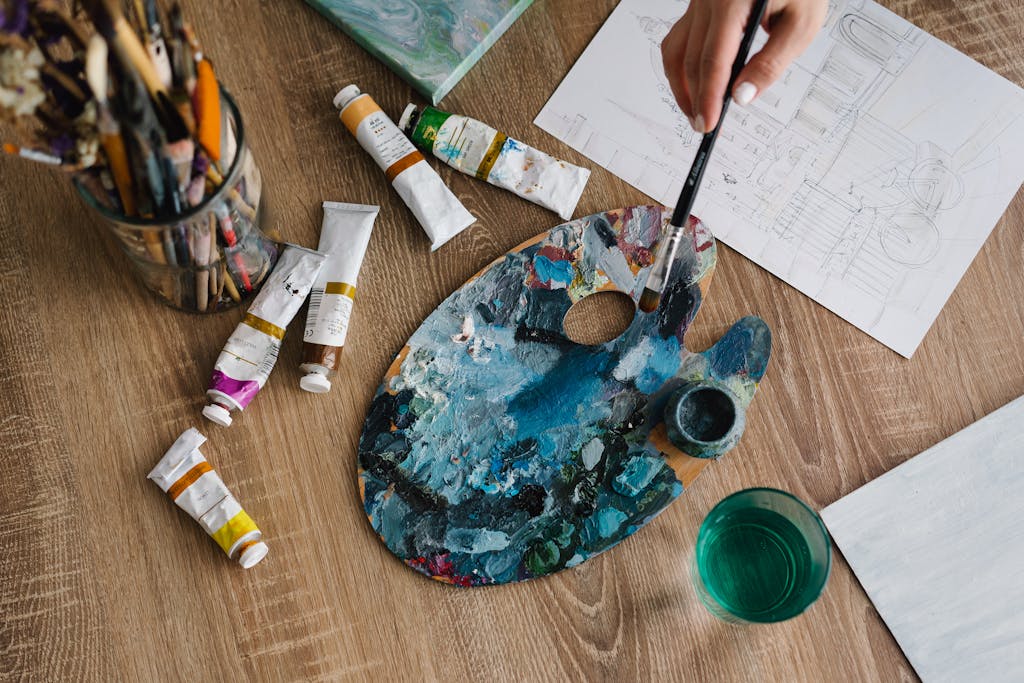
Let me tell you about mixing colors and keeping your paints organized – I learned these lessons the hard way and can help you avoid my messy mistakes!
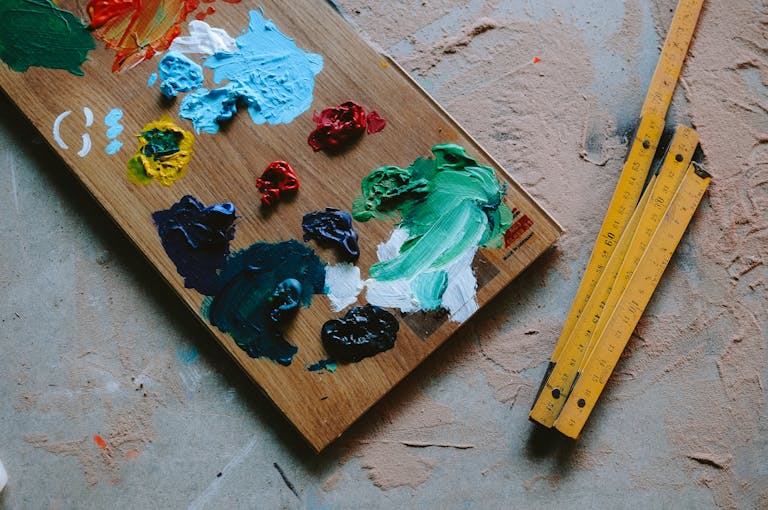
When I first started painting, my palette looked like a muddy playground after rain! I kept mixing and mixing colors, thinking I could fix them, but it only worsened things. Now, I know better and want to share what I’ve learned.
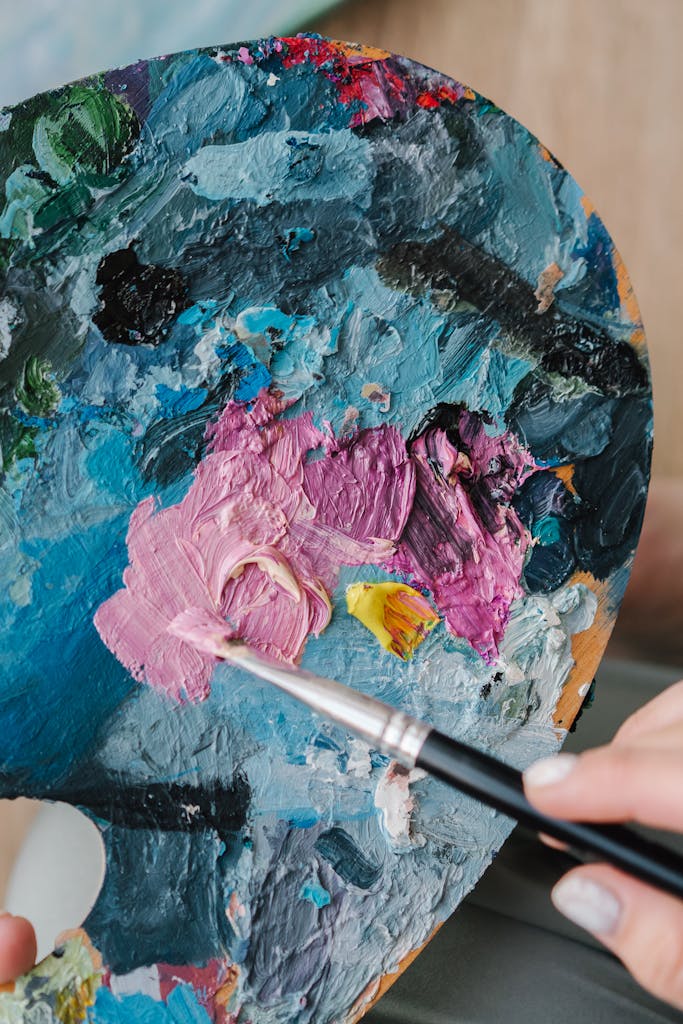
Something changed everything for me: Understanding warm and cool colors. Think about it like this – just like there are warm, sunny days and cool, cloudy ones, there are warm and cool blues, yellows, and reds. Mixing warm blue with cool yellow gives you different greens than mixing cool blue with warm yellow. Pretty neat?
Want to know my most significant time and money-saving trick? Start with just a tiny bit of paint! I used to squeeze out giant blobs of paint, thinking I needed lots. Most of it dried up and went to waste. Now, I start small and add more if I need it. I even keep leftover paint fresh by covering it with plastic wrap and putting it in the freezer – it sounds weird, but it works!
I once tried to mix the perfect green for a forest painting. I ended up with a brown mess and wasted $30 on paint! Now, I stick to just blue and yellow for a better green. Here’s
Remember – mixing colors is like cooking. You wouldn’t throw random ingredients into a pot and expect a delicious meal. Consider what colors you’re mixing, and keep your paints clean and organized. Your paintings (and your wallet!) will thank you.
Fundamental Technical Mistakes
Let me tell you about some big mistakes I made when learning to paint with oils – and how you can avoid them! Looking back at my early paintings makes me laugh now. They had weird, crusty textures and cracked paint because I didn’t know some essential basics.
Here’s a funny story about my first disaster: I was painting a portrait and thought I could make my paint thinner by adding a splash. Big mistake! The paint was runny and patchy, like watery soup instead of smooth cream. Paint should be more like soft butter – thick enough to hold its shape but smooth enough to spread quickly.
Want to know what really surprised me? Different colors of paint need different treatments! White paint needs more special oil than brown paint to work right. It’s like cooking – some ingredients need more liquid than others to make the recipe work.
Here’s another mistake: I used to clean my brushes by just swishing them in paint thinner and calling it done. Three months later, my brushes were as stiff as sticks! Now I treat my brushes like they’re precious. After each use, I wash them with soap, shape them to a point, and store them standing up. Taking good care of your tools makes such a difference!
Temperature matters, too! When my studio gets cold in winter, the paint gets stiff and rigid – like trying to spread cold butter on bread. I learned to warm up my palette or add a bit more oil to keep the paint smooth.
Remember – everyone makes mistakes when they’re learning. The important thing is to learn from them! Start with these basics, and you’ll be amazed at how much better your paintings turn out.
Composition and Planning Errors
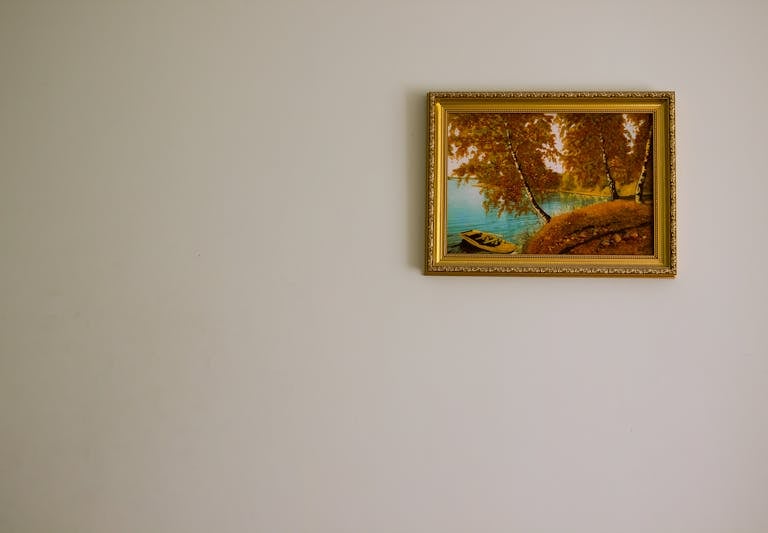
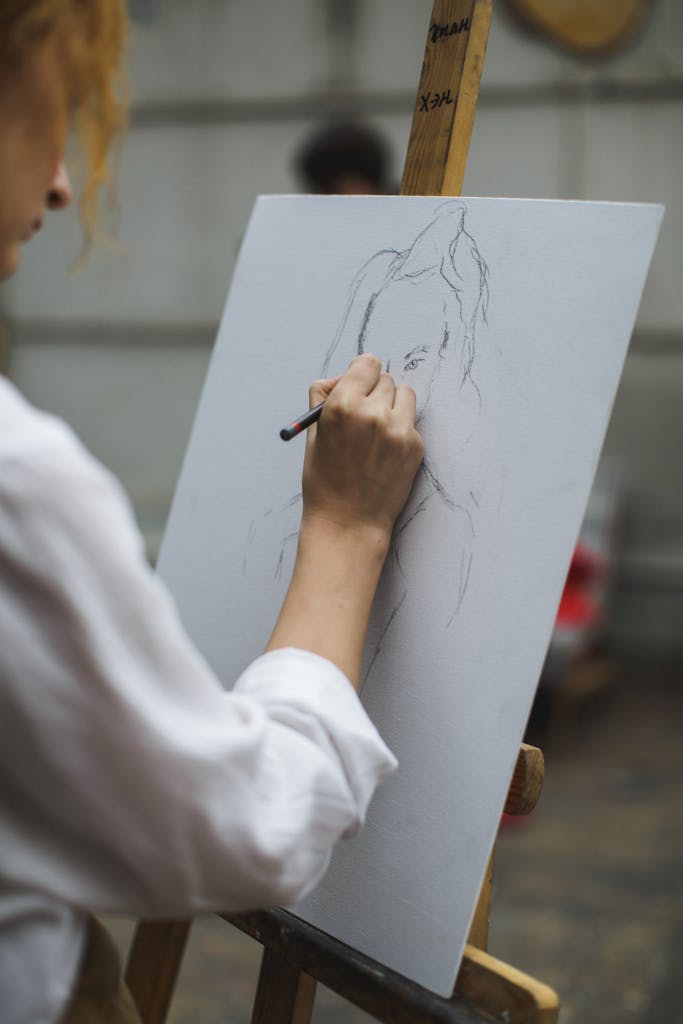
When I started painting, I made a big mistake. I went straight into a massive portrait without planning. Halfway through, one eye was more significant than the other, and the face looked weird! I ended up tossing that expensive canvas.
Here’s what I learned: Always make a small practice sketch first! Now, I start with a tiny drawing about the size of a postcard. I use three shades – light, medium, and dark – to plan where everything will go. It’s like having a map before you start a journey.
Want to know another funny mistake I made? I used to try to make everything in my paintings stand out at once. It was like having five people talking simultaneously – nobody knows what to listen to! Now I see every painting needs one main star, just like every story needs a main character.
Here’s a helpful trick I wish I’d known: Use your paintbrush like a measuring stick! Hold it out at arm’s length, mark sizes with your thumb, and use those marks to get everything the right size on your canvas. This would have saved me from that portrait with the giant eye!
I also learned that balance doesn’t mean making both sides of your painting identical. Once, I tried painting a big tree on one side of a landscape, but it all looked wrong. Now I know that a small, bright object on one side can balance out a big, less detailed area on the other – like a seesaw with a big kid on one end and two small kids on the other.
Remember – planning your painting isn’t dull; it’s bright! It’s like making a recipe – you want to ensure you have all the right ingredients before cooking.
Layering and Drying Time Mistakes
Let me tell you about learning to be patient with oil painting – I learned this lesson the hard way! Picture this: I had painted this beautiful mountain scene but got impatient. Instead of waiting for the paint to dry completely, I immediately added some white snow on the peaks. Within weeks, those snowy peaks started cracking like dry mud in the sun. Oops!
Something surprising about oil paint is that it doesn’t just dry like water evaporating. It needs to be cured; concrete needs time to get complicated. If the paint felt dry, it was ready for the next layer. Wrong! Now I follow my “touch test plus a week” rule – even if the paint feels dry, I wait an extra week just to be sure.
I have a funny story! I was eager to finish a painting for a customer and added the shiny coating too soon—just two weeks after painting. Big mistake! The coating sank into the not-yet-dry paint, and there weren’t dull spots everywhere. Now, I wait a full six months before adding that last coat!
A tip: different colors dry at various speeds. Browns dry quickly, but whites and reds never—like here’s cookies!
Remember, oil painting is like building a house; you must let each layer dry properly. Patience means you it’s last longer!
So, What’s The Take Away…
Tell you something encouraging – every artist, even the famous ones, makes mistakes while wanting to paint! I’ve made plenty of them myself, and that’s precisely how I learned what works and what doesn’t.
Think of it like learning to ride a bike. At first, you wobble and maybe fall a few times. But each time you get back up, you learn something new about keeping your balance. Painting works the same way! Every “oops” moment teaches you something valuable that enhances your path.
Now that you know some common problems to watch out for, you can avoid the mistakes that used to trip me up. Start using these tips in your next painting, but be patient with yourself. “Even Van Gogh had to learn one brushstroke at a time!”
The most important thing is to keep practicing and stay curious. Don’t get discouraged if things don’t look perfect right away. Each painting you make helps you learn and grow. Before you know it, you’ll look back at your early work and be amazed at how far you’ve come!