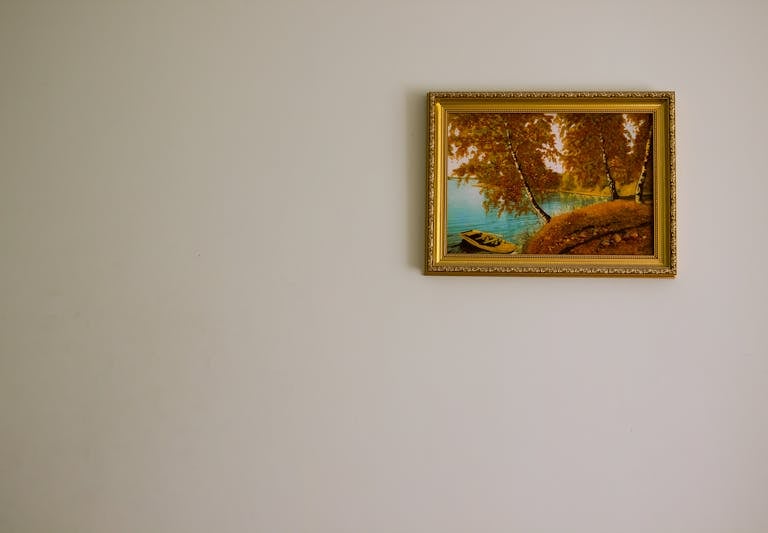
Getting Started with Acrylic Paint: Techniques for Beginners
Acrylic paints were invented by accident in 1934 by scientist Otto Rohm during an experiment. This unexpected discovery led to paints that dried quickly and were easy for artists to use. It’s fascinating how some great inventions come from unexpected moments!
I’ve taught many people to paint with acrylics, and what I love most is how easy they are to fix. If you make a mistake, just wait for the paint to dry, and you can try again. It feels like having an eraser for your art!
Think of acrylics like the “training wheels” of the paint world. They’re much easier to use than oil paints (which take forever to dry) or watercolors (which can be really tricky to control). Whether you’ve never picked up a brush before or you’re coming back to art after a long break, acrylics are a perfect place to start.
Are you ready to begin your artistic journey? I’m excited to share simple ways to make beautiful art. Don’t stress if you’re new—everyone starts somewhere, and these paints make it easy!
Let’s jump in and see what you can create. You’ll be surprised at what you can do once you learn the basics!
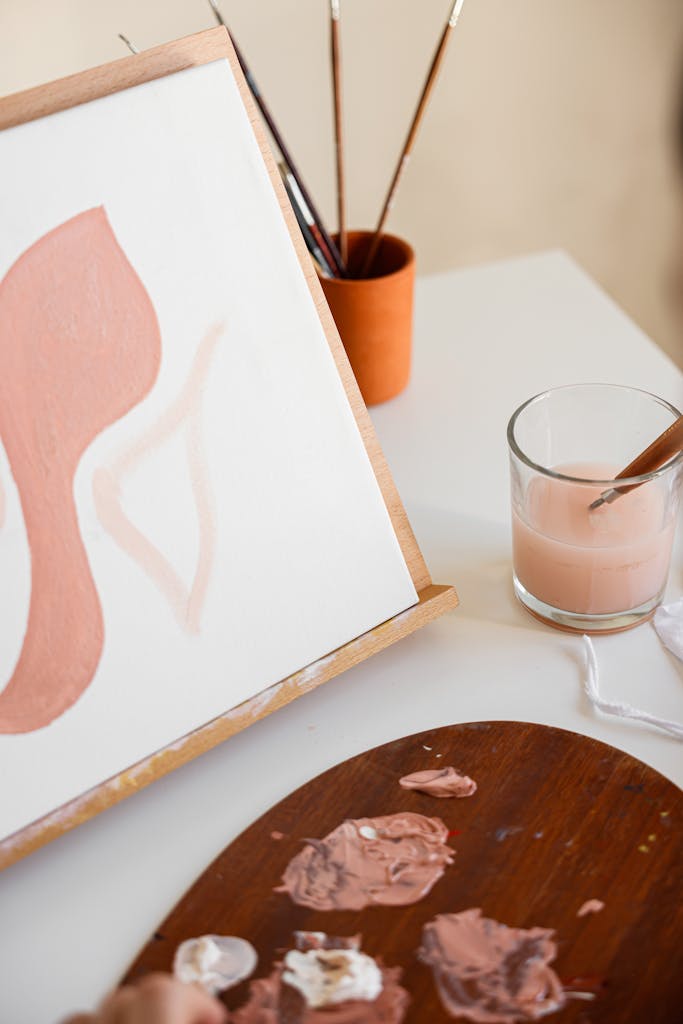
Getting Started: Essential Supplies and Setup
I was so nervous on my first trip to the art supply store that my hands were shaking. There were paints, brushes, and canvases everywhere, and I felt totally lost.
Then something wonderful happened. A kind store clerk noticed how overwhelmed I looked and came over to help. I showed her my long list of supplies – everything I’d seen people use in YouTube videos. She smiled and said something I’ll never forget: “Let’s get you what you actually need, not what the art companies want you to buy.”
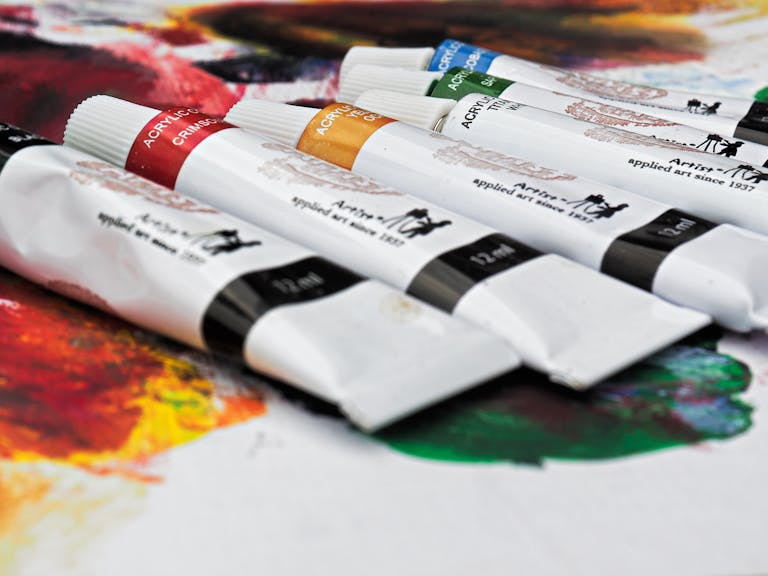
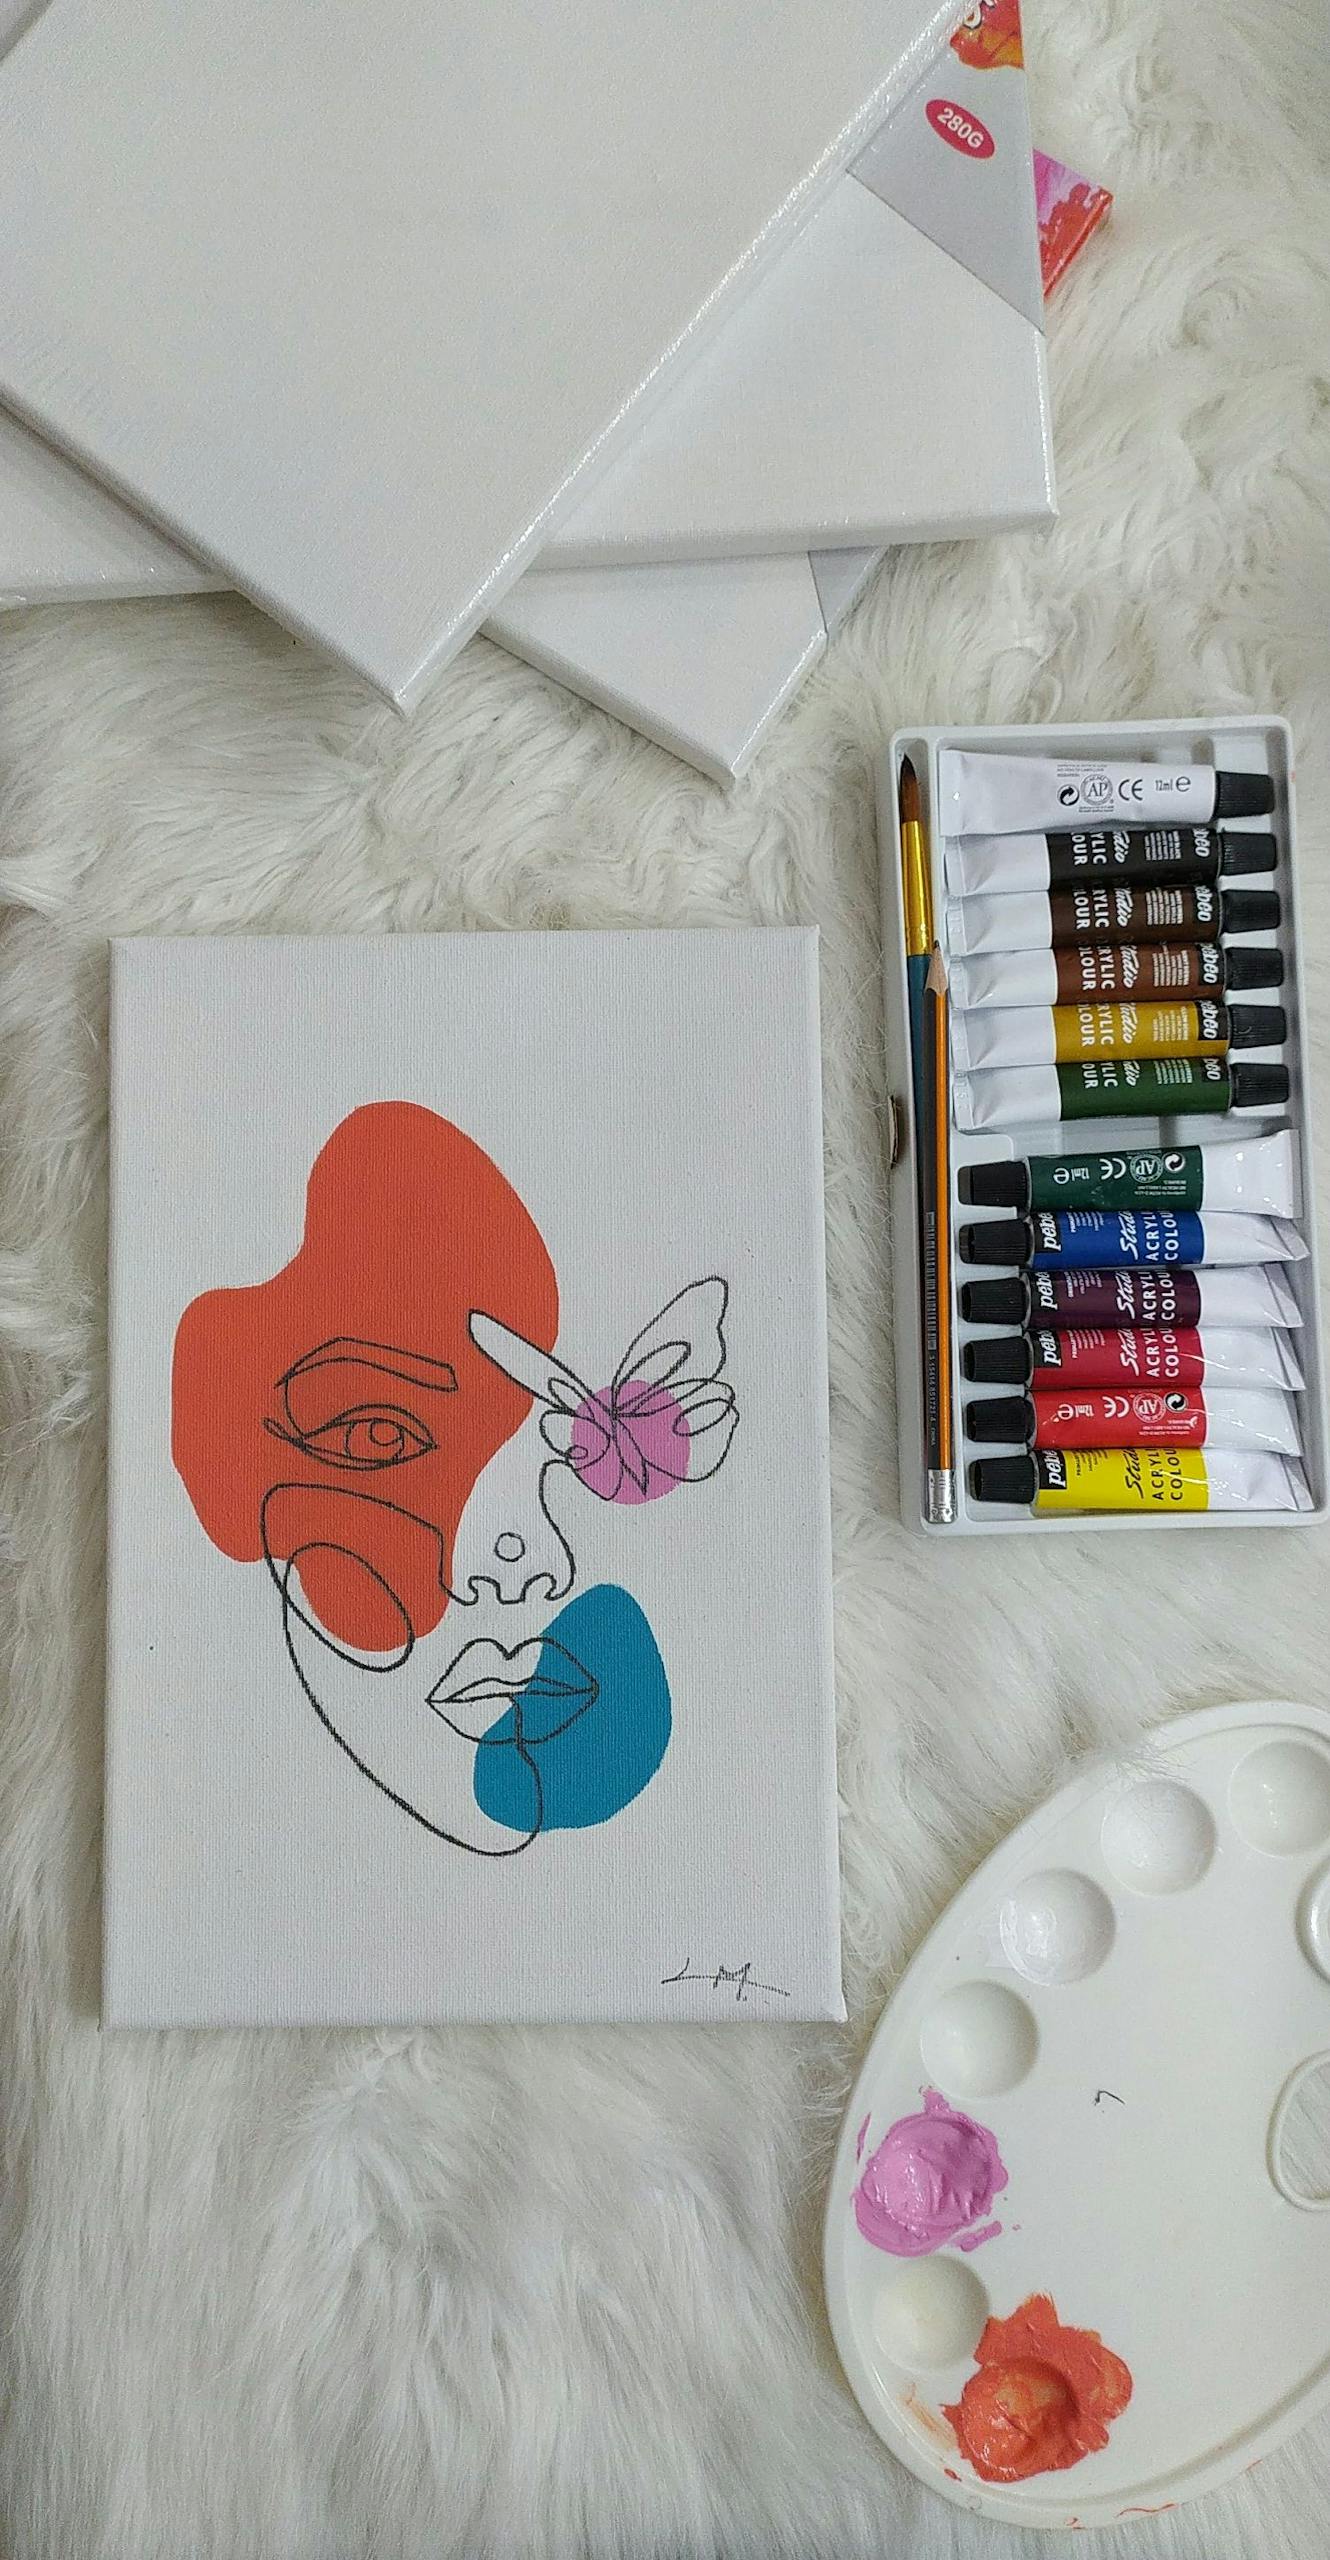
She showed me how to be smart about buying supplies. Instead of getting expensive professional paints, she helped me pick five basic colors that would work just fine for learning. When I reached for a huge set of brushes, she laughed gently and showed me I only needed four good ones.
The best part? She even drew me a little map of how to set up my workspace at home. “Put your palette here,” she said, pointing to her drawing, “and your water cup here – trust me, this will stop you from knocking it over!” I still use that setup today.
By the time we finished, I spent way less money than I thought I would – about $75 instead of hundreds! And you know what? Those basic supplies taught me everything I needed to know about painting. Now when I teach my own students, I tell them this story. You don’t need everything in the store to make beautiful art. You just need the right tools and the desire to learn!
Mastering Basic Paint Handling
Let me tell you a story about how I learned to paint – and I mean really learned. Not from fancy videos or perfect tutorials, but from total mess-ups.
My first big painting looked like a disaster. I wanted smooth, flowing colors, so I added tons of water to my paint. Sounds smart, right? Wrong. At first, the paint looked amazing. It glided across the canvas like magic. But then everything went wrong.
My paint ran everywhere, turning my flower into a melted ice cream cone. Once dried, chunks fell off—so embarrassing! I learned the “butter rule”: acrylic should feel soft like butter. If thinning, never add more than 30% water, or it won’t stick to the canvas.
I practiced a lot. I marked different paint mixtures on scrap canvases to see how they dried. Some artists might call this boring. I call it learning.
Holding a paintbrush was another challenge. I used to grip it so tight my hand would shake. One day, another artist gave me the best advice ever. “Hold the brush like you’re writing a letter,” she said, “not like you’re fighting something.” Suddenly, my painting became smoother.
Loading a brush with paint took practice too. Sometimes I’d get huge globs. Other times, my painting looked streaky. I learned to dip just the tip of the brush in paint and tap it gently on my palette. Now, I teach my students to practice this until it feels natural.
Painting is like playing music. Sometimes you need a soft touch. Other times, you press harder to make bold lines. An artist friend told me to paint like I’m stroking a cat – gentle but firm. That advice changed everything.
These days, I have a special “practice corner” in my studio. Before starting any serious painting, I spend ten minutes making different strokes. Straight lines, curves, dots – just like a musician practicing scales.
The biggest lesson? Paint isn’t your enemy. It’s your partner. That first messy painting wasn’t a failure. It was the beginning of understanding how paint really works.
Now when I see my students struggling, I smile. I know they’re about to learn something amazing. Every mistake is just another step toward becoming a better artist.

Fundamental Color Theory and Mixing
When I started painting, I mistakenly thought any color could create art. I soon realized colors have rules that can enhance a painting. The primary colors—red, yellow, and blue—are essential, but not all paints are the same. I learned that using quality paint is crucial to avoid muddy results.
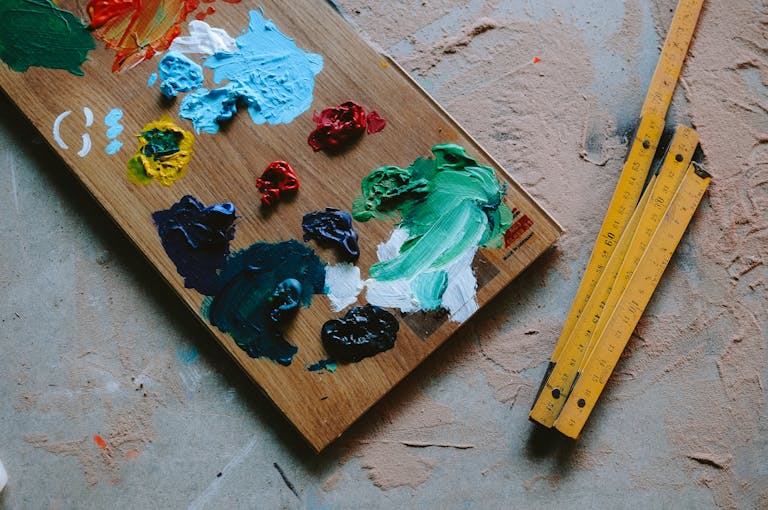
I recommend getting solid primary colors. Cadmium red, cadmium yellow, and ultramarine blue became my best friends. Trust me, they make mixing colors so much easier.
Want to make a color wheel? It’s like a guide for painters! Start by placing your primary colors—red, yellow, and blue—in a triangle on your palette. Mix them together: red and yellow make orange, yellow and blue make green, and blue and red make purple.
Mixing colors is more than just making them look good; it’s also about understanding how light and shadow work. Instead of just adding white or black to change a color’s brightness, try mixing primary colors with their neighbors for new shades like yellow-orange or red-purple.
A neat tip is to use the color wheel: to darken green, add a little red, and to lighten orange, mix in some blue. It might seem odd, but it really works! Keep experimenting to discover your own unique colors!
Avoiding muddy colors takes practice. Start small. Mix just a little bit of each color. Stir thoroughly. Add more if you need to. And watch out when mixing colors opposite each other on the wheel – they can cancel each other out fast!
Starting a color journal can be one of the most enjoyable ways to explore mixing colors; just take some paper to play around, and be sure to write down your favorite shades for future reference. While mixing colors can feel challenging at first, don’t be discouraged—practice will lead you to create beautiful hues for your artwork.
Core Painting Techniques for Beginners
Painting isn’t just about slapping colors on a canvas. I found that out the hard way! At first, I thought it was easy—just grab a brush and go. But I learned there are cool techniques to explore. One of them is wet paint techniques. They might sound fancy, but they’re not too tough to grasp!
Wet-on-dry is simple: you paint on a dry surface, so your shapes and edges are clear. It’s great for beginners. Wet-on-wet, on the other hand, is more fun! You paint on wet paint, and the colors mix and create dreamy effects. It’s a little tricky, but the results are beautiful.
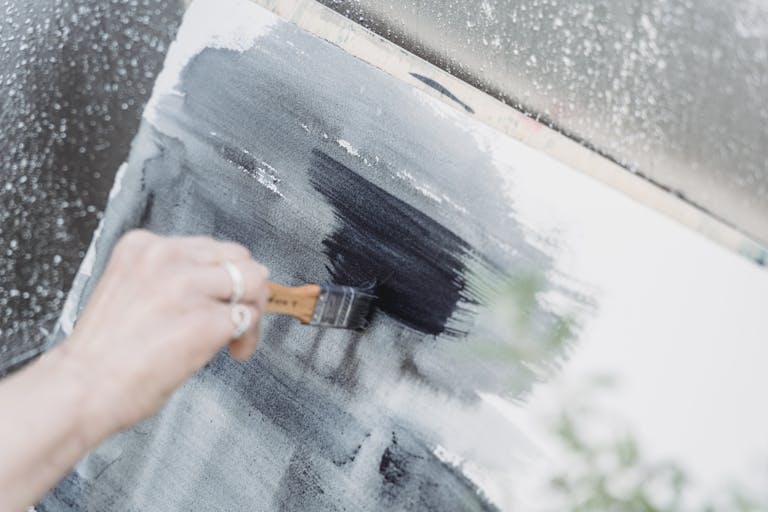
Layers are a painter’s secret tool. Acrylic paint dries quickly, so it’s important to apply thin layers. Start with a light coat and let it dry fully before adding more, similar to building a sandwich one layer at a time.
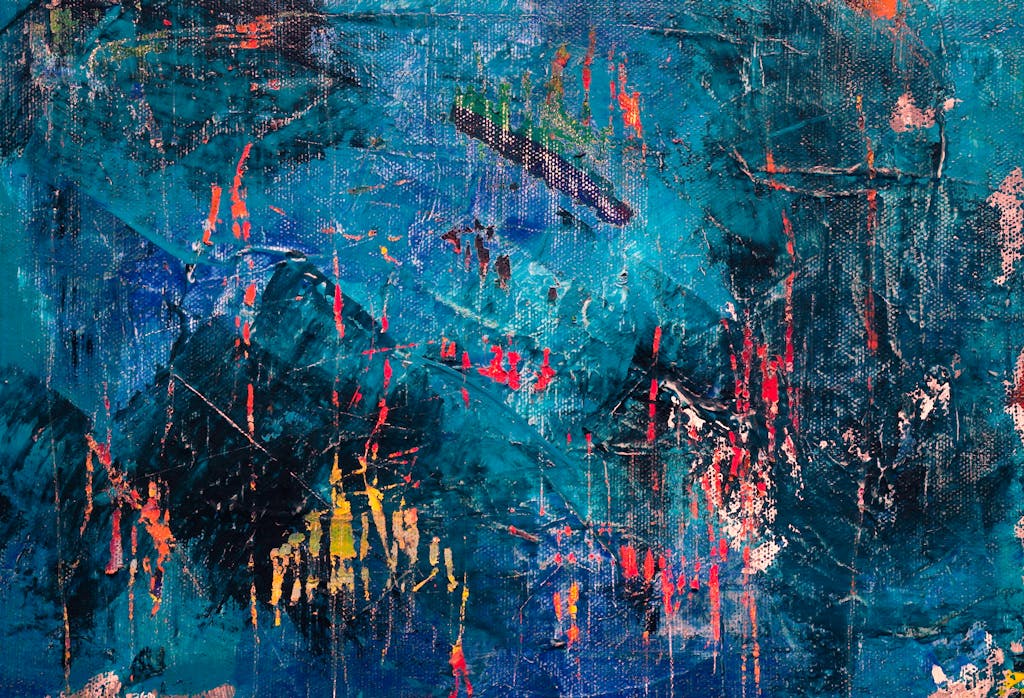
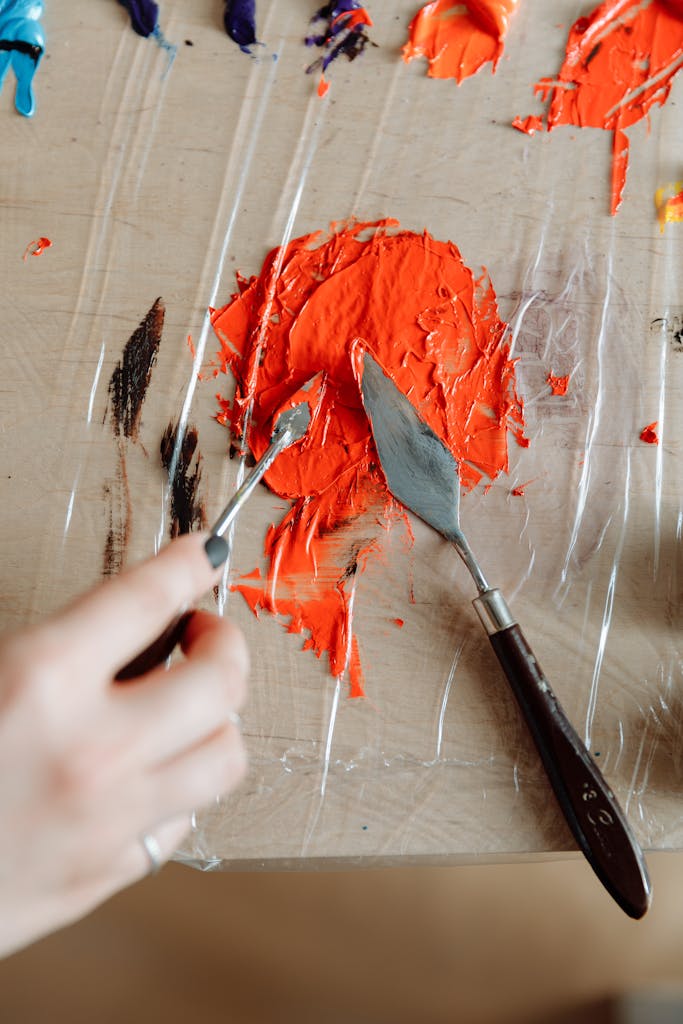
Texture is where things get really fun. Forget just using brushes. I love experimenting with crazy tools. Sponges. Old credit cards. Even pieces of lace! Each one creates a unique look.
Stiff brushes can create rough, scratchy textures. Sponges make soft, spotted effects. A palette knife? Bold, thick strokes that pop right off the canvas. The only limit is your imagination.
Blending colors is a fun skill! To create smooth transitions, work quickly with a soft brush before the paint dries. Start with two colors on opposite sides of your canvas and mix them in the middle. Practice makes perfect, so don’t worry about mistakes—just have fun and express yourself! Every artist began as a curious creator, so grab some paint and start experimenting!
Your First Practice Projects
Staring at a blank canvas can be intimidating, but everyone starts somewhere. Let’s focus on brush control, which means getting comfortable with your paintbrush. Practice drawing various lines—straight, curvy, and zigzags—to develop a steady hand and even pressure. This connection will enhance your painting experience.
Think of it like learning to ride a bike. At first, you’ll wobble. You might even fall. But keep practicing, and suddenly – magic happens! Your brush starts feeling like an extension of your hand.
Still life paintings are perfect for beginners. Start simple. An apple. A pear. Something you can see right in front of you. Pro tip: lighting matters! Natural light is best. Play around with how you arrange your objects. Move them. Tilt them. Find an arrangement that makes you smile.
Landscapes can be tricky, but start with something simple like a sunset or a field of flowers. Focus on capturing the feeling and mood rather than perfection. Begin with a quick sketch, then layer colors from the background forward.
Making mistakes is part of learning! Beginners often overwork paint, leading to a messy look. Allow your art to dry before revisiting it, and embrace the flaws—they add uniqueness. Remember, it’s just paint, and you can always repaint. Most importantly, have fun and express yourself. Grab your brush and start creating!
By Antonio Limongi MA EdS
Limongi, Owner of Antonio Limongi Fine Art LLC, is a Master Painter, Portrait Artist, and Art Instructor with 20 years of experience. He reports on issues in Fine Art Education, Creating Art, Investing in Art, and Selling Fine Art. (Some of the links are affiliate partners)


Generated with Pin Generator