Natural vs Synthetic Brushes for Oil Painting: A Complete Artist’s Guide
Have you ever wondered why some paintbrushes cost so much more than others? A lot comes down to what they’re made of. Let’s talk about the two main types of brushes you can use for oil painting – natural hair brushes and synthetic ones.
Natural brushes are like the fancy sports cars of the art world. They’re made from real animal hair and are excellent at their work. Picture this – a single hair from a Kolinsky sable (a type of weasel) can hold enough paint to nearly double its weight! That’s why many artists love them.
But here’s the thing – not everyone needs or wants to spend that much money on brushes. That’s where synthetic brushes come in. They’re like the reliable family car – they get the job done well and won’t empty your wallet.
Whether you’re just starting out or you’ve been painting for years, choosing between natural and synthetic brushes is a big decision. Don’t worry – we’ll walk through everything you need to know to pick the right ones for you. We’ll examine how well they work, how long they last, and what they cost.
Think of this as your friendly guide to paintbrushes. By the time we’re done, you’ll know exactly what to look for when shopping for your next brush.
Understanding Natural Brushes for Oil Painting
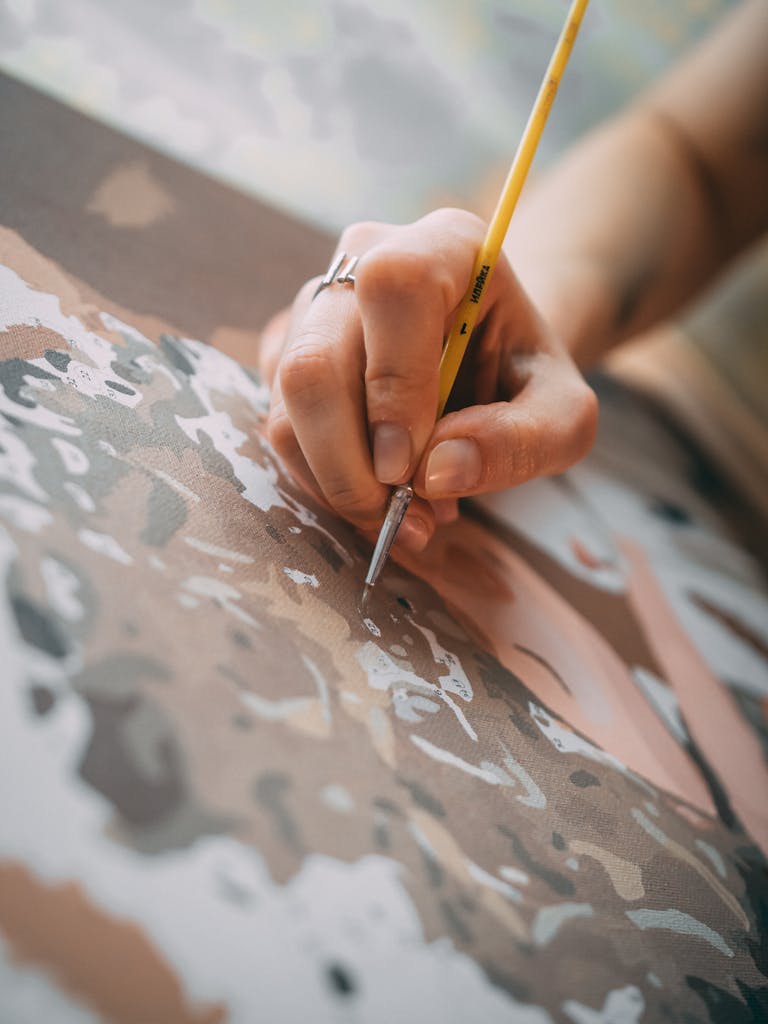
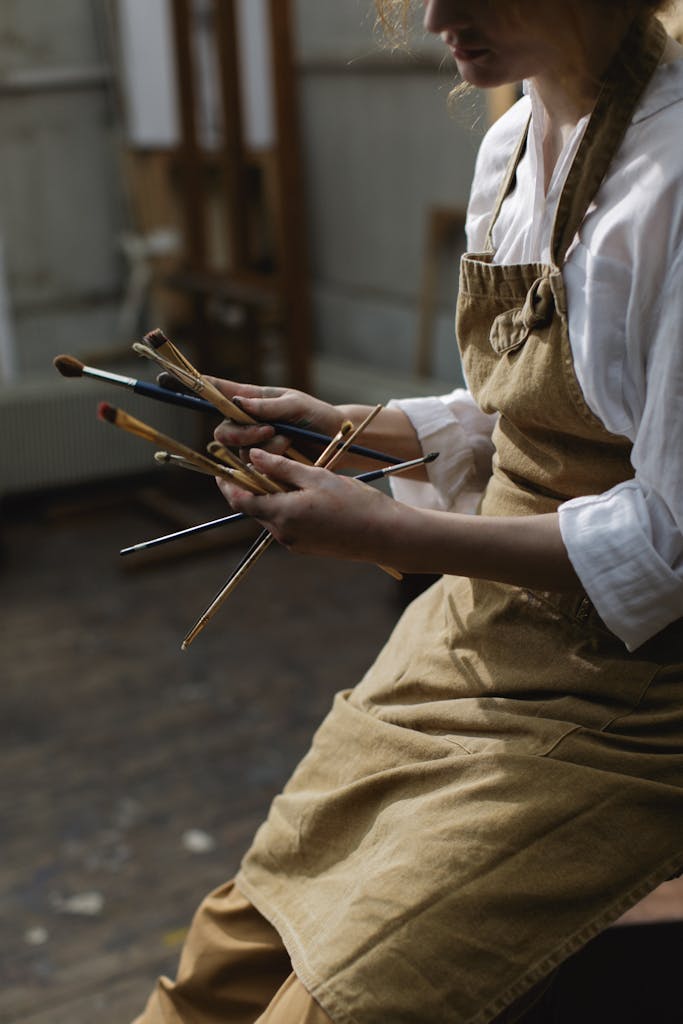
I want to tell you about my adventures with paintbrushes. Like many beginners, I started by buying the cheapest brushes I could find. Boy, was that a mistake! Those brushes left little hairs all over my paintings. Not fun at all.
The Fancy Ones: Kolinsky Sable
Let’s start with the cream of the crop – kolinsky sable brushes. These come from the tail of a unique weasel in Siberia. They’re pretty pricey – one brush can cost as much as a nice dinner for two! But here’s the cool part: they can hold more paint than any other brush. When I first tried one, I couldn’t believe how long I could paint without dipping back into my paint.
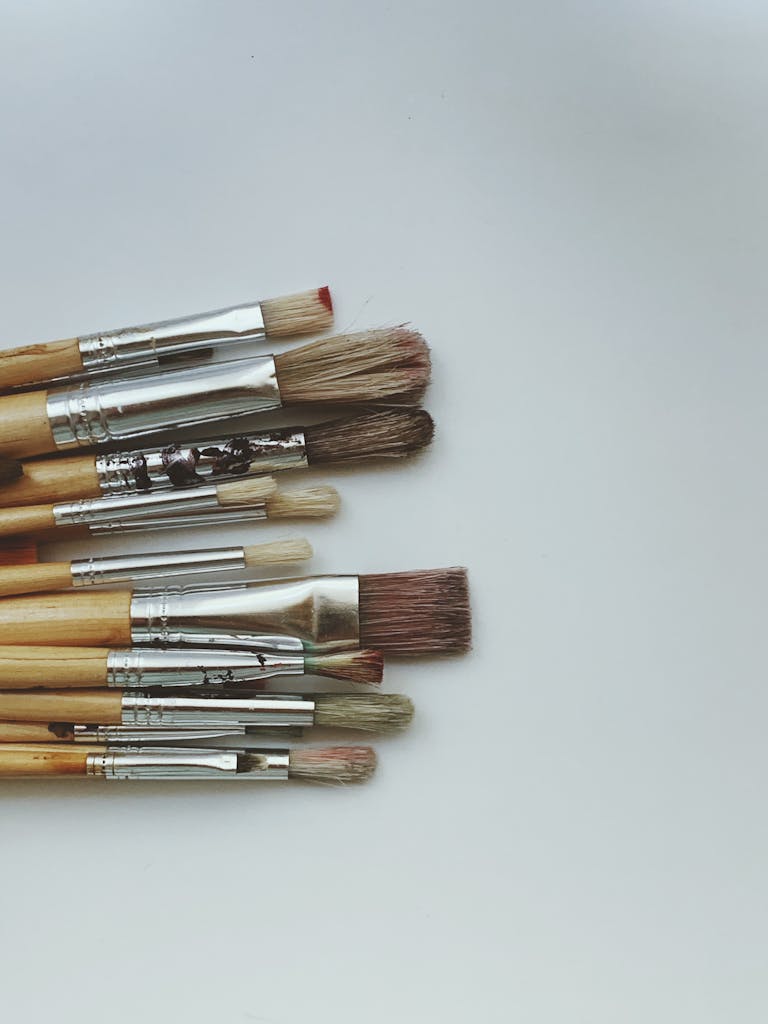
The Workhorses: Hog Bristle
These were my first “good” brushes, and I still love them. They’re much cheaper than Sable (about the cost of a pizza) and tough as nails. The bristles have split ends – like hair that needs a trim – but that’s good! It helps make interesting textures in your painting. I use these for significant areas and thick paint.
The Middle Ground: Ox Hair
Think of these as the “just right” brushes – not too soft or stiff. I found these when trying to paint smooth skies without seeing brush marks. They cost about the same as a few cups of fancy coffee.
Some Things I Learned The Hard Way
Natural brushes work differently than plastic ones. They soak up some of the oil in the paint, which helps you control it better. It took me forever to figure this out!
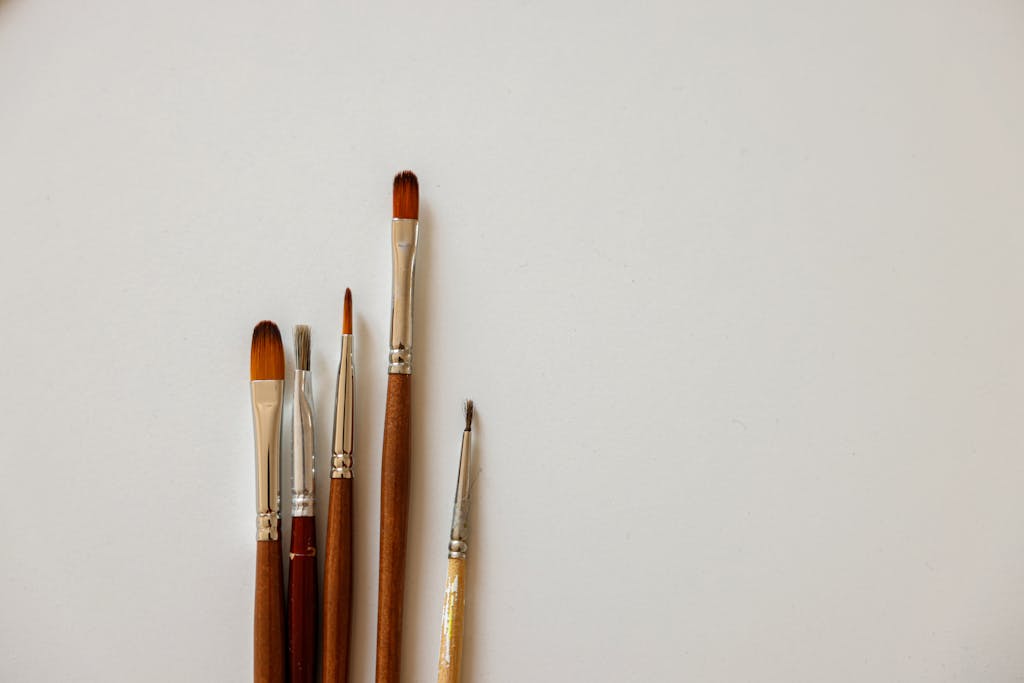
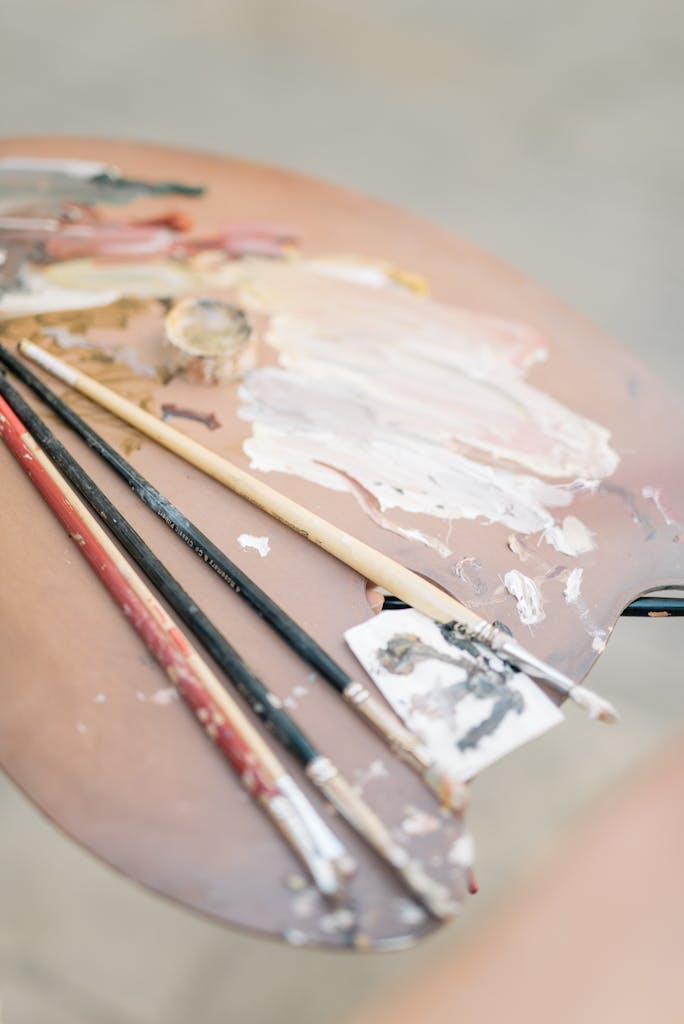
Picking the Right Shape
Different shapes do different jobs:
– Flat brushes are great for significant areas, like painting a sky
– Round brushes are perfect for trim details, like painting tiny flowers
– Filbert brushes (they look like flat brushes with rounded tips) are excellent for smooth blending
Money-Saving Tip
Start with a few good hog bristle brushes. Slowly add one or two fancy sable brushes for detail work as you get better. And please, please clean your brushes! I once ruined an expensive brush by letting the paint dry in it. That hurt my wallet!
How to Spot Good Brushes
A good brush should:
– Feel balanced in your hand, like a good pen
– Spring back to shape when you bend it
– Have no loose hairs falling out
– Have a tight metal part (that’s called a ferrule)
Investing in quality brushes may have a higher upfront cost, but they are more durable and can improve your artwork, ultimately saving you money over time. Your future self will appreciate the choice to buy the better ones!
The Rise of Synthetic Brushes in Oil Painting
As an art teacher, I used to think natural hair brushes were the only way to go. Then, one day, a student showed up with new plastic-based brushes and changed my mind completely!
The Taklon Surprise
I was painting many ocean scenes, and my expensive natural brushes emptied my wallet. So, I tried some Golden Taklon brushes. For just $25, I got five brushes – what a deal! I couldn’t believe how well they worked when I used them to paint tiny details in ocean waves. They kept their shape for hours, sometimes better than my pricey natural brushes.
Today’s Synthetic Brushes Are Different
These aren’t like the stiff, plastic-feeling brushes from years ago. New brushes, like the Princeton Catalyst Polytip (about $15 each), have special fibers that hold paint almost as well as natural brushes. They even made tiny channels in the fibers to help them keep more paint!
Why I Started Loving Synthetic Brushes
– They work the same way every time. Natural brushes can be unpredictable, but these are consistent.
– They’re tough! You can clean them really well, and they dry faster.
– They’re better for the environment. No animal fur is needed; some are made from recycled materials.
– They save money. Good synthetic brushes cost $8-25, while natural ones cost up to $150!
Different Brushes for Different Jobs
– Nylon brushes are great for smooth blending
– Stiffer plastic blend brushes work really well for thick paint
– The only downside? Sometimes, you need to dip them in paint more often than natural brushes
A Tip for Beginners
Try good synthetic brushes first if you’re starting with oil painting. They’re:
– Easier to take care of
– Less expensive
– More forgiving when you make mistakes
– Great for learning with
You can always buy natural brushes later if you want to try them. But these new synthetic brushes might surprise you – they sure surprised me!
Performance Comparison: Natural vs Synthetic
I’m an art teacher, and my students always ask me: “Which brushes are better – natural or plastic?” So I did a test. For a month, I used both brushes side by side. Here’s what I found out!
How Much Paint Can They Hold?
– Natural brushes made from sable fur held about a third more paint than plastic ones
– But for big, flat brushes? The plastic ones worked just as well as the natural ones
– Natural brushes let the paint flow out slowly and smoothly
– Plastic brushes give you the same amount of paint all through your stroke
A Funny Thing About Temperature
One cold day, I made a surprising discovery. When my studio got cold (about as cold as a refrigerator), the natural brushes got stiff, but the plastic ones didn’t! But once things warmed up, the natural brushes worked better again. I keep a thermometer in my studio – natural brushes like it between 65-75 degrees, about as warm as a lovely spring day.
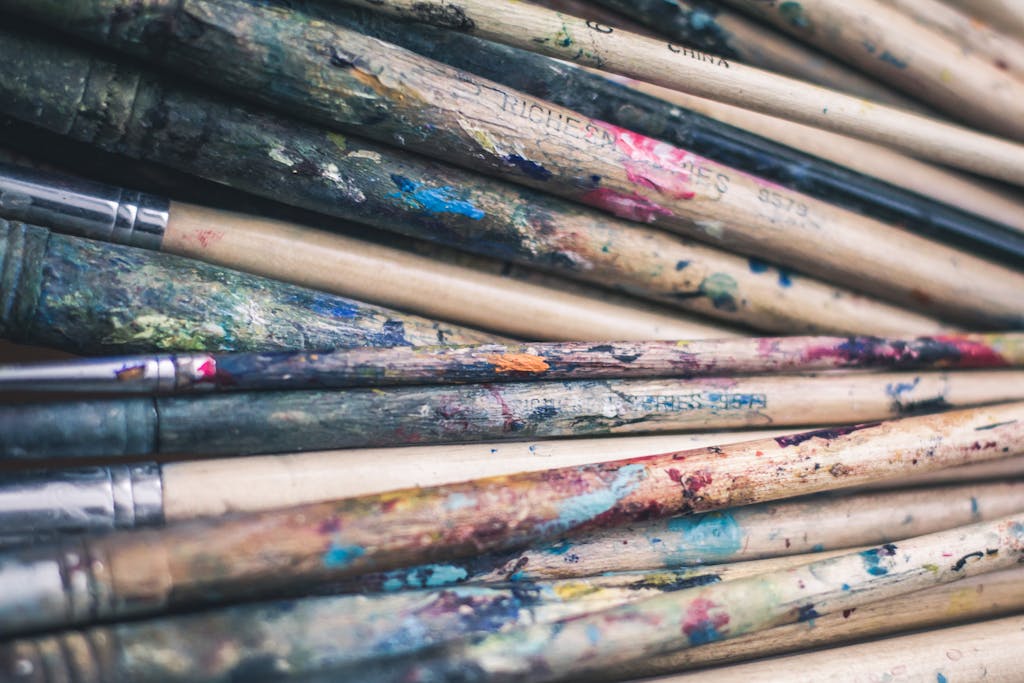
How Long Do They Last?
I used both types of brushes for 100 hours of painting. Here’s what happened:
– Natural brushes started wearing out quickly but then stayed the same
– Plastic brushes lasted longer but wore out suddenly
– Natural brushes lost a few hairs now and then
– Plastic brushes kept their hair but sometimes got frizzy
Taking Care of Your Brushes
Natural brushes need gentle care, like a favorite sweater. You have to clean them carefully and reshape them after each use. Plastic brushes are more rigid – like blue jeans. You can clean them harder without hurting them.
What Are They Best For?
– Natural brushes are great for tiny details, like painting small flower petals
– Plastic brushes work really well for bold, thick paint strokes
– Plastic brushes feel springier
– Natural brushes help you feel how hard you’re pressing
You know what I tell everyone in my class? Don’t choose between plastic and natural brushes – get a few each! It’s like having both a hammer and a screwdriver in your toolbox. Each one does something special.
Want to save some money?
Start with two types of brushes: flat plastic ones for large areas like skies and round natural brushes for details like leaves or faces. This approach keeps costs down while providing the right tools for various tasks.
Just one thing to keep in mind – those natural brushes are like pets. They need extra love and care. You’ll have to spend more time cleaning them after you paint. But trust me, they’re worth it!
You know what makes me smile?
Seeing my students discover this for themselves is rewarding. They stopped asking which brush was best and considered using different brushes together. That’s when I knew they were becoming real artists.
Choosing the Right Brush for Different Techniques
I learned a big lesson about picking the right brush while trying to paint bold sunflowers with tiny, soft brushes. They looked weak and flat until a friend showed me the right brush. The difference was dramatic—it’s like using a spoon for soup instead of a fork. The right tool makes everything easier!
Big, Bold Painting
Want to paint with thick, chunky paint? You’ll need:
– Stiff brushes (either pig hair or firm plastic ones)
– Bigger sizes (about as wide as your thumb)
These harsh brushes can push around thick paint and make beautiful textures that catch the light.
Smooth, Thin Layers
For painting thin, smooth layers, try:
– Soft plastic brushes
– Medium-sized mop brushes (about as wide as your pinky)
These spread the paint evenly without leaving streak marks. Natural brushes also work, but they cost a lot more!
Tiny Details
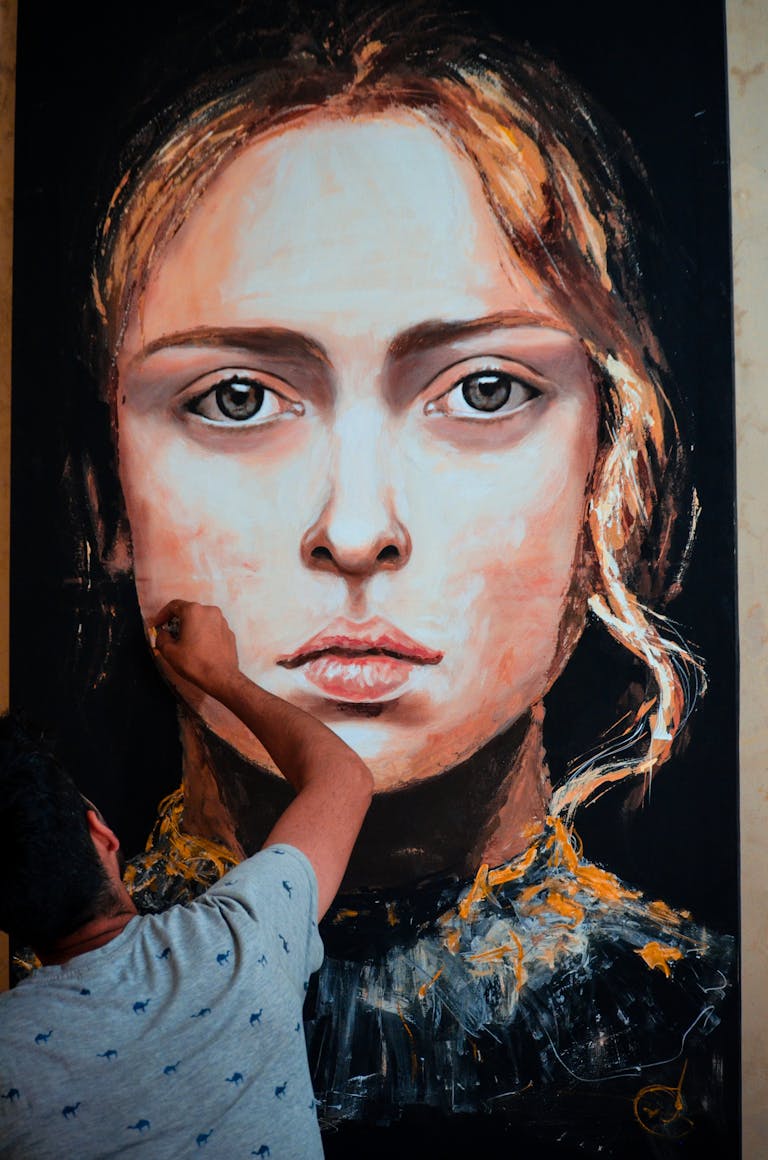
Here’s where I spend extra money – on small round brushes made from Kolinsky sable hair. They’re pricey but excellent for painting tiny things like building details or flower petals. After wasting hours trying to paint small details with cheap brushes, I learned this.
Starting Your Brush Collection
Here’s what I tell my students to buy first:
– Two or three stiff flat brushes for significant areas
– One medium-sized blending brush
– One small detail brush
– One big, soft brush for smooth areas
A Fun Discovery
One day, I found out something cool by accident. I had an old brush that was getting frizzy, but I tried using it instead of throwing it out. Guess what? It made perfect-looking grass! Sometimes, the “wrong” brush can do amazing things.
Money-Saving Tips
– Start with plastic brushes – they’re more forgiving when you’re learning
– Add natural brushes slowly, as you need them
– Buy one good brush instead of several cheap ones
– Think about what you like to paint – buy brushes that match your style
Standing in front of the vast array of brushes at my favorite art supply store, I felt excitement for the journey ahead. Each brush held potential; the delicate fan brush promised soft clouds, while the bold angular brush whispered of striking cityscapes.
As I experimented with different shapes and textures, I recalled that some of the best discoveries happen by accident, and the whimsical twisted-vine brush sparked thoughts of playful splashes of color waiting to be unleashed.
As I reached the checkout, my basket overflowed with brushes, each ready to inspire new techniques and spark my artistic journey.
Maintenance and Care
Let me tell you about the night I ruined my favorite brush. After painting, I was tired and thought, “I’ll just let this brush soak overnight.” Big mistake! That expensive brush was never the same again. Now, I want to help you avoid my mistakes.
The Simple Cleaning Steps
Cleaning your brush is similar to washing your hair: start by wiping off as much paint as possible with paper towels. Next, give the brush a gentle bath in high-quality paint thinner, avoiding the cheaper varieties that can ruin the bristles. Finally, wash the brush with special brush soap and lukewarm water to ensure it’s in great shape for your next painting session.
A Surprising Discovery
You know what I found out? Brushes need to lie flat to dry! For years, I stood them up in a cup. Then, I couldn’t figure out why the bristles kept falling out. Water was sneaking into the metal part and loosening everything up.
Different Brushes Need Different Care
Natural brushes, crafted from animal hair, require gentle care similar to delicate silk, while plastic brushes, which are more challenging like polyester, can withstand a bit more scrubbing. Nevertheless, it’s important to remember that both brushes must be cleaned immediately after painting to maintain their quality and longevity.
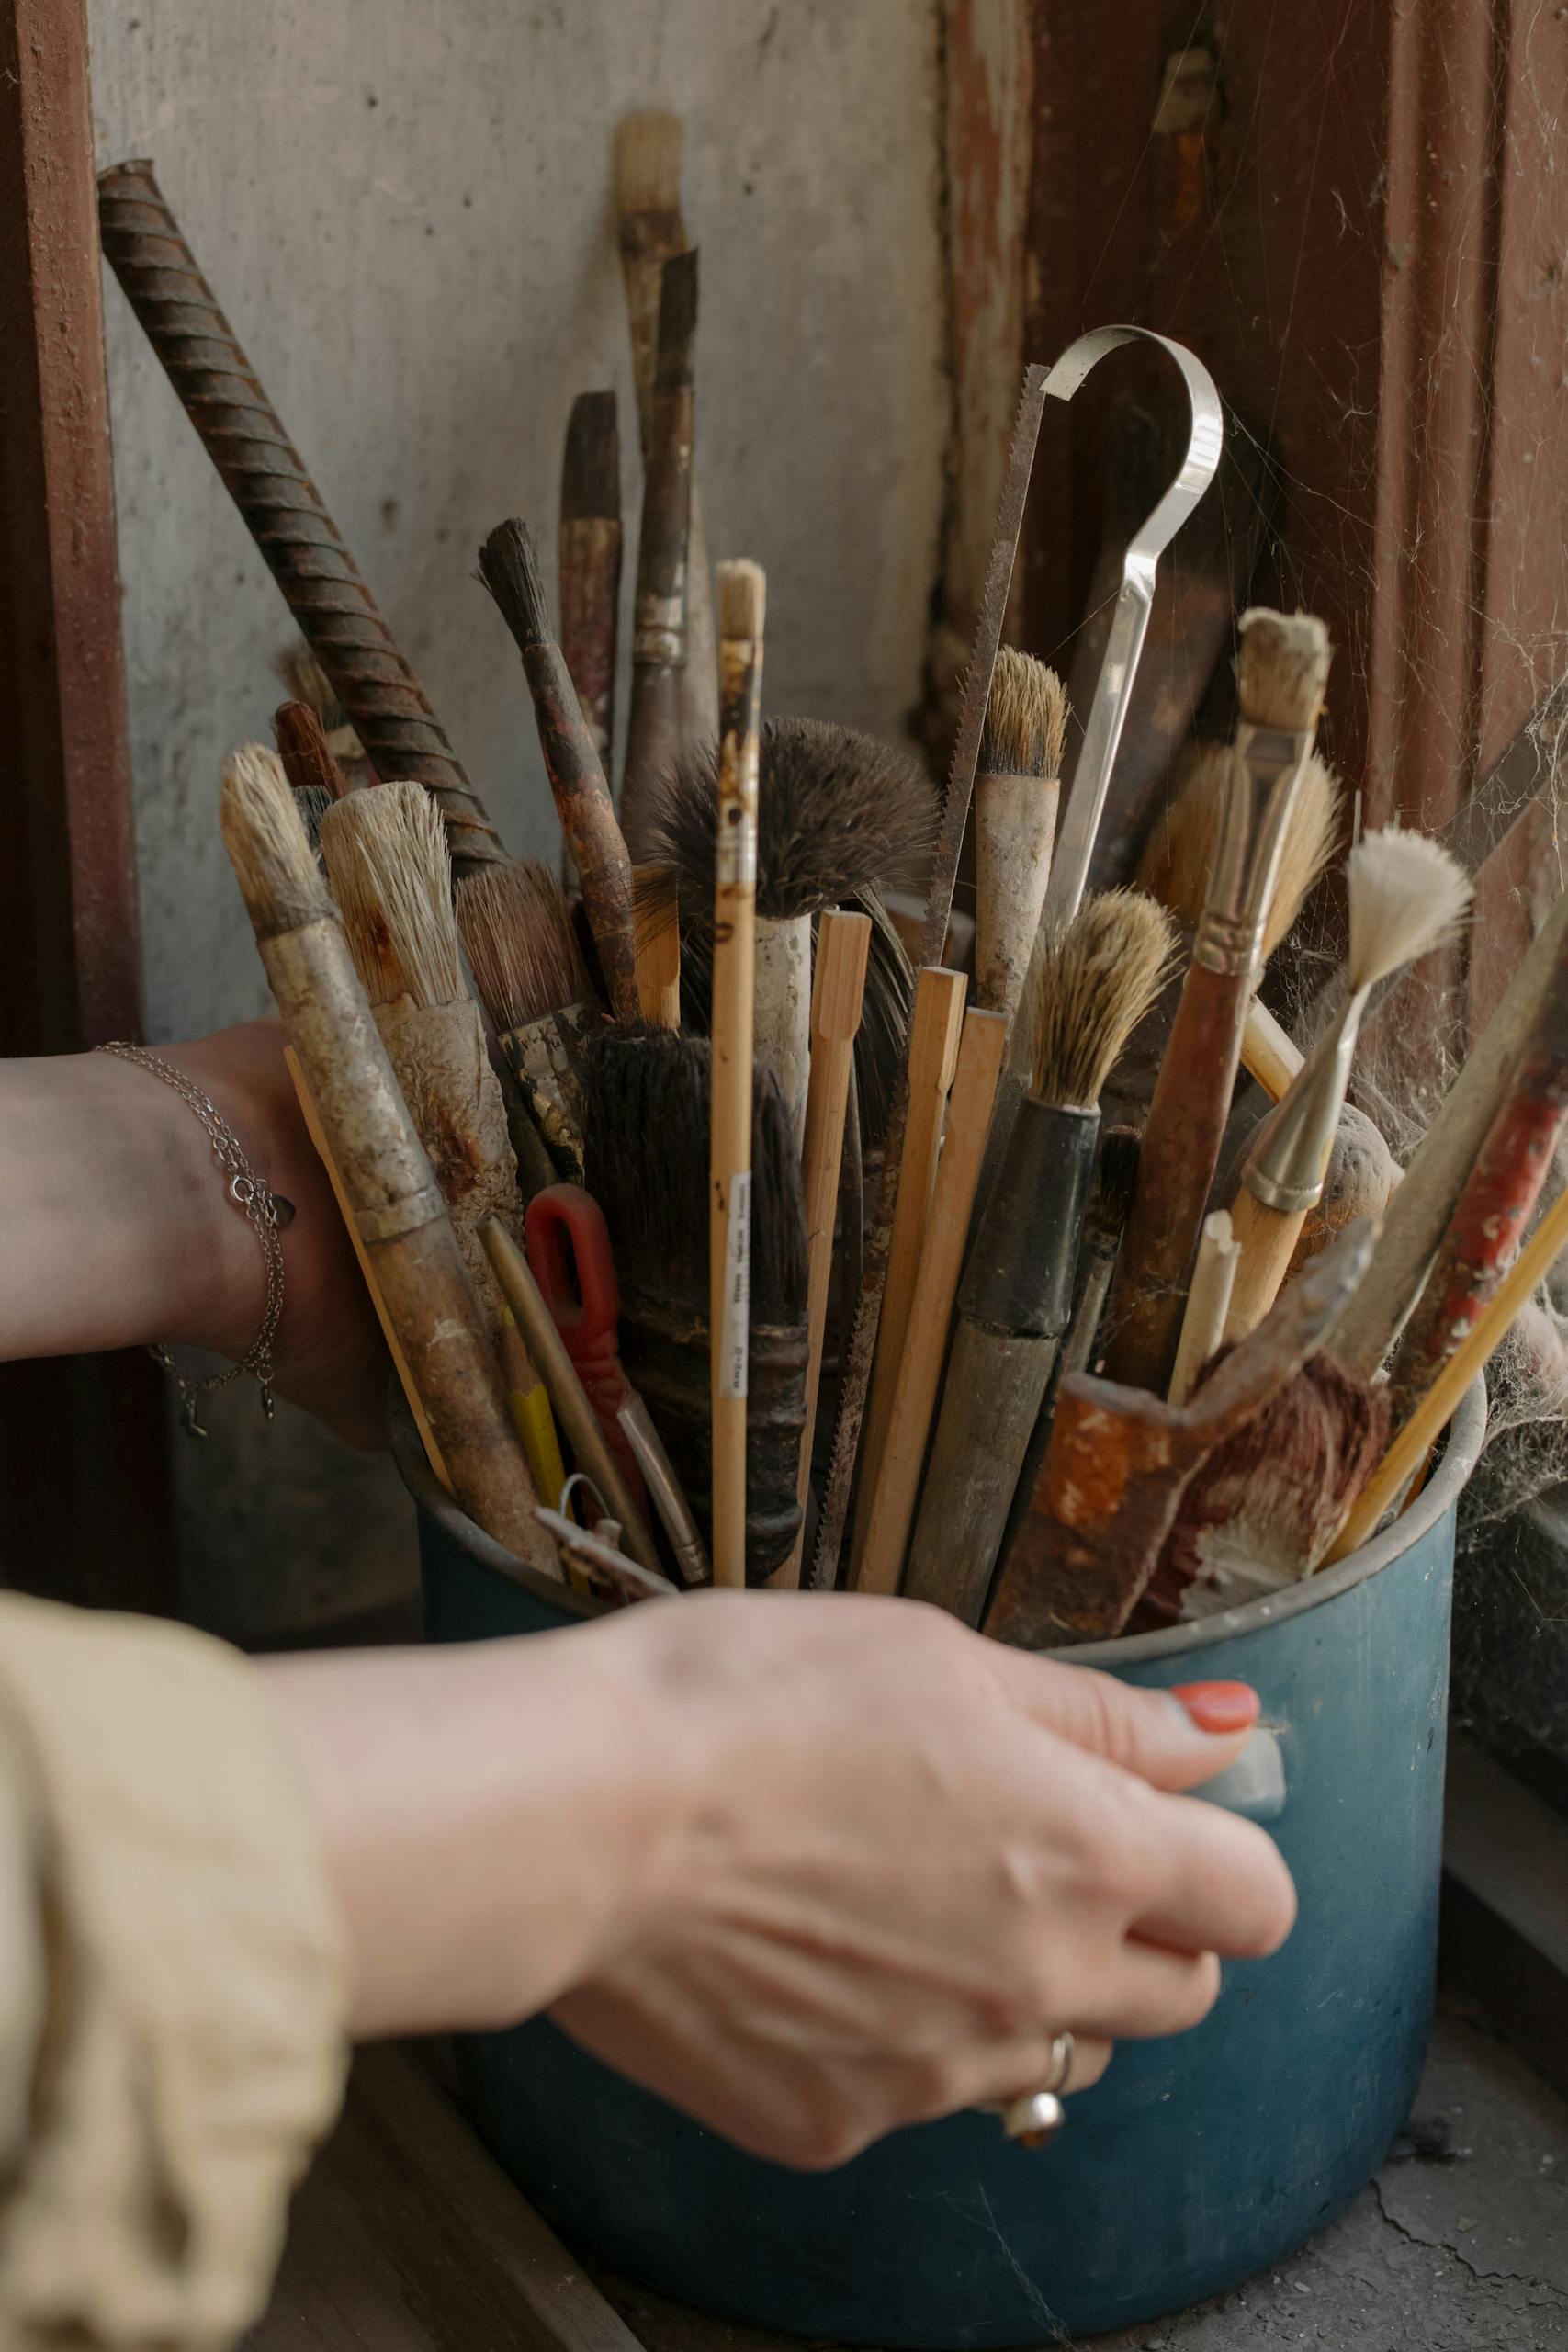
Where to Keep Your Brushes
To care for your brushes, avoid storing them on their bristles, as seen in many Pinterest setups. Instead, lay them flat or stand them upright with bristles up. Please keep them in a not-too-dry or damp space and avoid closed containers to ensure proper ventilation and maintain their shape.
When to Say Goodbye
How do you know when it’s time for a new brush?
– Natural brushes: When they stop bouncing back to their original shape
– Plastic brushes: When they get permanently bent or splayed out
Money-Saving Tips
– Buy good brush soap – it costs more but saves money in the long run
– Keep some cheap brushes for rough work
– Always use brush caps when traveling (I learned this after finding my best brush bent like a pretzel in my bag)
The Most Important Thing
Set up your cleaning supplies before you start painting. That way, everything’s ready to go when you’re tired after creating your masterpiece. Your brushes will thank you!
Good brushes, like quality tools, can endure for years with proper care, enabling you to create beautiful art over time.
Let’s Wrapt Ut Up
Let me share what I’ve learned about picking paintbrushes!
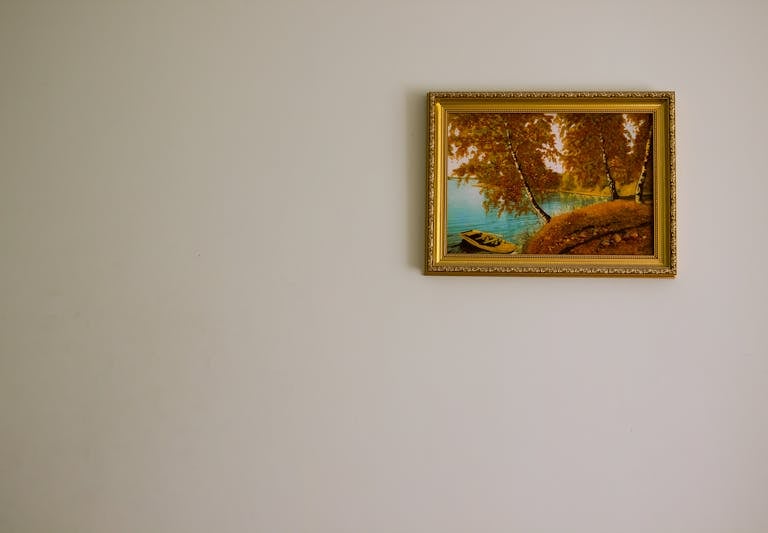
Here’s the thing about paint brushes – it’s not about which kind is “the best.” It’s more like picking the right tool for the job. Different brushes are good at other things, just like you wouldn’t use a sledgehammer to hang a picture frame.
Natural brushes (made from animal hair) and synthetic brushes (plastic ones) have unique talents. Think of them as teammates rather than rivals.
Want to hear something funny? When I first started painting, I thought expensive natural brushes would magically make me a better artist. Then I discovered that sometimes a $10 synthetic brush worked better for what I tried to do! Learning that your favorite shoes aren’t always the best choice for every activity is like learning.
My advice? Get a few of each kind. Start with:
– A couple of synthetic brushes for significant areas and essential work
– One or two natural brushes for detailed parts
This way, you can try both and see what feels right in your hands. Remember, the perfect brush is the one that helps you create the art you see in your mind.
You know what’s really cool? Find your own favorite combination of brushes. It’s like developing your own secret recipe – it becomes part of what makes your art uniquely yours.
By Antonio Limongi MA EdS
Limongi, Owner of Antonio Limongi Fine Art LLC, is a Master Painter, Portrait Artist, and Art Instructor with 20 years of experience. He reports on issues in Fine Art Education, Creating Art, Investing in Art, and Selling Fine Art.